How You Can Use Printer Paper for Paper Mache Projects
You can easily turn printer paper into strong paper mache by tearing it into small strips and soaking them until pliable. This simple technique makes printer paper a great base for all your paper mache projects. Using printer paper is affordable and convenient, especially when you want to create lightweight yet durable crafts.
Use simple pastes like flour-based or glue mixes to bind the layers together. Apply at least three thin, crosshatch layers for better durability and strength. This layering technique helps your paper mache hold its shape well and last longer.
Then, shape creative projects like masks or decorative bowls. Once dry, finish your work with paint and sealant to get vibrant, lasting results. With these proper steps, you’ll achieve flexible, detailed sculptures and discover more handy tips for successful crafting ahead. It’s a fun way to bring your ideas to life!
Key Takeaways
- Tear printer paper into small strips about one to two inches wide for better blending in paper mache layers.
- Soak torn paper in water until pliable but not soggy to soften fibers for molding.
- Use flour-based paste, glue-water mix, or salt paste as adhesive options depending on project needs.
- Apply at least three thin layers using a crosshatch method for strong, durable paper mache sculptures.
- Paint with acrylics and seal with clear varnish to protect and enhance finished printer paper mache projects.
Preparing Printer Paper for Paper Mache
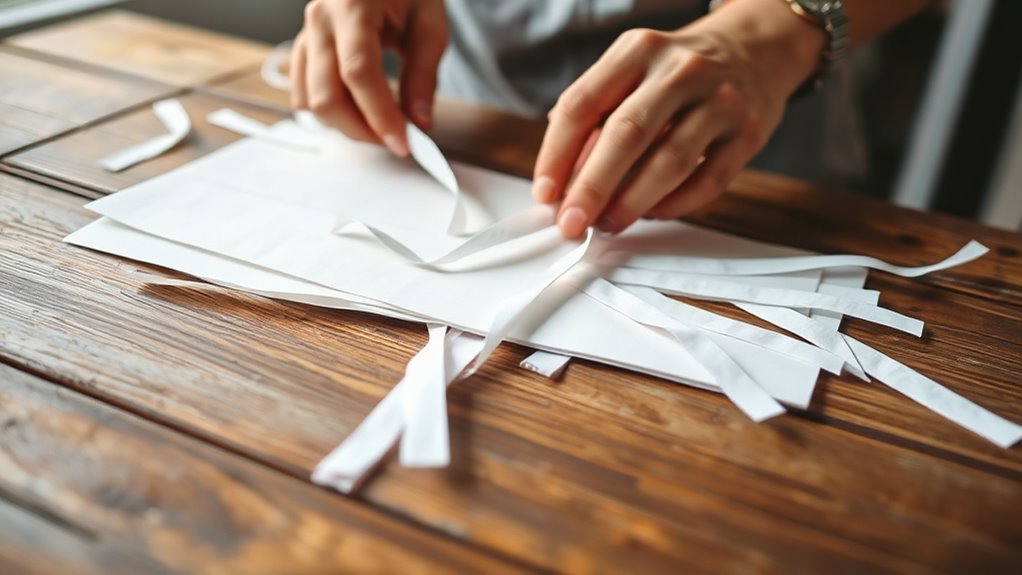
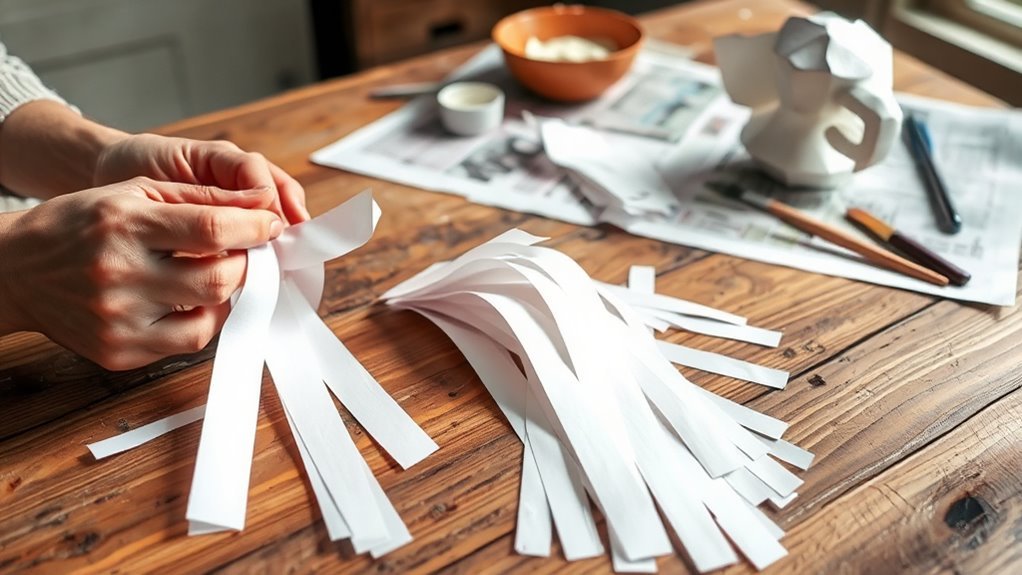
Before you jump into your paper mache project, you’ll need to get your printer paper ready. Start by tearing the paper into small strips or pieces, about one to two inches wide.
Avoid cutting with scissors since torn edges blend better when layered. Next, soak the paper in water to soften the fibers, making it easier to mold around your structure.
Let it sit for a few minutes until it becomes pliable but not soggy. Drain any excess water so it doesn’t weaken your paper mache layers.
Properly prepared printer paper ensures stronger bonding and smoother application. Taking these simple steps helps you create a durable and neat paper mache base, setting you up for a successful crafting experience.
Easy Printer Paper Mache Paste Recipes
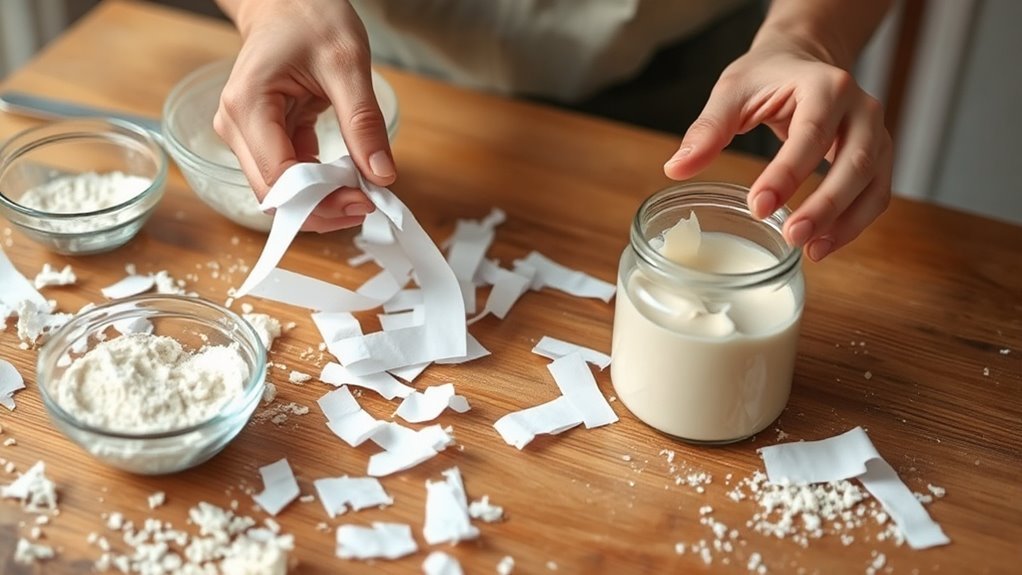
You’ll find that making your own paper mache paste is simple and cost-effective. Try a classic flour-based paste, a quick glue-and-water mix, or even a salt paste for added durability.
Each recipe works well with printer paper, so pick the one that fits your project best. It’s easy to experiment and see which you like most!
Flour-Based Paste Recipe
Although there are many paste options for paper mache, a flour-based recipe remains one of the easiest and most affordable choices. You only need basic ingredients found in your kitchen, making it perfect for quick projects.
To make the paste, mix flour, water, and salt in the right proportions to ensure smooth consistency and prevent mold.
Here’s a simple guide:
| Ingredient | Quantity | Purpose |
|---|---|---|
| Flour | 1 cup | Adhesive base |
| Water | 1 1/2 cups | Creates paste |
| Salt | 1 tablespoon | Mold inhibitor |
Heat the mixture gently while stirring until it thickens. Then, let it cool before applying it to your printer paper pieces.
This will give you a durable, flexible paper mache that’s easy to work with.
Glue And Water Mix
If you want a quicker alternative to flour-based paste, mixing glue and water offers a simple solution for your paper mache projects. Combine one part white school glue with one part water in a bowl, stirring until smooth.
This mixture creates a strong, flexible adhesive that dries clear, making your finished piece look cleaner. You can adjust the thickness by adding more water for a thinner paste or more glue for a thicker consistency.
Dip your printer paper strips into the glue-water mix, then remove excess paste by running the strip between your fingers. After that, apply them to your form.
This method reduces drying time and resists mold better than flour paste. So, you can finish your project faster and worry less about spoilage.
Quick Salt Paste
When you want a quick and easy paste for your paper mache projects, the salt paste recipe comes in handy. You’ll need just three ingredients: water, flour, and salt.
Start by mixing one cup of flour with one cup of cold water until smooth. Then, add one cup of boiling water and stir continuously to avoid lumps.
Finally, mix in a teaspoon of salt to prevent mold and improve the paste’s shelf life. Let it cool before using.
This paste dries clear and is strong enough for most paper mache crafts using printer paper. It’s perfect when you need a simple, non-toxic option without glue.
Just remember to store any leftovers in the fridge and stir before each use.
Layering Techniques for Stronger Printer Paper Sculptures
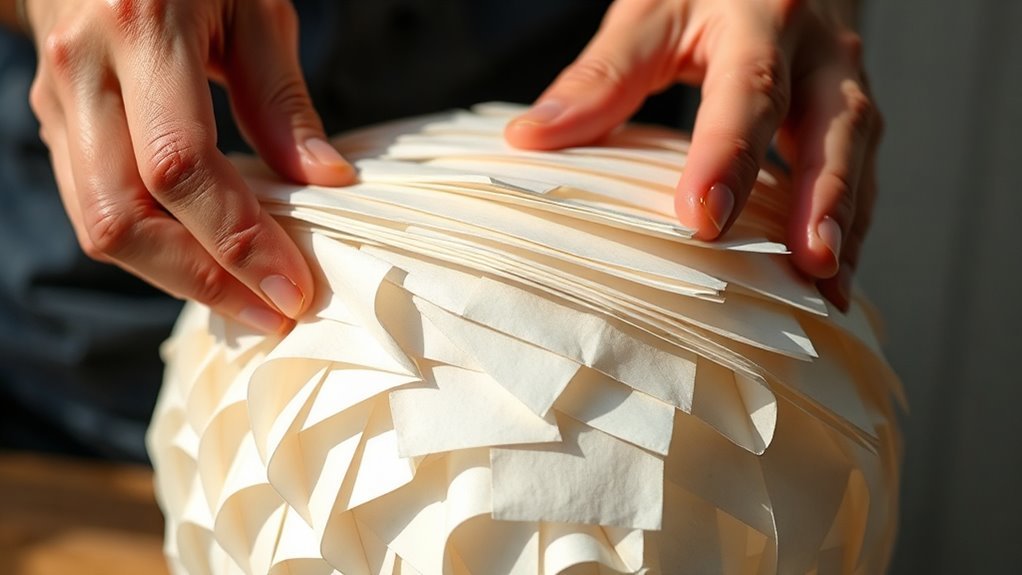
A solid layering technique can dramatically improve the strength and durability of your printer paper sculptures. Start by tearing the paper into small, manageable strips instead of cutting them. This helps the layers blend more smoothly.
Apply your adhesive evenly, then lay strips in one direction. Let that layer dry partially before adding the next, placing strips perpendicular to the previous layer. This crosshatch pattern reinforces the structure, distributing stress evenly.
For extra toughness, use at least three layers, focusing on areas that will bear weight or stress. Avoid thick globs of paste; thin, consistent layers bond better and dry faster.
Creative Projects You Can Make With Printer Paper
You can create plenty of easy paper mache projects using just printer paper, from simple bowls to fun masks. Printer paper also lets you explore unique uses like decorative letters or lightweight sculptures.
Let’s look at some ideas that make the most of this versatile material. It’s really surprising what you can do with something so simple!
Easy Paper Mache Ideas
With just printer paper and a bit of glue, you can create a variety of fun and simple paper mache projects that bring your ideas to life. You don’t need fancy supplies to start crafting something cool and unique.
Here are some easy ideas to get you going:
- Decorative bowls: Mold paper mache over a balloon or bowl to create colorful containers.
- Animal masks: Cut and shape printer paper into masks for costume fun.
- Miniature sculptures: Build small figures or shapes to decorate your space.
- Gift boxes: Craft custom boxes to add a personal touch to your presents.
These projects are beginner-friendly and perfect for experimenting with shapes and textures. Grab your paper, mix your glue, and get started creating!
Unique Paper Mache Uses
Moving beyond simple shapes and decorations, printer paper opens up a world of inventive paper mache creations that surprise and inspire. You can craft intricate masks that feature detailed textures or build delicate jewelry pieces like pendants and bracelets.
Printer paper’s flexibility lets you experiment with 3D sculptures, from whimsical animals to abstract art. Try making functional items too, such as decorative bowls or lightweight lampshades, adding both style and creativity to your space.
Because printer paper is easy to shape and layer, you can refine fine details that make your projects stand out. By exploring unique uses, you’ll discover new techniques and push your artistic boundaries, turning everyday paper into extraordinary works of art you’ll be proud to display or gift.
Tips for Painting and Sealing Printer Paper Mache Creations
When painting your printer paper mache creations, selecting the right type of paint is essential to achieve vibrant colors and smooth coverage. Acrylic paints work best since they dry quickly and bond well with the paper surface.
After painting, sealing your project protects it from moisture and adds durability. Use a clear varnish or sealant suitable for paper crafts.
Sealing your painted paper mache adds moisture protection and durability with a clear, craft-friendly varnish.
Here are some tips to assist:
- Apply thin, even coats of paint to avoid warping the paper mache.
- Let each paint layer dry completely before adding another.
- Use a matte or glossy sealant depending on your desired finish.
- Seal both the inside and outside for maximum protection.
Following these steps ensures your paper mache piece looks great and lasts longer. It’s pretty simple once you get the hang of it!
Troubleshooting Printer Paper Mache Problems
Although paper mache is a forgiving craft, you might encounter some common issues like cracking, warping, or sogginess while working with printer paper. To prevent cracking, avoid applying layers that are too thick or drying your project too quickly.
If you notice warping, make sure to use even, thin layers and allow each layer to dry completely before adding the next. For sogginess, check your glue-to-water ratio; too much water weakens the paper.
Also, make sure ventilation during drying to speed up the process. If your project feels fragile, add extra layers of paper for strength.
Finally, handle your creation gently throughout to avoid damage. Troubleshooting these problems early will help you get smooth, durable results every time.
How to Store and Reuse Leftover Printer Paper
You’ll often find yourself with leftover printer paper after a paper mache project, and storing it properly can save you time and waste in the future. To keep your paper in good shape and ready for reuse, follow these simple tips:
Keep the paper flat in a dry, cool place to avoid wrinkles and moisture damage. Storing it this way helps keep your sheets smooth and easy to work with later.
Store paper in a resealable plastic bag or airtight container to protect it from dust. This little step can really extend the life of your paper.
Label your storage container or bag with the date and project type for easy identification. That way, you won’t have to guess what’s inside when you need it next.
Use scraps for smaller paper mache details or mix them with new sheets to stretch your materials. It’s a smart way to get the most out of what you’ve got!
Why Printer Paper Works Well for Paper Mache
Properly stored leftover printer paper doesn’t just save you money—it also works exceptionally well for paper mache projects. Its smooth texture allows glue to spread evenly, and the thin sheets dry quickly, speeding up your crafting process.
Plus, printer paper tears easily into manageable strips, giving you better control over shaping your project. When you want durability and a clean finish, printer paper is a reliable choice.
| Feature | Benefit | Why It Matters |
|---|---|---|
| Smooth Texture | Even glue application | Prevents lumps |
| Thin Sheets | Quick drying | Saves crafting time |
| Easy to Tear | Precise shaping | Enhances detail |
| Affordable | Cost-effective | Great for practice |
| Widely Available | Always on hand | No extra trips needed |
Frequently Asked Questions
Can Colored Printer Paper Be Used for Paper Mache Projects?
Yes, you can use colored printer paper for paper mache projects. It adds vibrant hues without extra paint, but be careful—it might bleed or fade when wet.
Test a small piece first to see how it holds up. That way, you won’t be caught off guard if the colors run or fade.
Is Printer Paper Safe for Outdoor Paper Mache Sculptures?
You can use printer paper for outdoor paper mache sculptures, but it’s not very durable alone.
Remember, “a stitch in time saves nine.” Seal your sculpture with waterproof varnish to protect it from rain and moisture.
It’s worth the extra effort to keep your art safe and looking great outside!
How Long Does It Take for Printer Paper Paper Mache to Dry?
It usually takes about 24 to 48 hours for printer paper paper mache to dry completely. You’ll want to let it dry in a warm, well-ventilated area to speed up the process and prevent mold.
Just be patient and give it enough time. Rushing it might cause your project to get soggy or even develop some unwanted fuzz. So, find a cozy spot with good airflow and let nature do its thing!
Can You Use Printer Paper in Combination With Other Paper Types?
You can mix printer paper with newspaper or tissue paper to add strength and texture—it’s like mixing apples and oranges for a better flavor.
Just layer them well, and your project will hold up beautifully.
It’s a simple trick that makes a big difference. Give it a try and see how your work turns out!
What Tools Are Best for Cutting Printer Paper for Paper Mache?
You’ll want sharp scissors or a craft knife for clean cuts. A cutting mat protects surfaces, and a ruler helps you cut straight strips.
These tools make your paper mache prep quick and precise. Plus, having the right gear means less frustration and better results.
Conclusion
Now that you know how to transform everyday printer paper into sturdy, creative masterpieces, you’re ready to turn simple sheets into unforgettable art. With a little patience and these handy tips, your paper mache projects will shine without the usual hiccups.
So go ahead—embrace the charm of printer paper’s gentle touch. Watch your creations come to life in ways that feel effortlessly magical. Using printer paper for paper mache is not only budget-friendly but also super accessible.
Happy crafting, and remember, with printer paper, your paper mache projects can be both fun and fantastic!