How to Find a Printer on iPad in 10 Easy Steps
To find a printer on your iPad, first make sure your printer supports AirPrint. Then, connect both your iPad and printer to the same Wi-Fi network. This is key for seamless printing.
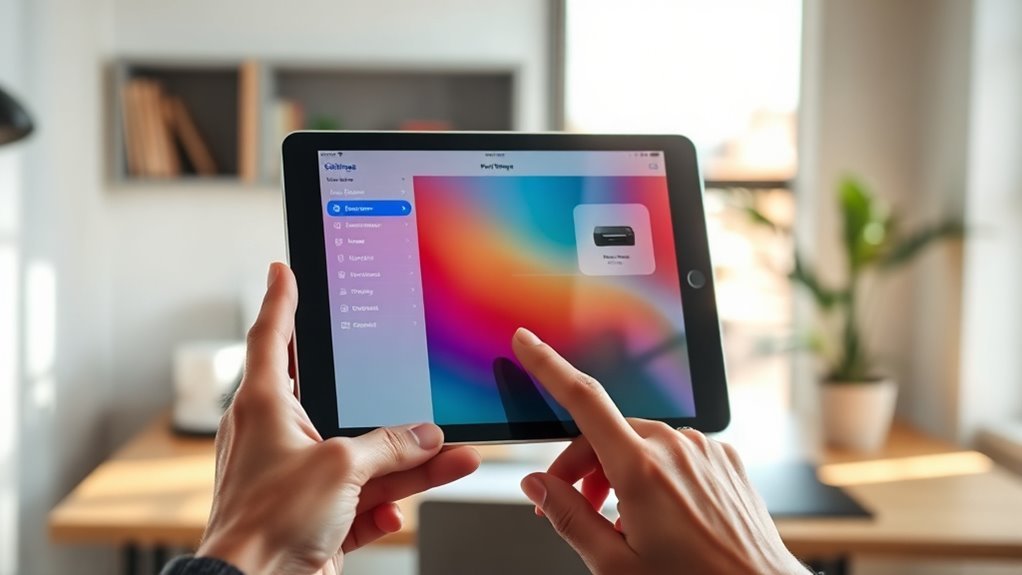
Next, open the document or photo you want to print. Tap the Share button, and then select Print. You’ll see a list of available printers—choose yours from there.
If your printer doesn’t show up, don’t worry. Try restarting your devices or add the printer manually using its IP address. You can also download the printer’s official app to connect more easily.
Managing your print jobs is a breeze from the Print Center. Keep exploring these tips to master smooth and efficient printing on your iPad!
Key Takeaways
- Ensure your iPad and printer are connected to the same Wi-Fi network. This helps with device discovery and smooth communication.
- Confirm the printer supports AirPrint. You can check Apple’s official AirPrint printer list or look at the manufacturer’s specs to be sure.
- Open the document or photo you want to print on your iPad. Then, tap the Share button and choose the Print option from the menu.
- Select your printer from the list of available devices. After that, you can customize print settings like the number of copies or paper size if needed.
- If you don’t see your printer, try restarting both your iPad and printer. You might also want to disable any VPN on your iPad or add the printer manually using its IP address.
How to Check If Your Printer Supports AirPrint
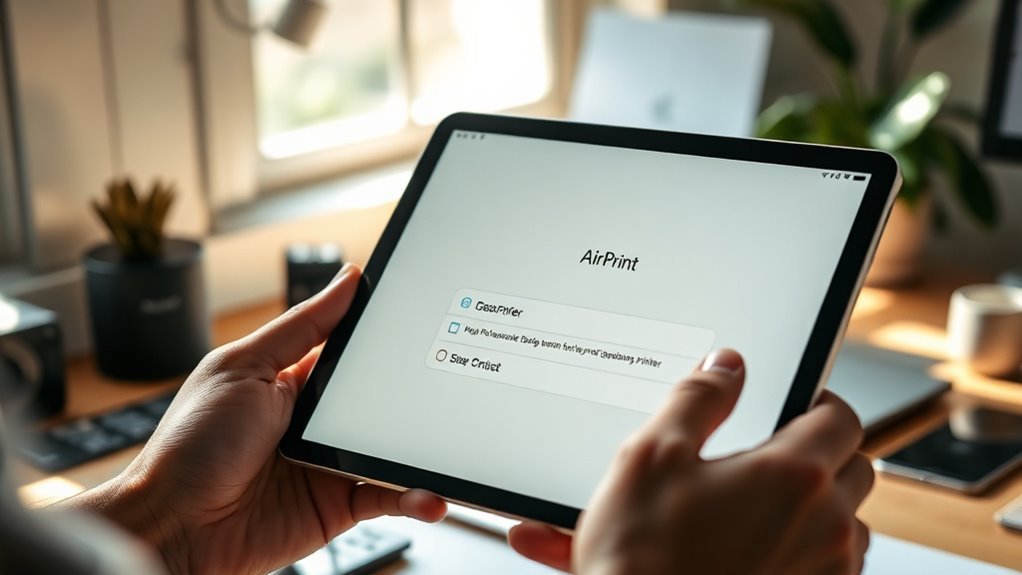
Wondering if your printer works seamlessly with your iPad? The key is AirPrint, Apple’s built-in printing technology. To check if your printer supports AirPrint, start by looking at the printer’s specifications on the manufacturer’s website or user manual.
Check your printer’s specs or manual to see if it supports AirPrint for easy iPad printing.
Most modern printers clearly state “AirPrint compatible” if they support it. You can also visit Apple’s official AirPrint printer list online, which is regularly updated with all compatible models.
If your printer isn’t listed, it likely doesn’t support AirPrint natively. In that case, you may need a third-party app or a workaround to print from your iPad.
Confirming AirPrint support upfront saves you time and ensures smooth, wireless printing without extra setup hassles.
Connect Your iPad to the Same Wi-Fi Network as Your Printer
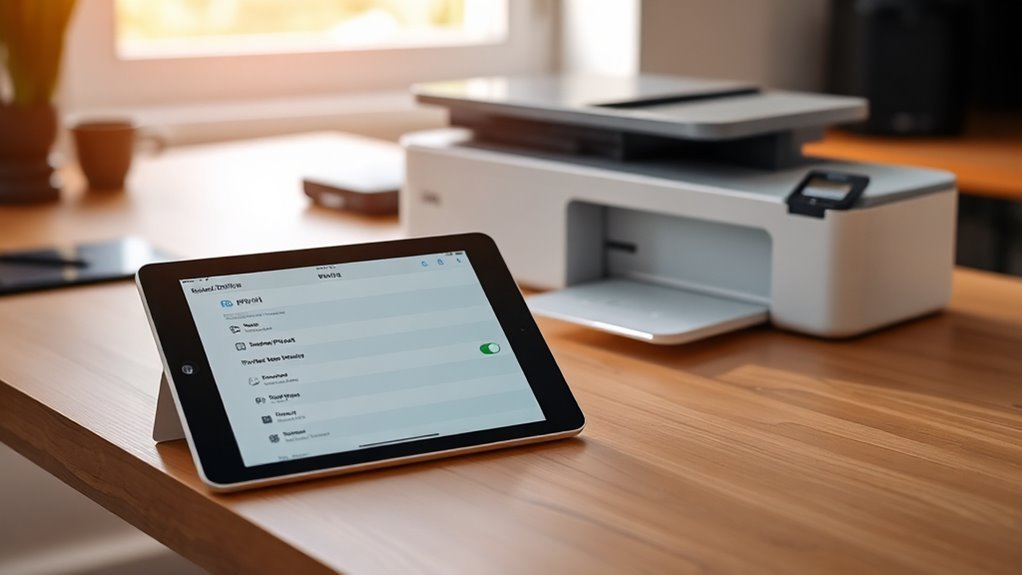
Before you can print wirelessly, make sure your iPad and printer are connected to the same Wi-Fi network. This connection is essential; otherwise, your iPad won’t detect the printer.
To check your iPad’s Wi-Fi, open Settings > Wi-Fi, then tap the network name to confirm. For your printer, use its control panel or app to view the network it’s connected to.
If they differ, just connect both devices to the same Wi-Fi. It’s easier than it sounds!
Here’s a quick comparison for connecting both:
| Device | How to Check Wi-Fi | How to Connect to Wi-Fi |
|---|---|---|
| iPad | Settings > Wi-Fi | Select network, enter password |
| Printer | Printer menu or app | Use control panel or printer app |
| Tip | Restart devices if needed | Ensure strong Wi-Fi signal |
Doing this ensures seamless wireless printing. You’ll be good to go in no time!
Open the Document or Photo You Want to Print on Your iPad

Start by finding the document or photo you want to print on your iPad.
You can use apps that support printing, like Files, Photos, or compatible third-party apps.
Just double-check that your content is ready and formatted correctly before moving on.
It makes the whole printing process much smoother!
Locate File Or Photo
To print from your iPad, open the file or photo you want to ensure first. Start by locating it in the app or folder where you saved it.
For photos, open the Photos app and browse your albums or camera roll until you find the image. If it’s a document, use the Files app to navigate through your folders or recent files.
You can also use Spotlight Search by swiping down on the Home screen and typing the file name to quickly find what you need. Once you’ve located the correct file or photo, tap to open it.
Make sure it displays correctly and contains everything you want before moving on to printing. This step ensures you print exactly what you intend.
Use Compatible Apps
Although locating your file is vital, you’ll need to open it in an app that supports printing on your iPad. Not every app can send documents or photos to a printer, so choosing the right one is pivotal.
For instance, Apple’s native apps like Files, Photos, Mail, and Safari all have built-in printing options. If your document is in a third-party app, check if it includes a print feature—usually found under the Share or Options menu.
Open your document or photo within one of these compatible apps to ensure smooth printing. This step makes certain your iPad can communicate with the printer properly, allowing you to proceed without hiccups.
Using the right app sets the stage for a quick and hassle-free print job.
Prepare Content For Printing
After choosing the right app, open the document or photo you want to print on your iPad. This step is important because you must make sure the content is ready and formatted correctly before printing.
Whether it’s a PDF, email, or image, double-check everything looks perfect. Here’s what you should do:
- Review the content for errors or unwanted elements
- Adjust the layout or orientation if needed
- Crop or resize photos for better fit
- Confirm the document’s page range to print
- Save any last-minute changes before printing
Taking these quick steps guarantees that your printout matches your expectations. Once your content is prepared, you’ll be set to proceed with finding and connecting to the printer easily.
Use the Share Button to Find the Print Option
Tapping the Share button opens a menu where you can quickly find the Print option on your iPad. The Share button usually looks like a square with an upward arrow and appears in apps like Safari, Photos, and Notes.
When you tap it, a list of actions and apps will appear. Scroll through this list until you see the Print icon, which resembles a small printer. If you don’t see it immediately, swipe up to reveal more options.
Tapping Print will bring up the printing interface, letting you adjust settings before selecting your printer. Using the Share button is the fastest way to access printing features without moving through multiple menus.
This makes the process straightforward and efficient. It’s a simple trick that saves you time!
Select Your Printer From the Available Devices
Once you tap the Print option, your iPad will show a list of nearby printers. Look through the available devices and find the one you want to use.
Just tap your printer’s name to connect and get ready to print. Easy, right?
Identifying Nearby Printers
Although your iPad automatically scans for nearby printers, you need to choose the correct one from the list of available devices to make sure your document prints correctly. When the printer list appears, look carefully at the names to identify the right device.
Printers often show their model or location, helping you pick the one closest to you.
To identify your printer quickly, consider these tips:
- Check the printer’s name for recognizable details, like brand or room number.
- Look for printers with a strong signal if Wi-Fi is involved.
- Avoid unfamiliar or generic names that might confuse you.
- Confirm the printer supports AirPrint for seamless compatibility.
- Select the printer you’ve used before to save time.
Connecting to Your Printer
After you’ve identified the right printer from the list, you’ll need to select it to ensure a connection. Simply tap the printer’s name to initiate pairing. Your iPad will confirm the connection by displaying a checkmark or highlighting the selected printer.
If prompted, enter any required credentials or passwords, especially for secured printers. Once connected, your iPad remembers the printer for future use, making printing quicker next time.
If the printer doesn’t appear, make sure it’s powered on and connected to the same Wi‑Fi network as your iPad. You can also refresh the list by pulling down the device list or restarting your printer.
Now you’re ready to print documents or photos directly from your iPad with ease.
Customize Printer Settings on Your iPad
When you connect your printer to your iPad, you can easily tailor settings to make sure your printouts come out exactly the way you want. After selecting your printer in the print dialog, tap “Options” or “Settings” to access customization features.
You’ll find controls that let you adjust paper size and type, number of copies, color or black-and-white printing, double-sided or single-sided pages, and page range selection.
These settings help you save paper, ink, and time by printing only what’s necessary. Keep in mind that available options depend on your printer model.
Give these settings a try to perfect your documents before hitting print. It’s a great way to have more control and enjoy a smoother printing experience right from your iPad.
Troubleshoot Printer Not Showing Up on Your iPad
Customizing your printer settings on your iPad can really improve your printing experience. But sometimes, your printer might not show up in the list at all.
First, double-check that your iPad and printer are on the same Wi-Fi network. If they’re not, your iPad won’t be able to find the printer. Next, try restarting both devices to refresh their connections.
Also, make sure your printer supports AirPrint. iPads only recognize AirPrint-compatible printers automatically. Don’t forget to update your iPad’s iOS to the latest version—old software can cause detection issues.
If your printer has a touchscreen or status light, take a quick look to see if it’s ready or showing any errors. And one more thing, if you’re using a VPN on your iPad, try turning it off because it can block local network devices.
Following these steps should help your printer show up correctly. Give it a shot!
Add Your Printer Manually Using Its IP Address
Wondering how to connect your printer if it doesn’t appear automatically on your iPad? You can add it manually using its IP address. This method ensures a direct connection when automatic detection fails.
First, find your printer’s IP address—usually available on the printer’s network settings or via its control panel. Then, follow these steps to add it manually:
- Open the Settings app on your iPad
- Tap “Wi-Fi” and make sure you’re connected to the same network as your printer
- Go to “Printers” or “Print & Scan” in Settings
- Choose “Add Printer” and enter the printer’s IP address
- Confirm and save the settings to connect
This approach ensures that you’ll have your printer ready for use even without automatic discovery. Easy, right? Just a few quick steps and you’re all set!
Use Printer Manufacturer Apps to Connect Your iPad
You can simplify printing by downloading the official app from your printer’s manufacturer. Make sure both your iPad and printer are connected to the same network for smooth communication.
These apps let you print directly from your iPad without extra setup steps. It’s pretty straightforward and saves you some hassle.
Download Official Printer Apps
Although many printers support AirPrint, downloading the official app from your printer’s manufacturer can offer additional features and smoother connectivity for your iPad. These apps are designed to optimize printer functionality and often include helpful tools beyond just printing.
You can find them easily in the App Store by searching your printer brand. It’s pretty straightforward!
Using the official app lets you:
- Access advanced print settings like duplex or color options
- Monitor ink or toner levels directly
- Scan documents using your printer’s scanner
- Schedule print jobs or save favorite settings
- Receive firmware updates for your printer
Pretty handy, right? These apps can really make your printing experience easier and more efficient.
Enable Printer and iPad Connectivity
After downloading the official printer app, it’s time to connect your iPad to the printer for seamless communication. Open the app and follow the on-screen instructions to ensure connectivity. Most apps will detect nearby printers via Wi-Fi or Bluetooth automatically.
Make sure your printer is powered on and connected to the same Wi-Fi network as your iPad. If prompted, enter your network details or sign in to the app with your printer account.
The app may ask you to grant permissions to access your iPad’s network settings—allow this to ensure smooth pairing. Once connected, you’ll see your printer listed within the app, confirming the link.
This setup lets your iPad and printer communicate efficiently, preparing you for hassle-free printing ahead. Easy, right?
Print Directly From Apps
Many printer manufacturer apps let you print directly from your iPad, streamlining the process without needing extra software. These apps connect your device to the printer effortlessly, making printing simple and fast.
Once you download the app from the App Store, you can manage print jobs and customize settings right from your iPad. It’s pretty handy!
Here’s what you can usually do with these apps:
- Print documents, photos, and emails directly.
- Scan and save files using your printer’s scanner.
- Check ink or toner levels instantly.
- Access advanced print settings like paper size and quality.
- Troubleshoot printer issues without leaving the app.
Using manufacturer apps helps you bypass complicated setups. That way, you get a smooth printing experience every time.
Confirm Your Printer Job and Manage the Print Queue
Once you submit your document to the printer, you’ll want to make sure that the job has been received correctly and keep an eye on the print queue to manage any pending tasks.
To do this, open the “Print Center” on your iPad, which appears automatically when a print job is active. Here, you can see all ongoing and queued print jobs.
Open the Print Center on your iPad to view and manage all active and queued print jobs easily.
If you notice any issues, like a stuck print or multiple copies you didn’t intend, you can tap on the job to stop or remove it. Managing the queue helps prevent print errors and saves paper.
Checking the status also ensures your document prints on time, giving you control over the process without needing to access the printer directly.
Frequently Asked Questions
Can I Print From My iPad Using Bluetooth?
No, you can’t print directly via Bluetooth from your iPad. Instead, you’ll need a Wi-Fi-enabled printer that supports AirPrint or use a printing app.
Bluetooth printing isn’t supported on iPads by default. So, if you want to print, going the Wi-Fi route is your best bet!
How Do I Print Double-Sided From My iPad?
You might think double-sided printing isn’t possible from an iPad, but it is. Just tap Print, choose your printer, then select “Two-Sided” or “Duplex” in Printer Options before confirming.
Easy and efficient! Just a few taps, and you’re good to go.
Is It Possible to Print Emails Directly From the iPad?
Yes, you can print emails directly from your iPad. Just open the Mail app and select the email you want to print.
Then, tap the share icon, choose Print, and pick your printer. It’s quick and convenient for on-the-go printing.
Pretty simple, right? It makes handling emails way easier when you’re out and about.
Can I Print to a Shared Printer on a Windows PC?
You can print to a shared printer on a Windows PC from your iPad, but you’ll need to make sure the printer supports AirPrint.
If it doesn’t, no worries! You can use third-party apps to bridge the gap between your devices seamlessly.
How Do I Update My Printer’s Firmware From the iPad?
You can’t update your printer’s firmware directly from your iPad. Instead, try using your printer’s official app if it has one.
If that doesn’t work, visit the manufacturer’s website on a computer. From there, you can download and install the latest firmware updates for your printer. Easy enough, right?
Conclusion
Finding a printer on your iPad is simple when you follow these steps. By checking compatibility, connecting carefully, and choosing your device confidently, you can conquer common challenges quickly.
Don’t forget to troubleshoot thoughtfully and tap into trusted apps to tackle tricky tech troubles. With patience and persistence, printing from your iPad becomes a seamless, satisfying success.
So, stay steady, stay smart, and streamline your printing smoothly. When you find a printer on your iPad, you open up a world of convenience. Whether it’s for work, school, or personal use, knowing how to connect and print confidently makes all the difference. Keep these tips handy, and your printing experience will be easy, efficient, and frustration-free every time.