How to Clean Printer Head in 5 Easy Steps
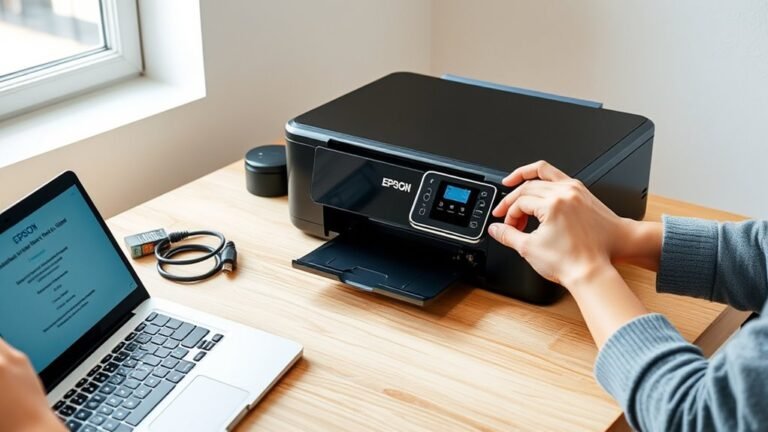
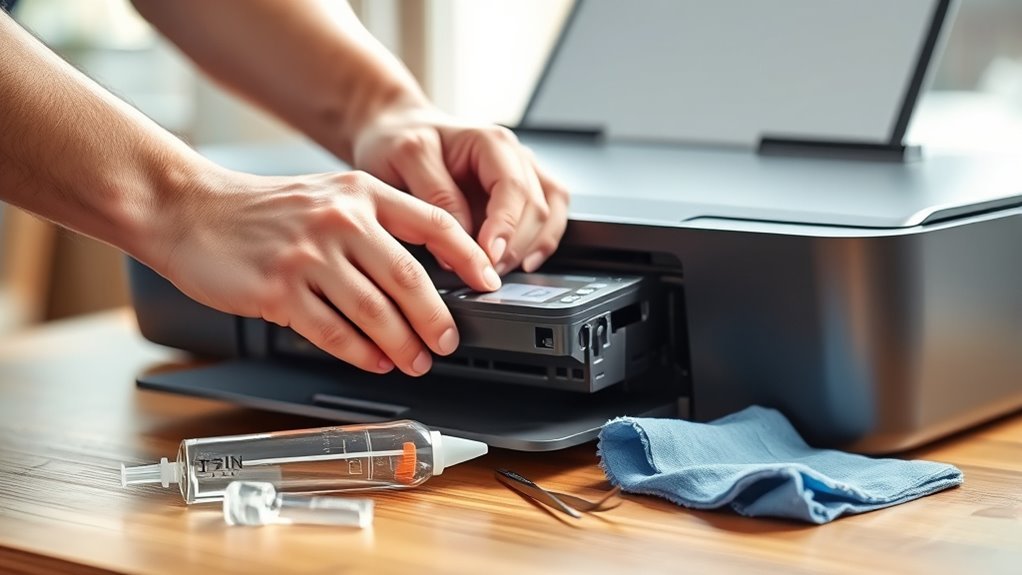
To clean your printer head in 5 easy steps, start by opening the printer’s top cover and locating the printhead, which is usually centered when you power it on.
Cleaning the printer head is essential to keep your prints sharp and prevent streaks or smudges that happen when ink clogs the nozzles.
Next, power off the printer, unplug it, and carefully remove the ink cartridges.
Place them safely aside to avoid any damage or ink spills.
Now, gently clean the printhead using a lint-free cloth lightly moistened with distilled water or isopropyl alcohol.
Be gentle to avoid damaging the delicate parts.
Let the printhead air dry completely before putting the cartridges back in.
Finally, run the printer’s cleaning cycle and print a test page to see if the cleaning worked.
If needed, you can repeat the process for better results.
Keep going to learn helpful tips for best results.
Key Takeaways
- Power off, unplug, and open the printer to access the printhead and cartridges safely. This keeps everything safe while you work.
- Remove cartridges carefully and place them on a lint-free surface or wrap to prevent drying. You don’t want them to dry out while you clean.
- Use a lint-free cloth or foam swab lightly moistened with distilled water or isopropyl alcohol to clean the printhead and nozzles. Be gentle so you don’t damage anything.
- Allow the printhead to air-dry completely for 15-30 minutes before reinstalling cartridges. Patience here really pays off.
- Reinstall cartridges, run the printer’s cleaning cycle, and print a test page to ensure proper cleaning. That way, you’ll know everything’s working as it should.
Find and Open Your Printer’s Printhead Area
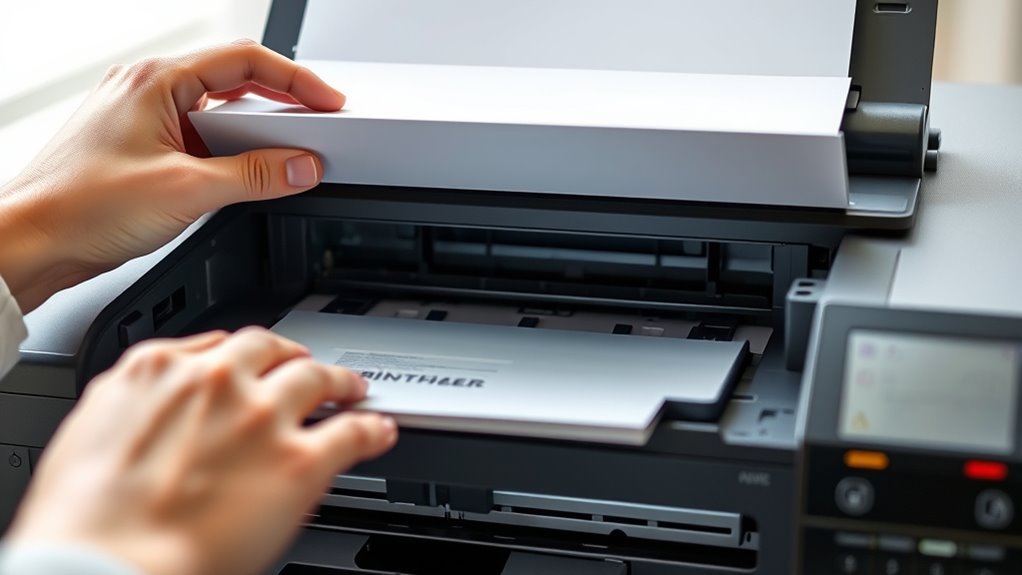
To get started, open your printer’s top lid or cartridge access door to find the printhead. On most models, it sits on the carriage holding the ink cartridges and moves to the center during startup or when you press the cartridge access button.
Begin by opening your printer’s lid to locate the printhead on the cartridge carriage.
If the carriage isn’t centered, run a printhead cleaning or alignment cycle to position it correctly. Before reaching inside, power off and unplug the printer to stay safe.
With the ink cartridges removed, you’ll usually see the printhead assembly at the bottom of the carriage. For cleaning, avoid touching electrical contacts or nozzle plates directly.
Instead, use a soft, lint-free cloth to gently wipe the area. Remember, some models like Canon or Brother may require you to remove the printhead for thorough printhead cleaning.
Remove Ink Cartridges and Ready the Printhead for Cleaning
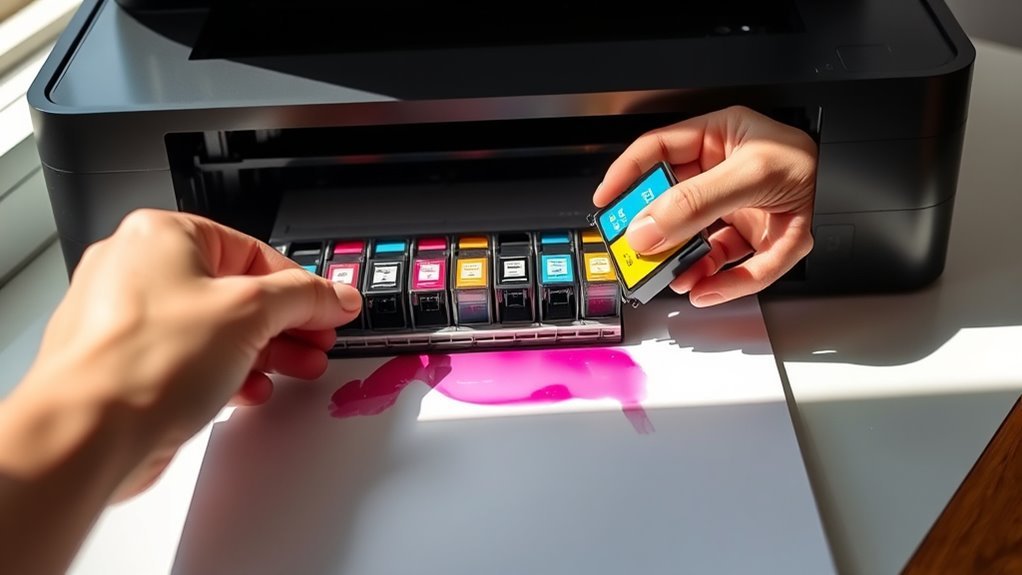
Power off and unplug your printer before opening the top cover. Then, wait for the carriage to move to the center or interrupt startup to park it in the service position.
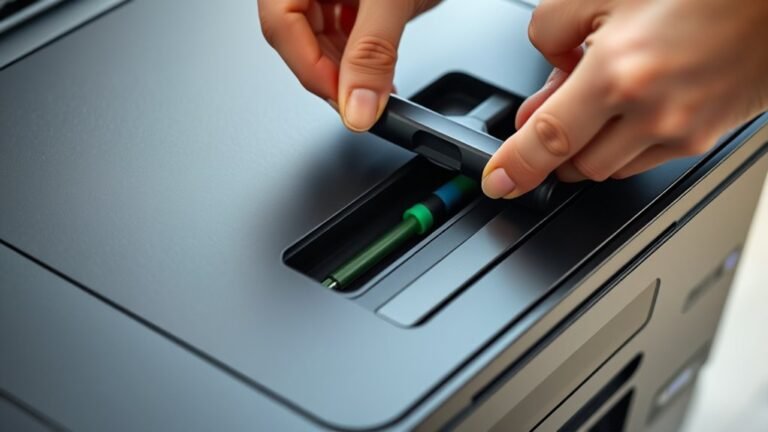
For your HP printer or any inkjet printer, gently press the tab on each ink cartridge to release it. Lift them straight up and place them on a lint-free surface or wrap them in plastic to prevent drying.
Next, inspect the printhead area. If your model allows, carefully lift out the printhead carriage by pulling it forward.
Cover any exposed electronic contacts on the cartridges or printhead with tape. Place a damp, lint-free towel beneath the nozzles.
Keep all parts upright and avoid touching the nozzle plates or contacts to protect them. This way, you’re all set to clean the printhead safely.
Clean the Printhead Gently Using Proper Materials
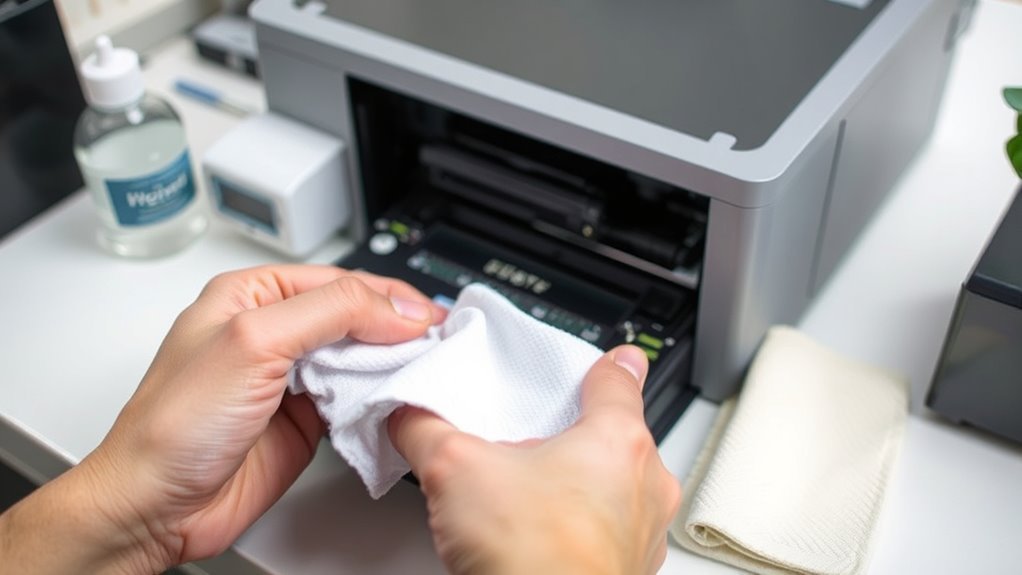
Although you’ve already removed the cartridges and prepared the printhead, you’ll want to handle the cleaning process with care to avoid damage. To clean the printhead gently, use a soft, lint-free cloth or foam swab lightly moistened with distilled water or 90–99% isopropyl alcohol.
Never soak the cloth; instead, wipe away dried ink carefully from the printhead exterior and nozzle plate. Avoid touching electronic contacts and circuit boards, as they’re sensitive.
If these contacts get dirty, dab them gently with a dry lint-free cloth or a swab barely moistened with distilled water. Using proper materials guarantees you don’t harm your printer while you clean printer parts effectively.
This approach keeps your printhead in good condition and maintains your clean printer’s performance.
Let the Printhead Dry and Reinstall Cartridges
Once you’ve finished cleaning, let the printhead air-dry on a lint-free towel for at least 15 to 30 minutes. This will guarantee no moisture remains in the tiny nozzles.
This step is really important because leftover liquid can damage your printer. Before reinstalling the cartridges, make sure the printhead and electrical contacts are completely dry and free from any dried ink, paper lint, or cleaning residue.
If you used plastic wrap or tape during cleaning, don’t forget to remove all coverings from the cartridges. This helps avoid overheating or poor electrical connections.
Carefully align the printhead and cartridges with the printer’s guides, then press them firmly into place. Close the printer cover and reconnect the power to let the device initialize properly.
Doing this makes sure your printer is ready for the next steps.
Run Cleaning Cycle and Print Test Page
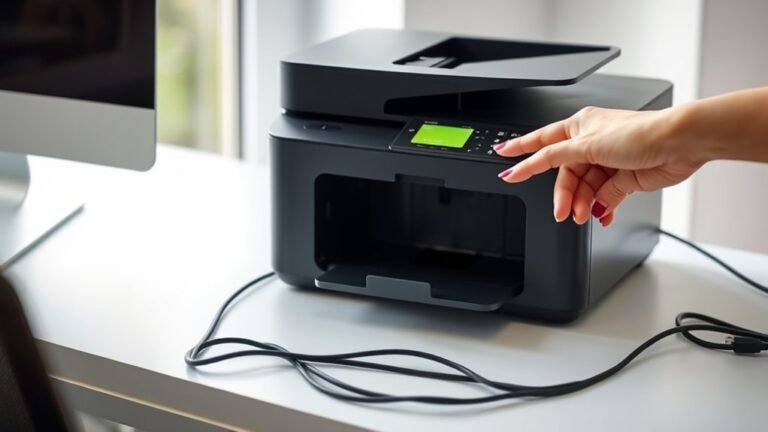
After you’ve reinstalled the cartridges and let the printhead dry, run the printer’s built-in cleaning cycle to push extra ink through the nozzles and clear any remaining clogs. Use the Clean Printhead or Head Cleaning tool from the printer’s control panel or software.
Run this cycle once or twice before printing a nozzle check or test page to inspect for missing lines or color streaks. If you see defects, go ahead and repeat the cleaning cycle up to two or three times. Just remember to wait a few minutes between attempts so you don’t overheat the printer or waste ink.
If the printer shows an error that stops you from cleaning via the control panel, try running the routine through your computer software instead. Keep track of what you’ve tried, and if the nozzle check still isn’t good, you might want to consider manual cleaning or getting professional service.
Frequently Asked Questions
How to Clean Print Heads on a Printer?
You’ll run your printer’s cleaning cycle a few times, then check the nozzle. If it’s still clogged, carefully clean the printhead with a damp cloth or soak it.
Then, just repeat the cleaning until your prints start looking better. It might take a couple of tries, but you’ll get there!
How Do I Clean the Print Head on My Canon PIXMA Pro 10 Printer?
Think of your Canon PIXMA Pro-10’s printhead as a tiny artist’s brush. You’ll gently remove it, soak it in a mild cleaner, flush out clogs, then reinstall and run cleaning cycles to restore its vibrant strokes.
It’s pretty straightforward once you get the hang of it. Just take your time and be gentle—this little brush is what makes your prints look amazing!
Can I Use WD-40 to Clean Printer Heads?
You shouldn’t use WD-40 to clean printer heads because it’s oil-based and can clog nozzles, damage electrical parts, and void your warranty.
Instead, stick to water, isopropyl alcohol, or manufacturer-recommended cleaners. These options are safer and won’t cause harm to your printer.
Trust me, it’s better to play it safe when dealing with delicate printer components!
How to Tell if a Printer Head Is Clogged?
You’ll know your printer head’s clogged if you see missing lines, faded colors, or streaks in prints.
Also, watch for unusual ink smells, dried residue, frequent cleaning cycles, or error messages about the ink system.
Conclusion
Just like a painter restoring a masterpiece, cleaning your printer head brings vibrant colors back to life. By following these simple steps, you’re clearing the path for smooth, flawless prints every time.
Don’t let clogged nozzles be the silent saboteur of your documents. With a little care and patience, your printer will sing again, producing crisp pages like a well-tuned instrument ready for its next performance.
Regular printer head cleaning is essential to maintain print quality and avoid frustrating streaks or faded colors. Whether you’re dealing with inkjet or laser printers, taking a few minutes to clean your printer head can save you time and money in the long run.
So, roll up your sleeves, follow these easy steps, and get ready for vibrant, sharp prints every time. Your printer will thank you with flawless pages and consistent performance!