What Is Printer Spooling and How to Use It
Printer spooling temporarily stores your print jobs in a queue, so your computer can send multiple files without waiting for each to finish. This process helps manage printing tasks efficiently, allowing your printer to work smoothly without hiccups. By using printer spooling, you avoid delays or conflicts when sending several documents at once.
You can easily enable spooling in the printer settings on both Windows and Mac. Plus, managing the print queue lets you pause or reorder jobs whenever you need to. If you’re looking to improve your printing speed or troubleshoot common issues, there are some simple fixes and handy tips you can try next. It’s all about making your printing experience hassle-free and faster!
Key Takeaways
– Printer spooling temporarily stores print jobs in a queue to manage multiple requests without conflicts. It processes print jobs sequentially, sending data to the printer while allowing other tasks to continue.
Pretty handy, right? It keeps everything running smoothly without making you wait.
- Enable spooling via printer properties in Windows or System Preferences on Mac for faster printing. This lets your computer handle jobs efficiently, so you can get back to what you were doing.
- Manage the print queue by pausing, resuming, or reordering jobs through printer settings or the dock icon. This way, you stay in control of what prints and when.
- Restart the Print Spooler service to fix common issues like jammed jobs or slow printing. Sometimes, a quick restart is all it takes to get things moving again.
What Is Printer Spooling and Why It Matters
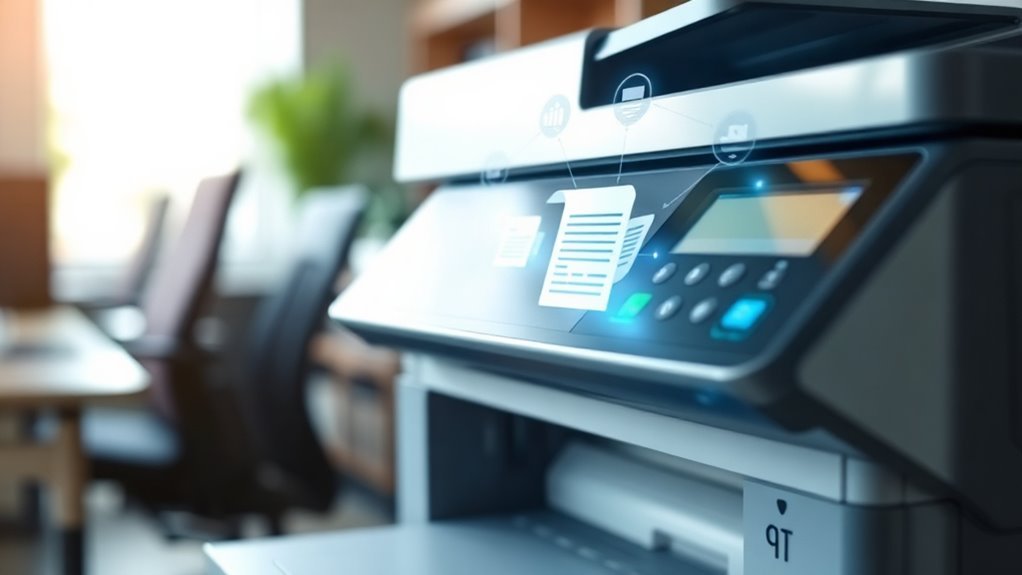
Although you might not notice it, printer spooling plays an essential role in managing your print jobs efficiently. When you hit “print,” spooling temporarily stores your documents in a queue, allowing your computer and printer to communicate smoothly.
This means you don’t have to wait for one job to finish before sending another. Spooling helps prevent bottlenecks, especially when you print multiple files at once or large documents.
It lets you keep working without interruptions, as your computer quickly passes print jobs to the spooler. Without it, you’d face delays and potential errors.
How Printer Spooling Works
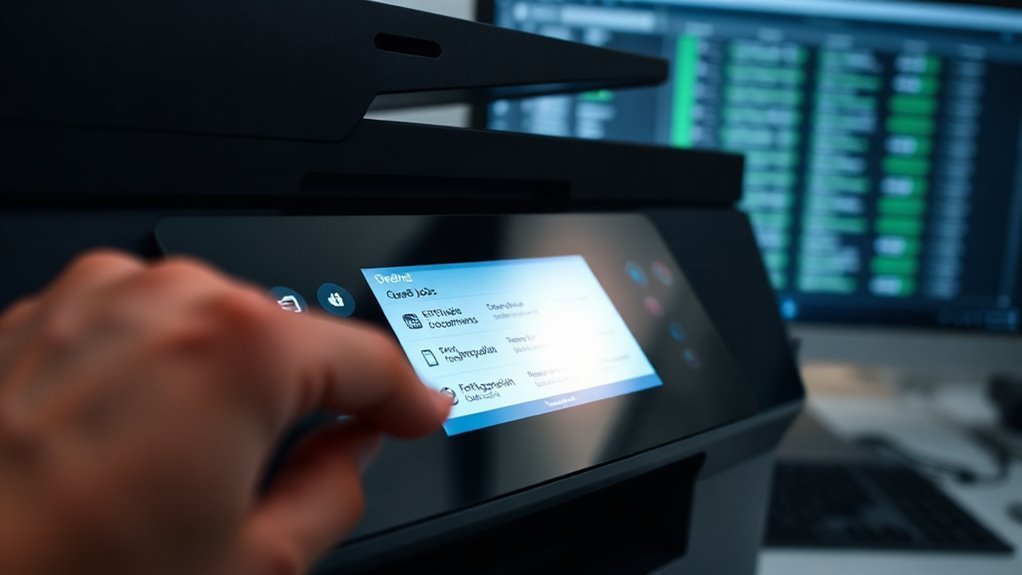
When you send a document to print, your computer quickly hands off the job to the spooler, which stores it temporarily in a queue. The spooler organizes print jobs and sends them to the printer one at a time, preventing conflicts.
This process lets you keep working, as the spooler manages the printing in the background. Pretty handy, right?
Here’s how the spooler handles your print jobs:
| Step | Description |
|---|---|
| Job Received | Spooler accepts the print request |
| Queue Storage | Stores the job in a queue |
| Job Processing | Sends jobs sequentially to the printer |
| Job Completion | Removes finished jobs from the queue |
This system ensures smooth printing without user wait times. So, you don’t have to sit around staring at the printer while it does its thing!
Benefits of Printer Spooling
You’ll notice printer spooling boosts your printing efficiency by handling multiple jobs smoothly. It also helps reduce paper jams by managing tasks in an organized queue.
Plus, you get better control over job management, making your printing process much easier. It’s like having a smart assistant for your printer!
Improved Printing Efficiency
Printer spooling frequently boosts your printing efficiency by managing multiple print jobs seamlessly. Instead of waiting for one job to finish, your printer queues tasks, so you can keep working without delays.
This means less downtime and smoother workflow. You’ll notice that you can send print commands quickly without worrying about printer availability.
Here’s how it improves your printing efficiency:
- Queue Management: Handles several print jobs at once, preventing bottlenecks.
- Faster Processing: Sends data to the printer in manageable chunks, speeding up output.
- Resource Optimization: Frees up your computer to perform other tasks while printing happens in the background.
With spooling, your printing process becomes more productive and less frustrating.
Reduced Paper Jams
Along with boosting efficiency, spooling helps reduce paper jams by organizing print jobs more effectively. When you spool your documents, the printer receives data in a steady, manageable flow rather than all at once, which prevents it from getting overwhelmed.
This smooth delivery means the printer can handle each job properly, reducing the chance of paper feeding errors or misalignments. You’ll notice fewer interruptions caused by jams, saving you time and frustration.
Spooling also ensures that multiple print jobs don’t compete for the printer’s resources simultaneously, which can often cause mechanical hiccups leading to jams. By letting the spooling system queue your documents, you keep the printing process orderly and minimize the risk of paper jams disrupting your workflow.
Enhanced Job Management
Although managing multiple print jobs can be challenging, spooling ensures the process is simplified by organizing tasks in a clear queue. This way, you can easily monitor and control each print job without confusion or delay.
Printer spooling allows you to prioritize urgent documents, pause or cancel tasks, and supports smooth workflow even when many users share the same printer. It really takes the hassle out of printing for everyone involved.
With enhanced job management, you get to:
- Track print job status in real-time for better oversight
- Reorder queued documents based on priority
- Quickly troubleshoot or cancel problematic print jobs
It’s all about giving you more control and making printing easier than ever.
How to Enable Printer Spooling on Windows
To ensure printer spooling on Windows, start by accessing your printer’s properties through the Control Panel or Settings. Then, adjust the spooler settings to ensure print jobs are managed efficiently.
Once you’ve made those changes, don’t forget to restart the Print Spooler service. This helps apply the changes and gets your printer ready to go. Easy, right?
Access Printer Properties
Before you can enable printer spooling on Windows, you need to access your printer’s properties. This lets you control settings related to printing tasks, including spooling options.
To do this, start by opening the Control Panel or Settings app. Then, navigate to the Devices or Printers section. Locate your printer, right-click it, and select “Printer properties” from the menu.
Inside the properties window, you’ll find several tabs with configurable options. Here’s what you should focus on:
- General tab: View basic info and printer status
- Advanced tab: Access spooling settings and driver options
- Security tab: Manage user permissions for the printer
Accessing these properties is the first step towards managing how your print jobs are handled efficiently. It’s pretty straightforward once you get to the right place.
Modify Spooler Settings
Start by opening the Advanced tab within your printer properties to modify the spooler settings. Here, you’ll find options related to how print jobs are processed.
To turn on printer spooling, select “Spool print documents so program finishes printing faster.” This option ensures your documents queue properly, allowing your applications to proceed without delay.
You can also choose between “Start printing immediately” or “Start printing after last page is spooled,” depending on your preference for speed or print quality.
Additionally, you can set the spool folder location and the size of the spooler cache if needed.
After making your changes, click Apply, then OK to save. These adjustments help control how your computer handles print jobs efficiently.
Restart Print Spooler Service
If your printer isn’t responding as expected, restarting the Print Spooler service can quickly resolve common issues and make sure spooling runs smoothly. This service manages your print jobs and, if it freezes or crashes, your print queue gets stuck.
Restarting it refreshes the system and often fixes printing glitches.
To restart the Print Spooler service on Windows:
- Press `Win + R`, type `services.msc`, and hit Enter.
- Find “Print Spooler” in the list, right-click it, and select “Restart.”
- If it’s stopped, right-click and choose “Start.”
Doing this resets the spooler, clears stuck jobs, and helps your printer communicate better with your PC. It’s a quick, effective troubleshooting step you can use anytime printing acts up.
How to Enable Printer Spooling on Mac
Although macOS manages printing tasks efficiently by default, enabling printer spooling can help you control and organize your print jobs more effectively. To enable spooling on your Mac, start by opening System Preferences and selecting Printers & Scanners.
Choose your printer from the list, then click Options & Supplies. Next, go to the Driver or Options tab and ensure that “Enable Printer Spooling” is selected, if available. If this option isn’t visible, macOS usually handles spooling automatically for most printers.
You can also manage your print queue by clicking the printer icon in the Dock or in Printers & Scanners, where you can pause, resume, or reorder jobs. This setup helps you avoid printing conflicts and keeps your workflow smooth.
Common Printer Spooling Problems and Fixes
When your printer spooler runs into issues, it can disrupt your entire printing process and cause frustration. Common problems include jammed print jobs, spooler service crashes, and slow printing.
Luckily, you can resolve these quickly.
- Clear jammed print jobs: Open the print queue, cancel all pending jobs, and restart the spooler service to reset the process.
- Restart the spooler service: On Windows, go to Services, find “Print Spooler,” and restart it. On Mac, reboot your system to refresh the spooler.
- Check for driver conflicts: Outdated or corrupted drivers can cause spooler errors. Update or reinstall your printer drivers to ensure compatibility.
Tips to Speed Up Printer Spooling
Speeding up your printer spooling can make a noticeable difference in how quickly your documents start printing. To improve spool speed, ensure your printer drivers are up to date, reduce print quality when possible, and clear your print queue regularly.
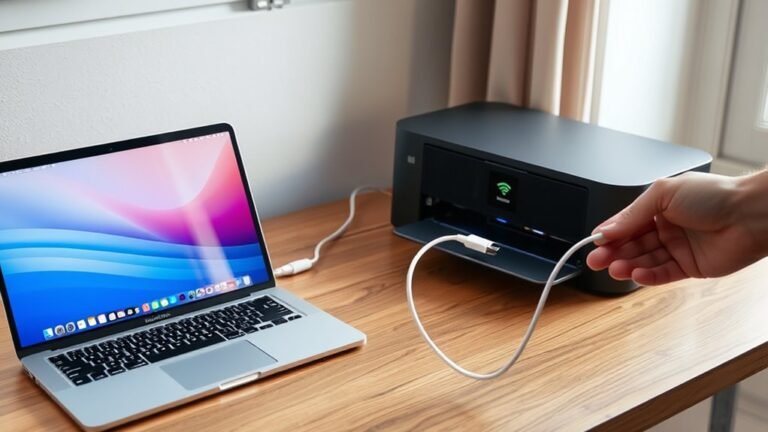
Also, connecting your printer via USB instead of Wi-Fi can speed things up. It’s a simple change that often makes a big difference.
| Tip | Action | Benefit |
|---|---|---|
| Update Drivers | Install latest printer drivers | Enhances compatibility |
| Adjust Print Quality | Use draft mode for drafts | Reduces file size to spool |
| Clear Print Queue | Cancel stuck jobs | Prevents delays |
| Use USB Connection | Connect printer directly | Faster data transfer |
Try out these tips to boost your printing efficiency without compromising quality. You’ll likely notice your documents printing faster in no time!
When to Disable Printer Spooling and Alternatives
When you disable spooling, here are some alternatives to keep printing smooth:
Try printing smaller documents or splitting large files into parts. It makes the process easier on your printer.
Also, use a high-speed, direct USB or network connection. This helps speed things up and reduces delays.
You can also enable “Print directly to the printer” in your printer settings. This bypasses spooling and sends jobs straight through.
These steps help manage printing without relying on spooling. They’re especially useful in specialized or troubleshooting scenarios.
Frequently Asked Questions
Can Printer Spooling Affect Print Quality?
No, printer spooling itself doesn’t affect print quality. It just manages your print jobs in the queue.
If you notice poor quality, check your printer settings, ink levels, or paper type instead of blaming spooling.
Does Printer Spooling Use a Lot of Computer Memory?
No, printer spooling doesn’t use a lot of your computer’s memory. It temporarily stores print jobs, but modern systems handle this efficiently.
Is Printer Spooling Available on Mobile Devices?
Yes, printer spooling’s available on many mobile devices, coincidentally just when you need quick prints. You’ll find it built into apps or settings, letting you manage print jobs smoothly without overwhelming your device’s memory.
It’s pretty handy, right? Makes printing from your phone or tablet way less stressful.
How Does Printer Spooling Interact With Network Printers?
When you send a print job to a network printer, spooling queues it on your device or server. This helps manage multiple requests efficiently.
It prevents overload, keeps the order of jobs intact, and helps your network printer handle tasks smoothly. So, you avoid delays or errors during printing.
Can Printer Spooling Be Used With 3D Printers?
You might be surprised, but yes, printer spooling can work with 3D printers! It helps manage multiple print jobs efficiently, so you don’t have to wait for one to finish before sending the next.
Pretty handy, right? This way, your printing workflow keeps moving without unnecessary pauses.
Conclusion
Think of printer spooling as the conductor of an orchestra, seamlessly coordinating each note so your print jobs play out smoothly. Without this silent maestro, your documents might clash or get lost in chaos.
By mastering spooling, you ensure every print task performs in harmony, saving you time and frustration. It helps manage multiple print jobs efficiently, letting your printer handle them one at a time without any mix-ups.
So, embrace printer spooling as your trusted guide, leading your printing process to a flawless finale every time. Understanding how printer spooling works is key to smoother printing and fewer errors. With this knowledge, you can optimize your printing workflow and enjoy hassle-free document management.