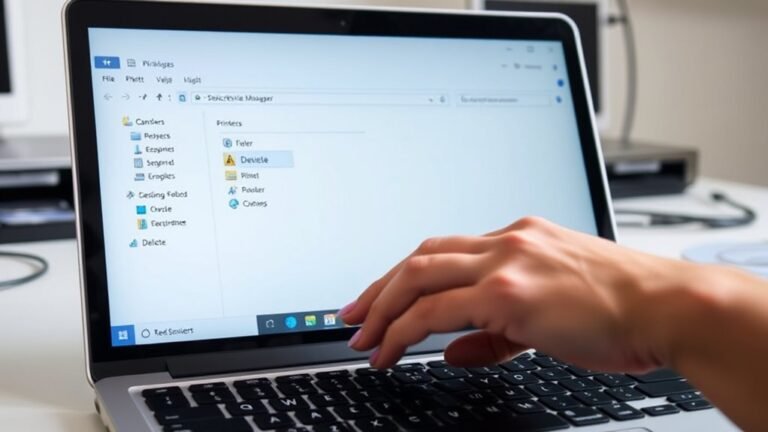
Set Printer as Default in Windows 11 With 3 Easy Steps
To set your printer as default in Windows 11, start by opening the Control Panel and navigating to Devices and Printers. This step is essential for managing your printer settings quickly and efficiently.
Next, find your preferred printer in the list, right-click it, and select “Set as default printer.” It’s that simple!
Once set, Windows will automatically route all print jobs to this printer unless you decide to change it later.
This easy process makes printing much quicker and hassle-free. Plus, there’s more to explore about managing and customizing your printer settings for the best experience. Want to get the most out of your printer? Keep tweaking and discovering new options!
Key Takeaways
- Open Control Panel, navigate to Hardware and Sound, then select Devices and Printers to view all connected printers.
- Right-click the desired printer and select “Set as default printer” from the context menu.
- Confirm the change when prompted by Windows to finalize setting the default printer.
- Windows will update system settings to make the chosen printer the default for all print jobs.
- The selected printer remains default until changed again, streamlining future printing tasks.
Easy, right? Just follow these steps, and you’re all set!
Open Control Panel and Find Your Default Printer
Start by clicking the Windows search bar, typing Control Panel, and opening the app. If the layout looks different, click View by in the top right corner and switch to Category view to make navigation easier.
Next, select Hardware and Sound, then click on Devices and Printers. This opens a list showing all printers connected to your system. Take a moment to locate the printer you want to set as default and confirm it’s the correct one.
From this screen in the control panel, you can manage your printer settings efficiently. This setup lays the groundwork for choosing your default printer without hassle, making future printing tasks smoother and quicker.
Set Your Printer as the Default in Windows 11
After you’ve located your printer in the Devices and Printers list, making sure it as the default is straightforward. Just follow these simple steps to make your preferred printer the system default:
After finding your printer in Devices and Printers, setting it as the default is quick and easy.
- Right-click the printer you want to set as default.
- Select Set as default printer from the context menu.
Then, confirm the change when Windows prompts you. Click OK to finalize your choice.
Once that’s done, your chosen printer will become the default for all print jobs. This quick process means you won’t have to select a printer every time you print.
And don’t worry, you can always change this setting again if you need to—just repeat these steps. Setting the right default printer really helps streamline your printing tasks efficiently.
What Happens After You Set a Default Printer?
When you set a preset printer, Windows immediately updates its system settings to make your chosen device the active printer for all new print jobs. This means any print command you send from apps will automatically target this printer unless you specify something else otherwise.
Windows stops managing the previous default printer, handing full control to your new selection. After you confirm the change by clicking OK, a confirmation message appears, reflecting this update in printer management.
Your chosen printer stays set as the default until you decide to change it again. This seamless switch ensures your printing tasks go to the right device without extra steps, streamlining your workflow in Windows 11.
Frequently Asked Questions
How Do I Set a Default Printer in Windows 11?
You just open Control Panel, go to Devices and Printers, then right-click your chosen printer.
Click “Set as default printer,” confirm the prompt, and Windows will make it your default printer immediately.
It’s pretty straightforward once you know where to look!
How to Fix Printer Issues in Windows 11?
When your printer throws a tantrum, you can soothe it by checking connections, restarting devices, updating drivers, and ensuring it’s set as default.
If problems linger, double-check settings or run Windows’ built-in troubleshooter to calm things down.
These simple steps usually do the trick, but if your printer still acts up, don’t worry — there’s always more to try!
How to Create a Printer Shortcut in Windows 11?
You can create a printer shortcut by right-clicking your printer in Devices and Printers. Then, just select “Create shortcut,” and place it on your Desktop.
This way, you can open the printer queue quickly whenever you need it. It makes managing your print jobs a lot easier!
Why Is My Microsoft Not Letting Me Print?
Your Microsoft app won’t let you print if the wrong printer’s set as default or if Windows hasn’t confirmed the change.
Make sure you select the right printer and confirm it’s the default before trying again.
It usually fixes the issue right away.
Conclusion
So, after all that effort to set your printer as the default, you might just find it quietly does what it’s supposed to—print. No more surprise print jobs going to the wrong device or frantic searches for the right printer.
It’s almost ironic how such a simple step can save you from printer chaos. But hey, now your printer knows it’s the star of the show, ready whenever you are. Easy, right?
Setting your printer as the default in Windows 11 is a small change with big benefits. It ensures your print jobs go exactly where you want without extra hassle. By following just a few easy steps, you avoid confusion and save time. So next time you hit print, you can relax knowing your default printer is set and ready to handle the job smoothly.