How Do You Add a Printer to Your iPhone in 5 Easy Steps?
To add a printer to your iPhone, first make sure your printer supports AirPrint. It also needs to be connected to the same Wi‑Fi network as your phone. This is key for a smooth printing experience.
Next, power on your printer and check that it’s ready with paper and ink. You don’t want to get halfway through printing only to run out of supplies!
On your iPhone, open the app that has the file you want to print.
Tap the Share or Actions button, then select Print.
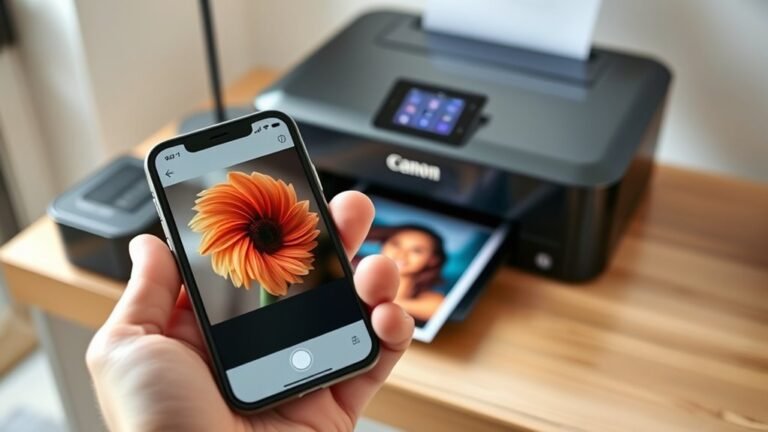
Choose your AirPrint printer from the list, adjust any print settings you want, and tap Print.
Keep reading to find helpful tips that will make printing from your iPhone even easier!
Key Takeaways
- Confirm your printer supports AirPrint and is connected to the same Wi-Fi network as your iPhone.
- Power on the printer and make sure it’s free of errors. Check that paper and ink or toner are loaded properly.
- Connect your iPhone to the exact same Wi-Fi network as the AirPrint-compatible printer.
- Open the app with the file you want to print. Tap the Share or Actions button, then select Print and choose your printer.
- Set your print options like the number of copies and pages. Take a quick look at the print preview, then tap Print to get started.
Confirm Your Printer Supports AirPrint
Before you add a printer to your iPhone, make sure it supports Apple AirPrint. Check the printer’s manual, specs, or the manufacturer’s website for the AirPrint logo.
Without AirPrint support, your iPhone or iPad can’t print directly. Make sure the printer connects to your network via Wi-Fi or Ethernet, as AirPrint requires a network connection.
Your iPhone or iPad can only print directly if your printer supports AirPrint and is network-connected.
Both your iPhone and the printer must be on the same Wi-Fi network to communicate properly. Avoid setups where the printer is connected via USB to an Apple AirPort Base Station or Time Capsule, since AirPrint won’t work there.
Also, don’t rely on Bluetooth connections between your iPhone and printer because AirPrint doesn’t support printing over Bluetooth. Confirming these details prevents you from connectivity headaches later.
Power On and Prepare Your Printer for Printing
To get your printer ready for AirPrint, turn it on and connect it to the same Wi-Fi or wired network as your iPhone. Make sure your printer supports AirPrint by checking its label or manufacturer’s guide.
Avoid using USB connections through an Apple AirPort Base Station, Time Capsule, or Bluetooth-connected computers, as AirPrint won’t work that way. Once powered on, ensure the printer is free of errors, has paper loaded, and sufficient toner or ink.
This preparation helps your printer respond immediately when you select it on your iPhone. Finally, double-check your iPhone’s Wi-Fi settings to confirm it’s connected to the exact same network as your printer.
Being thorough here prevents connection issues during printing. It’s a simple step, but it saves a lot of hassle later on!
Connect Your iPhone and Printer to the Same Wi-Fi Network
Ensuring your iPhone and printer share the same Wi-Fi network is critical for smooth AirPrint functionality. First, check that both devices are connected to the same network name (SSID).
On your iPhone, open Settings > Wi-Fi to confirm you’re using the correct network, not mobile data. Your printer must support AirPrint and be online via Wi-Fi or a wired connection.
Check your iPhone’s Wi-Fi settings and ensure your AirPrint-compatible printer is connected online via Wi-Fi or wired connection.
If you recently switched your printer’s Wi-Fi, reconnect it to the new network before attempting to print. Also, avoid setups where the printer is connected through USB to Apple AirPort Base Stations, Time Capsules, or a Bluetooth computer, since these won’t work with AirPrint.
Keeping your iPhone and printer on the same Wi-Fi ensures reliable communication for printing tasks. It’s a simple step but makes all the difference!
Add Your Printer Using the Print or Share Button on Your iPhone
Once your iPhone and printer share the same Wi-Fi network, you can add your printer directly from your iPhone using the Print or Share button. Open the app containing the file you want to print, then tap Share or Actions to find the printing options.
Tap Print—sometimes located under the Share menu—and if you see No Printer Selected, just choose your AirPrint-compatible printer from the list. If the Print option doesn’t appear, don’t worry. Check the app’s Help or User Guide, since some apps hide printing features in different menus.
After selecting your printer, you’re ready to set print preferences and proceed. This method lets you easily add and use your printer without needing extra apps or settings adjustments. It’s pretty straightforward!
Set Print Options and Start Printing From Your iPhone
Here’s what to focus on:
- Choose the number of copies you want to print.
- Review page options like ranges or specific pages.
- Check the print preview to ensure everything looks right.
Make sure your iPhone and printer are on the same Wi-Fi network if the printer doesn’t show up. Once you’re happy with your settings, just tap Print in the top-right corner to get started.
This simple process gets your document or photo from screen to paper quickly and effortlessly. It’s really that easy!
Frequently Asked Questions
How Do You Add a Printer to Your iPhone?
You add a printer by making sure it supports AirPrint and is connected to the same Wi-Fi network as your iPhone.
Then, open the app you want to print from, tap Share, and select Print. Choose your printer, adjust any settings you want, and finally tap Print. Easy!
Why Isn’t My Airprint Working?
A stitch in time saves nine: your AirPrint isn’t working because your iPhone and printer might be on different networks, AirPrint could be unsupported, or firmware needs updating.
Restart devices and check connections to fix it quickly.
Sometimes, it’s just a simple network mix-up or a quick update away from being back on track. Just give those a try!
How to Print Without Airprint on iPhone?
You can print without AirPrint by downloading your printer’s iOS app. Then, connect your iPhone to the same Wi-Fi network or printer hotspot.
After that, just print through the app. If you need to, export files like PDFs to the app for printing. It’s pretty straightforward once you get the hang of it!
How Do I Add an Airprint Printer to My iPad?
You add an AirPrint printer by connecting your iPad and printer to the same Wi-Fi network.
Open your app, tap Share, then select Print.
Next, choose your AirPrint-enabled printer from the list to start printing effortlessly.
Conclusion
Adding a printer to your iPhone is like opening a bridge between your digital world and reality. With just a few simple steps, you turn invisible data into tangible memories—photos, documents, and moments you can hold.
It’s not just about printing; it’s about bringing your creations to life, making your everyday tasks smoother and more connected. So, embrace this small act, and watch your ideas take shape in your hands.
Connecting a printer to your iPhone makes printing quick and convenient, right from your device. Whether it’s important documents or cherished photos, having a printer linked to your iPhone helps you get things done effortlessly. With easy setup and seamless AirPrint compatibility, adding a printer to your iPhone enhances your productivity and keeps your memories vivid. So go ahead, print directly from your iPhone and enjoy the ease of turning your digital files into physical copies anytime you want.