How to Add a Printer to Your Laptop in 5 Easy Steps
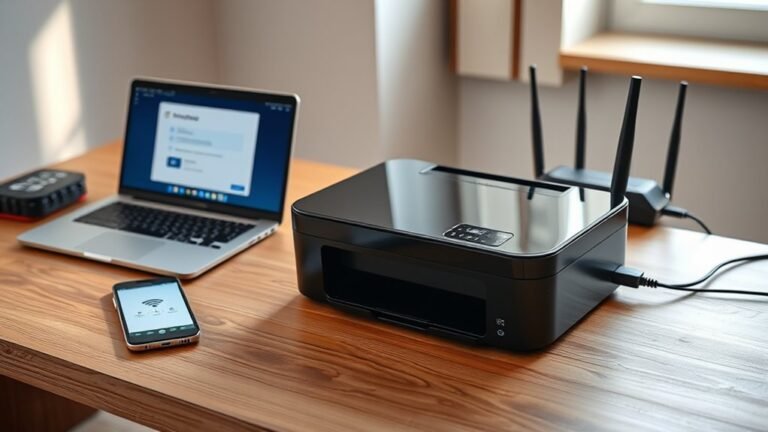
To add a printer to your laptop, start by finding its IP address. You can get this from the printer’s network settings or your router. This step is super important because it helps your laptop connect to the right device on the network.
Next, open Devices and Printers on your Windows laptop and choose Add a Printer. If you don’t see your printer listed, click on “The printer that I want isn’t listed” to add it manually using the IP address. This way, you’re telling your laptop exactly where to find the printer.
Then, install the correct driver. You can download this from the manufacturer’s website to make sure your printer works smoothly.
Finally, verify the setup by printing a test page. This confirms everything is set up correctly.
Keep going if you want step-by-step details to guarantee a smooth connection. Adding a printer might seem tricky at first, but with these easy steps, you’ll have it connected in no time!
Key Takeaways
- Find your printer’s IP address via its control panel or print a network configuration page for exact details.
- Open Control Panel, go to Devices and Printers, and click Add a printer or Add a device.
- Choose “The printer that I want isn’t listed” to manually add the printer using its IP address.
- Download and install the correct printer driver from the manufacturer’s website if not auto-detected.
- Verify setup by printing a test page from Printer Properties to ensure successful connection and functionality.
First, Find Your Printer’s IP Address
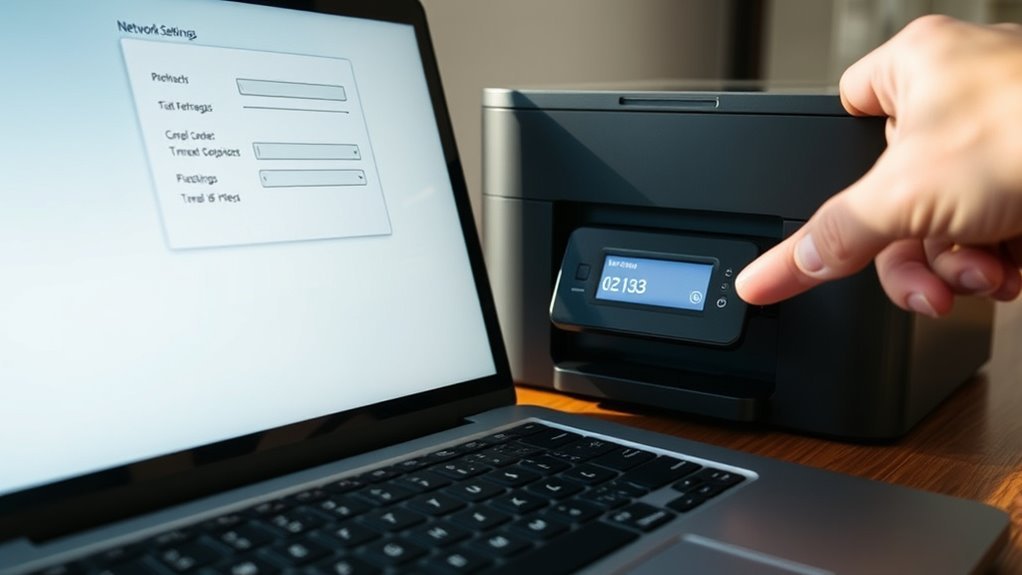
To get started, track down your printer’s IP address—it’s essential for connecting your laptop. Check the printer’s control panel or network menu under “Network,” “Wi-Fi Status,” or “TCP/IP” to find the assigned IPv4 address.
If your printer has a web interface, print a Network Configuration or Status page from its reports menu to get the exact IP address or host details. On your Windows laptop, you can also open Command Prompt, ping the printer’s hostname, then run arp -a to find the IP address.
Another option is logging into your router and checking the DHCP client list or connected devices page, matching your printer’s hostname or MAC address. Jot down the printer’s IP address before moving on.
Open Devices and Printers on Your Windows Laptop
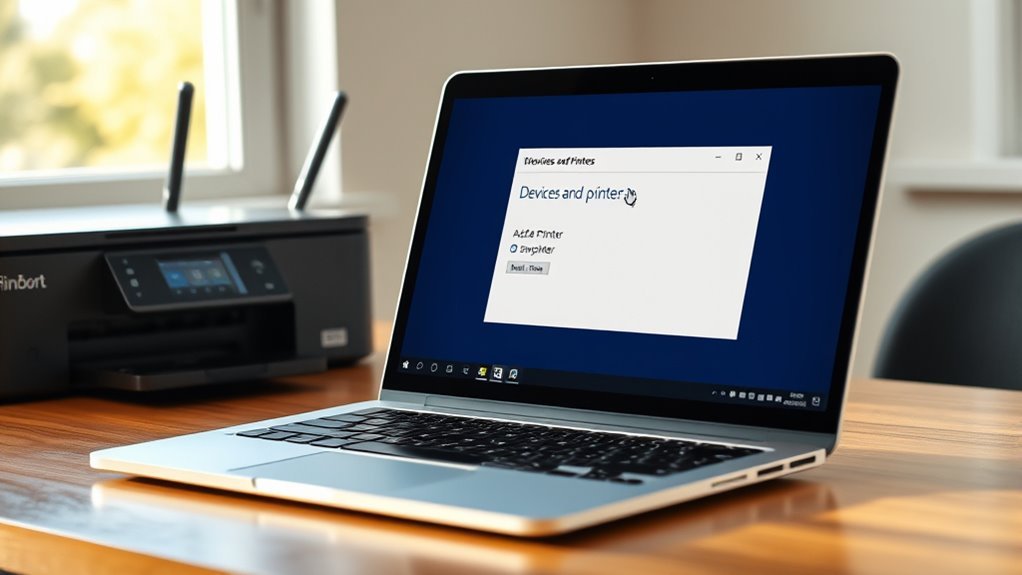
You’ll want to open the Control Panel on your Windows laptop by typing “Control Panel” into the Start menu search. Once open, if your Control Panel is in Category view, switch to Large icons or Small icons to find “Devices and Printers” easily.
Click on “Devices and Printers” to access all connected devices, including printers. From here, you can click “Add a device” or “Add a printer” to start the process of connecting your printer.
If you prefer to add a printer manually, select “The printer that I want isn’t listed” when prompted. This option lets you add a printer using its address or host name, which is really handy for network printers on your Windows computer.
Add Your Printer Manually Using Its IP Address
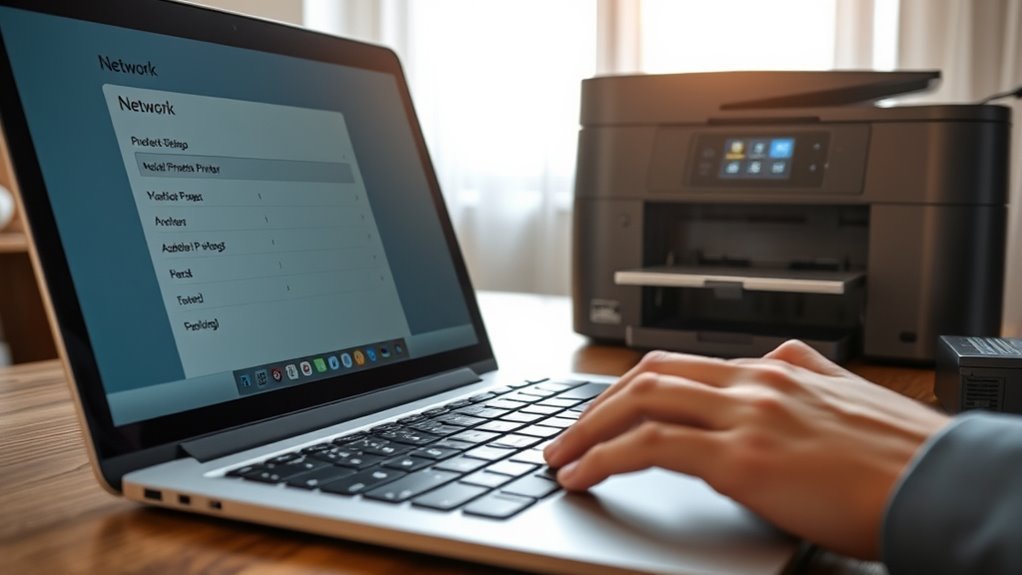
Although it might seem tricky at first, adding your printer manually using its IP address is straightforward once you have the correct information.
First, find your printer’s IP address in its network settings. Then, open Control Panel → Devices and Printers, select Add a Printer, and choose to add it using an IP address or host name.
Set device type to TCP/IP Device and let the port name auto-fill. Just be sure to avoid duplicating IPs to prevent conflicts.
Here’s what you gain by adding your printer manually:
| Benefit | How You Feel |
|---|---|
| Precise connection | Confident |
| Faster setup | Efficient |
| Avoids auto-detect errors | Relieved |
| Control over settings | Empowered |
| Instant troubleshooting | In control |
This method guarantees your laptop communicates directly with your printer’s IP, making printing smoother. It’s really worth the little extra effort!
Install the Right Driver for Your Printer Model
After setting up your printer’s IP address, the next step is to install the correct driver for your specific printer model. First, download the exact print driver from the manufacturer’s website—choose the PCL driver for Windows unless you need PostScript.
When you add a printer using its IP address, select “TCP/IP Device” as the port type. If Windows doesn’t list your model, just click “Have Disk” and browse to the extracted driver folder, which is usually found in Downloads.
During setup, if you’re asked to install a “Generic Network Card,” go ahead and accept it. Then, proceed with the downloaded driver installation to guarantee full functionality.
Also, make sure you avoid installing duplicate drivers or using the same IP twice by confirming your printer isn’t already installed before continuing.
Check Your Printer’s Setup and Print a Test Page
Make sure your printer is turned on and connected to the same network as your laptop before proceeding. Note the printer’s IP address from its menu or network settings and jot it down for manual setup if needed.
On your Windows laptop, open Control Panel and go to View Devices and Printers or head to Settings → Printers & scanners. Choose Add a printer to start detection or select “Add a printer using IP address or host name” to input the printer’s address manually.
After installing the correct driver and completing setup, right-click your printer in Devices and Printers, select Printer properties, and click Print Test Page. This confirms your printer is properly set up and communicating with your laptop through the network.
Frequently Asked Questions
How Do You Add a New Printer to a Laptop?
You add a new printer by opening Devices and Printers, clicking Add Printer, and either selecting your printer automatically or entering its IP address manually.
Then, install the correct driver, follow prompts, and finish the setup. It’s pretty straightforward once you get started!
How Do I Set up My Canon Printer?
Want to set up your Canon printer quickly? Just find its IP address, then add it manually via TCP/IP on your laptop.
Next, download the right driver from Canon’s site and install it. You’ll be printing in no time!
How to Set up a Printer With a WPS PIN?
You’ll find the WPS PIN on your printer’s network menu. Enter it on your router’s WPS page or your laptop’s setup prompt.
Wait a few minutes, then connect your printer to Wi-Fi and install the driver.
It’s pretty straightforward once you get the PIN and know where to enter it. Just take it step by step!
Why Won’t My Printer Recognize My Laptop?
Your printer won’t recognize your laptop if they’re on different networks, drivers are missing or incorrect, firewall blocks connections, or network settings on the printer are wrong.
Double-check these to fix the issue quickly. It’s usually something simple! Just make sure both devices are connected to the same network first.
Also, check if your printer drivers are up to date. Sometimes outdated or missing drivers can cause problems.
Don’t forget to look at your firewall settings too. It might be blocking the connection between your laptop and printer.
And finally, take a quick peek at your printer’s network settings to ensure everything is set up correctly. That should get you back on track!
Conclusion
Adding a printer to your laptop might seem tricky at first, but following these simple steps makes it surprisingly easy. While technology can sometimes feel complicated, taking control by manually entering the IP address and installing the correct driver turns confusion into clarity.
Instead of waiting for automatic setups that may fail, you’re actively ensuring your printer works perfectly. With just a little effort, what once seemed intimidating becomes a straightforward task you can confidently handle.
By adding a printer to your laptop using these easy steps, you save time and avoid frustration. This hands-on approach helps you understand your device better and guarantees a smooth printing experience. So, don’t hesitate—adding a printer to your laptop is simpler than you think, and you’ll be printing documents in no time!