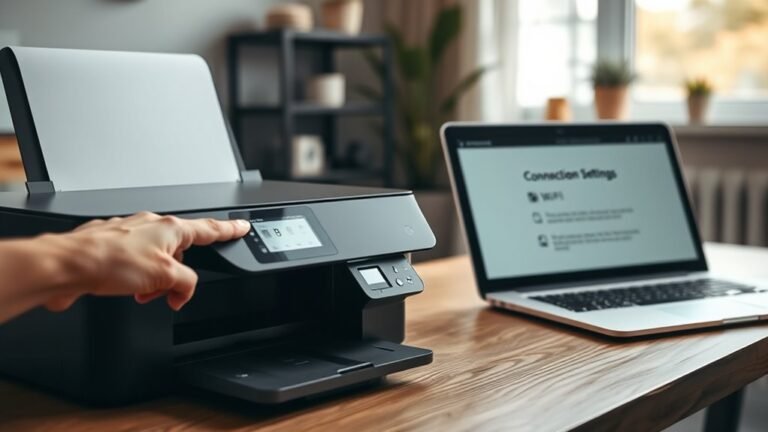
What Is Toner in a Printer and How to Replace It
Toner in a printer is a fine plastic powder that laser printers use to create images through static electricity. This powder gets fused to paper by heat, making your prints crisp and clear. If you notice “Toner Low” messages or faded prints, it’s a sign to replace the cartridge soon.
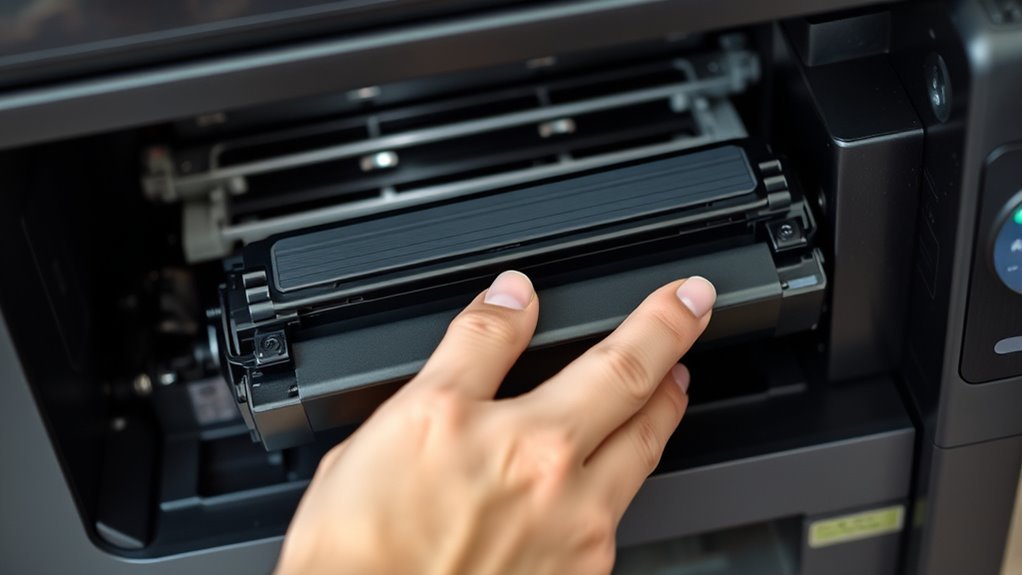
Power on the printer and open the cover carefully. Remove the old cartridge while wearing gloves to keep things clean.
Next, take the new toner cartridge and give it a gentle shake. This helps distribute the toner evenly inside. Remove any seals or protective strips before inserting it into the printer.
Once the new cartridge is in place, close the cover and power the printer back on. It’s a simple process, but following safe handling tips and cleaning up any spills can save you from a mess.
Want your prints sharp and your printer running smoothly? Regular toner replacements and proper maintenance are key!
Key Takeaways
- Toner is a plastic-based powder that laser printers use to create images via static electricity on a photosensitive drum. The developer roller transfers toner to the drum, and the fuser heats it to permanently bond the toner to paper.
- You’ll want to replace the toner when the printer shows alerts or the printouts start to fade. This helps you avoid poor print quality and interruptions while printing.
- To replace the toner, first power on the printer and open the toner cover. Then, carefully remove the old cartridge—try not to spill any toner.
- Next, take the new cartridge out and give it a gentle shake. Remove the sealing tape, align the cartridge correctly, and confirm the reset on the control panel. Easy as that!
How Toner Works in a Printer
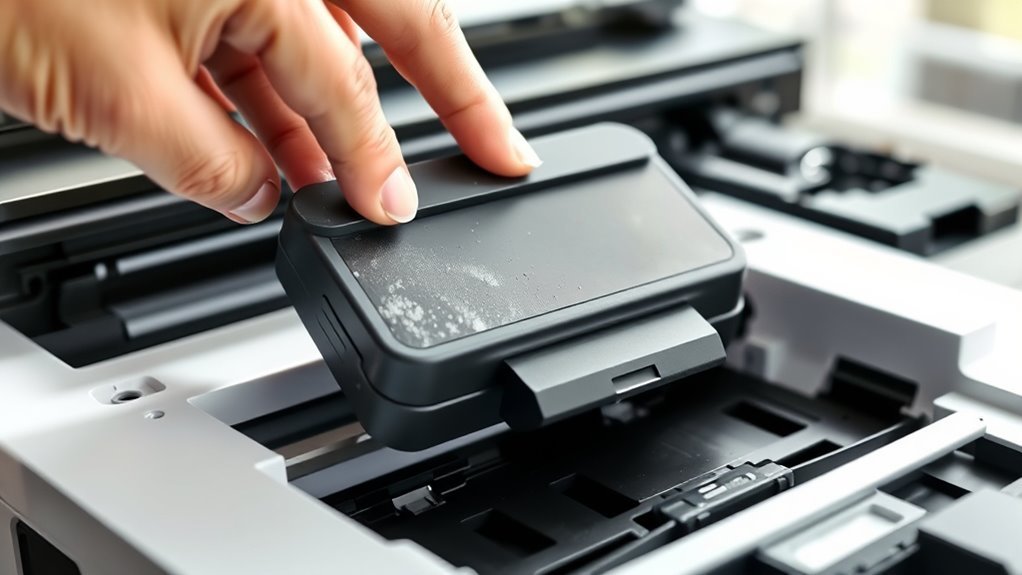
Although it may seem complex, toner works by using static electricity to transfer tiny plastic-based powder particles onto paper. Inside the cartridge, the photosensitive drum holds an electrostatic image created by the laser.
Toner uses static electricity to transfer tiny plastic powder particles onto paper via a photosensitive drum.
The developer roller then transfers toner to the charged areas of the drum, picking up particles according to the drum’s pattern. When the drum rolls over the paper, a high-voltage transfer charge pulls the toner onto the sheet.
Finally, the fuser heats and presses the toner, melting it into the paper fibers to create a permanent image. The toner’s formulation and the condition of parts like the developer roller and fuser directly impact print quality.
This ensures sharp, dense prints every time you use your printer. It’s pretty cool how all these parts work together, isn’t it?
How to Know When Your Toner Cartridge Needs Replacement?
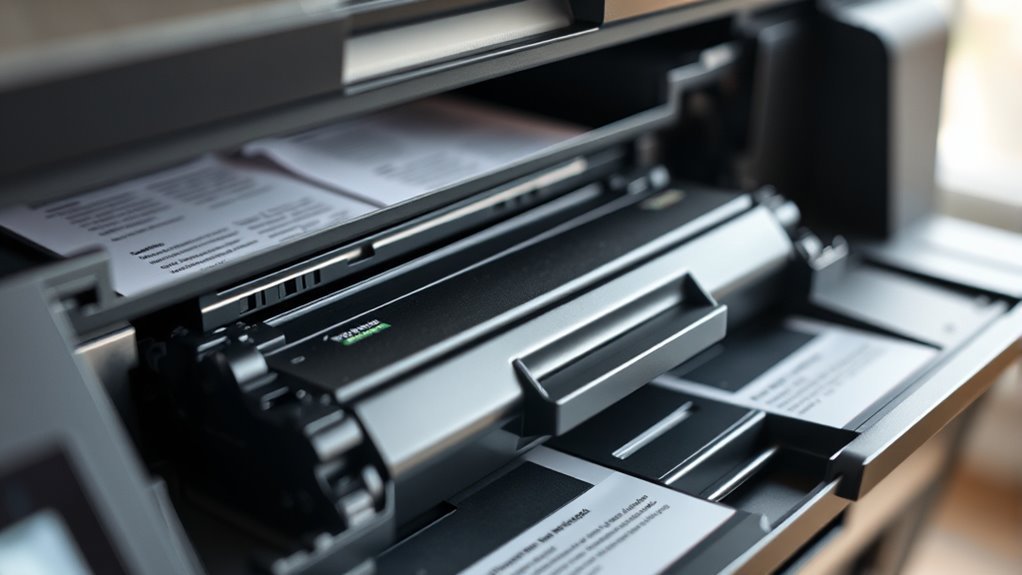
You’ll often notice your printer alerting you when the toner cartridge is running low or needs replacement through messages like “Toner Low” or “Replace Toner” on the control panel. These alerts help you know when the Toner Cartridge Needs attention before print quality suffers.
You might also see faded or patchy text, background haze, or gray-washed pages, which are clear signs toner is nearly depleted. Tracking your printer’s Estimated Yield—typically around 1,200 pages for color and 1,800 for black—can also indicate when to Replace Toner.
Ignoring these warnings can cause the printer to stop printing or show error messages. So, paying attention to both visual print symptoms and control panel alerts guarantees timely toner cartridge replacement and avoids print interruptions.
Step-by-Step Guide to Removing Your Old Toner Cartridge
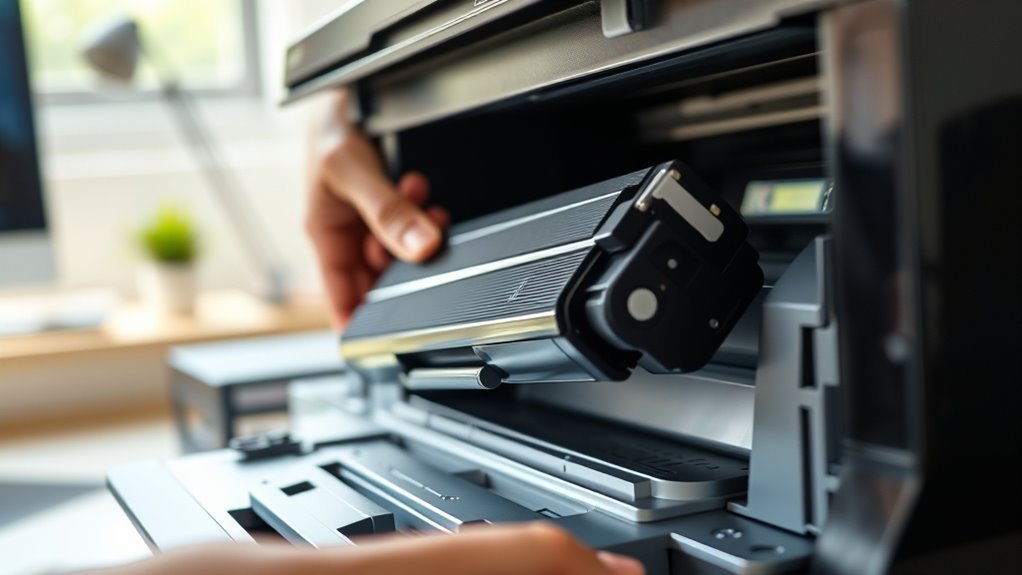
Start by powering on your printer and opening the front or top toner cover—on models like the PrimeLink C9065/C9070, this cover sits just above the front panel. Check the control panel to identify the exact toner cartridge color to replace.
Lay down paper or a cloth to catch any spilled toner, then press the cartridge release lever and partially pull the cartridge out by its handle.
To safely remove the empty cartridge, grasp both front and top handles and slide the toner cartridge straight out to avoid tipping. Place the used cartridge on a protected surface or in a sealable bag for disposal.
If prompted, remove or replace the waste toner container before closing the cover.
Close the cover and confirm the printer clears any error messages before continuing. Easy, right? Just take your time and you’ll be all set!
How to Prepare and Install a New Toner Cartridge
Once you’ve removed the old toner cartridge, it’s time to prepare and install the new one. First, let the new toner cartridge sit at room temperature for an hour to avoid condensation damage.
Place a protective sheet under the printer to catch any stray toner. Next, remove the new toner from its packaging and gently shake it side to side about 5–6 times to redistribute the toner evenly.
Make sure to remove any sealing tape or pull-tabs before installation. With the printer on, open the toner cover, align the cartridge arrows with the printer guides, then insert the cartridge level until it clicks.
If there are any locking levers, go ahead and lock them. Close the cover, and check the control panel to make sure the toner status resets.
And that’s it! You’re now ready to install the new toner and get back to printing.
Common Toner Cartridge Replacement Mistakes to Avoid
Although replacing a toner cartridge might seem straightforward, several common mistakes can lead to poor print quality, printer damage, or messy toner spills. To avoid these issues, keep these tips in mind when you replace the toner:
Don’t shake cartridges violently or remove sealing tape carelessly. Instead, gently tilt the cartridge 5–6 times side-to-side to prevent toner powder spills.
Also, avoid using remanufactured toner cartridges that aren’t confirmed compatible with your printer model. They can cause background haze, toner specks, or even damage internal parts.
Never ignore “Toner Low/Replace” warnings. It’s best to replace the toner promptly to prevent uneven prints or printer stoppage.
And one more thing—always make sure the printer is cool before you start. Use protective surfaces to avoid burns and spills during replacement.
Why Using Genuine Toner Matters for Print Quality
When you choose toner cartridges, the quality of the toner itself plays a big role in your prints. Using genuine toner guarantees consistent print quality because manufacturer OEM formulations carefully control particle size, charge agents, and additives.
This precision delivers sharp text and smooth images that third-party powders often can’t match. Plus, OEM toner cartridges reduce toner shedding and background haze, protecting critical printer parts like the drum and fuser, which extends their lifespan.
Non-genuine or remanufactured toners can cause streaks, gray backgrounds, or even trigger printer errors. That can really be a headache and might even risk voided service claims.
How to Choose Between Standard and High-Capacity Toner Cartridges
Choosing between standard and high-capacity toner cartridges depends largely on how much you print each month and how often you want to replace your cartridges. Standard-yield cartridges suit low-volume printing, offering a lower cartridge price but requiring more frequent changes.
High-capacity cartridges hold considerably more toner, reducing downtime and often lowering cost-per-page for heavy use. It’s all about what fits your printing habits best.
Consider these factors when deciding:
- Monthly print volume: high-capacity is better for large workloads.
- Cost-per-page: calculate by dividing cartridge price by page yield to find real value.
- Printer compatibility: confirm your printer supports the high-capacity model to avoid issues.
Safe Toner Handling and Spill Cleanup Tips
When handling toner, always wear nitrile gloves and avoid contact with your eyes or skin. It’s important to keep it off your body to stay safe.
If you spill toner, never use a vacuum. Instead, sweep it up carefully or wipe it with a damp cloth and some detergent.
Also, make sure to dispose of used cartridges properly. Keep them away from children to prevent any accidents.
Toner Safety Precautions
Although toner cartridges are essential for your printer’s operation, handling them requires care to guarantee your safety and maintain print quality. When you replace a toner cartridge, always wear disposable gloves to avoid skin contact with toner powder.
Wait until the printer cools down to prevent burns from hot components. It’s better to be safe than sorry!
Keep these toner safety precautions in mind: Use a broom and dustpan, not a household vacuum, to clean up any spilled toner safely.
Also, store cartridges away from children and never dispose of them in fire to avoid explosion risks. After moving cartridges from cold to warm places, wait at least an hour before installing to prevent condensation that can harm the cartridge.
Following these steps will keep you safe and your prints sharp. It’s a small effort for peace of mind!
Proper Spill Cleanup
Always handle toner spills carefully to avoid spreading fine particles that can be harmful and difficult to clean. When a toner cartridge leaks, contain the spill immediately by laying down paper or damp cloths and working from the outside inward.
Never use a vacuum on spilled toner, as the fine powder can pose a combustible dust hazard. Instead, use a broom and dustpan or a damp cloth with neutral detergent for spill cleanup.
Avoid touching toner with your bare hands; if you do, wash skin or clothing promptly with soap and water. After cleaning, wipe surrounding surfaces with a damp lint-free cloth.
Place contaminated cleanup materials and empty cartridges in sealed bags for proper disposal or recycling. This careful approach guarantees your workspace stays clean and your printer functions well.
Handling and Disposal Guidelines
To handle toner safely and dispose of it properly, you should wear disposable gloves and place cartridges on a clean, smooth surface to prevent spills. When dealing with a toner cartridge or replacement toner, avoid touching the toner with bare hands and keep it away from children and eyes.
If you encounter spilled toner, clean it carefully to avoid health risks and damage. Keep these tips in mind:
- Never use a household vacuum on spilled toner; sweep or wipe with a damp cloth using neutral detergent instead.
- After moving a toner cartridge from cold to warm areas, wait at least an hour before installation to prevent condensation damage.
- Follow local regulations for toner cartridge disposal; never burn cartridges to avoid harmful emissions.
Safe handling guarantees longer printer life and cleaner workspace. So, take your time and be careful—it really pays off!
Frequently Asked Questions
Is Toner Cartridge the Same as Ink?
No, toner cartridges aren’t the same as ink cartridges. Toner uses dry powder for laser printers, while ink is liquid for inkjets.
You’ll handle and replace them differently because they work through distinct printing processes. So, they’re not interchangeable at all.
My Brother Printer Is Leaking Toner. What Should I Do?
Toner leaking feels like a midnight snowstorm inside your printer. Stop printing, power off, and let it cool.
Then, gently clean spills with a broom. Remove the cartridge carefully, and check for any damage.
If the cartridge looks fine, put it back in. If not, replace it or call support if you need help.
How to Know Which Toner to Buy for a Printer?
Check your printer model and use its exact OEM part number or compatibility list. Match cartridge type and yield to your needs.
Always buy genuine toner from reputable suppliers to guarantee quality and warranty compliance. It’s worth making sure you get the right toner to avoid any printing headaches!
Do Laser Printers Require Ink?
You won’t find ink in laser printers—they prefer a drier, powdery friend called toner. This special powder fuses with heat, so you don’t need liquid ink.
It keeps your prints sharp and your machine happy. Pretty neat, right?
Conclusion
Now that you know how toner works and how to replace it properly, don’t you feel ready to tackle your printer maintenance with confidence?
Remember, using genuine toner and handling cartridges carefully can save you from print quality issues and costly mistakes. By following the steps and tips we’ve covered, you’ll keep your printer running smoothly and your documents looking sharp.
So, why wait? Give your printer the care it deserves today! Proper toner replacement not only extends your printer’s lifespan but also ensures crisp, clear prints every time. Taking a little time now means fewer headaches later—and better results for all your printing needs.