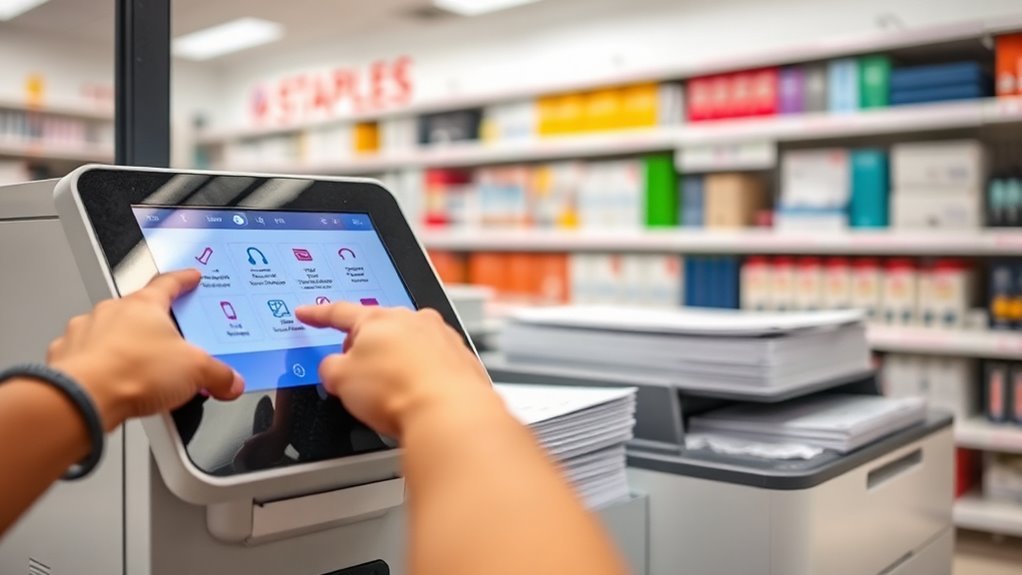
How to Use the Printer at Staples in 7 Easy Steps
To use the printer at Staples in 7 easy steps, first prepare your document by saving it as a PDF with clear margins and high-quality images. Making sure your file looks great before printing can save you time and hassle.
Next, upload your file online, by email, or via USB at the store.
When you get to Staples, find the kiosk near the front. Select your print settings like paper type and quality, then pay using a card. It’s pretty straightforward once you’re there.
Finally, pick up your prints with the provided code. Follow these steps, and you’ll handle common issues like a pro as you go.
Printing at Staples can be quick and easy when you know the process!
Key Takeaways
- Locate the printing kiosk near the store’s front, usually by the copy or office supply section. Look for Staples branding to find it easily.
- Prepare your document by saving it as a PDF or DOCX file. This helps keep everything looking just right.
- Upload your file using the kiosk touchscreen, a USB drive, or Staples’ online upload service. Just follow the on-screen prompts—it’s pretty straightforward.
- Select your print settings, like paper weight, finish, size, and quality. Then, confirm and pay at the kiosk with your card.
- Finally, grab your prints from the designated pickup area using the pickup code you get. If you run into any issues, don’t hesitate to ask the staff for help.
Preparing Your Document for Printing at Staples
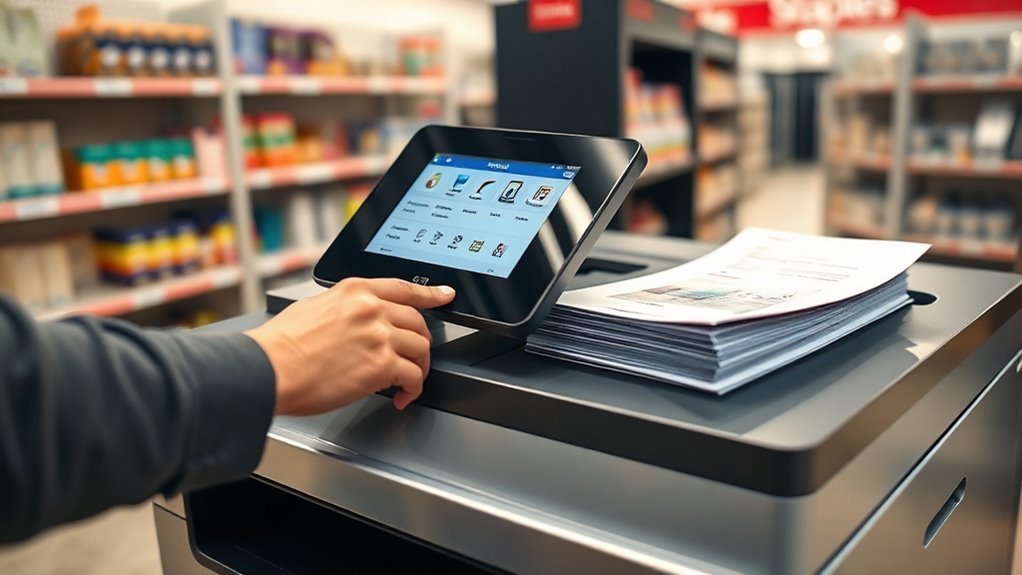
Before you head to Staples, make sure your document is properly formatted and saved in a compatible file type like PDF or DOCX. Double-check margins, fonts, and spacing to ensure everything looks just right.
If your document includes images, verify they’re high-definition so they print clearly. Also, consider the color settings—decide if you want color or black-and-white printing, as this affects cost and appearance.
Review your text for any typos or errors to avoid wasting paper and ink. If you need multiple copies or specific page ranges, make sure to note that down.
Finally, save your file with a clear, descriptive name so you can easily find it later. Taking these steps saves time and helps your printing go smoothly once you’re at Staples.
Uploading Your File to Staples’ Printing System

Now that your document is ready, you’ll need to upload your file to Staples’ printing system. Make sure your file meets their format requirements, like PDF or JPEG, to avoid any issues.
You can upload your file online or directly at the store, whichever works best for you. It’s pretty simple and hassle-free!
File Format Requirements
When uploading your file to Staples’ printing system, you’ll want to see to it it’s in an accepted format to avoid any delays. Staples primarily accepts PDFs, as they preserve your document’s layout and quality.
They also support common image files like JPEG, PNG, and TIFF, which work well for photos or graphics. For text documents, Word files (.doc or .docx) and PowerPoint presentations (.ppt or .pptx) are usually accepted, but converting them to PDF is best to ensure consistent formatting.
Avoid using obscure or outdated formats, as they might not upload properly or display correctly. Before uploading, take another look your file’s resolution and color settings to guarantee the best print results.
Sticking to these guidelines will make your printing process smooth and hassle-free.
Upload Methods Explained
Ensuring your file meets Staples’ format requirements sets you up for a smooth upload. When you’re ready to submit your document, Staples offers several easy upload options to fit your needs.
Here’s how you can get your file to their printing system:
- Online Upload: Visit Staples’ print services website, select your store, and upload your file directly. This method is quick and convenient, letting you finalize details before submitting.
- Email Submission: Some locations allow you to email your file to a designated address. Just check your local Staples store’s guidelines to see if this option is available.
- In-Store USB Upload: If you’re near a store, bring your file on a USB drive. The staff can help you upload it to the system.
Choose the method that works best for you to make sure your printing experience goes smoothly and without any hassle.
Where to Find the Printing Kiosk at Staples
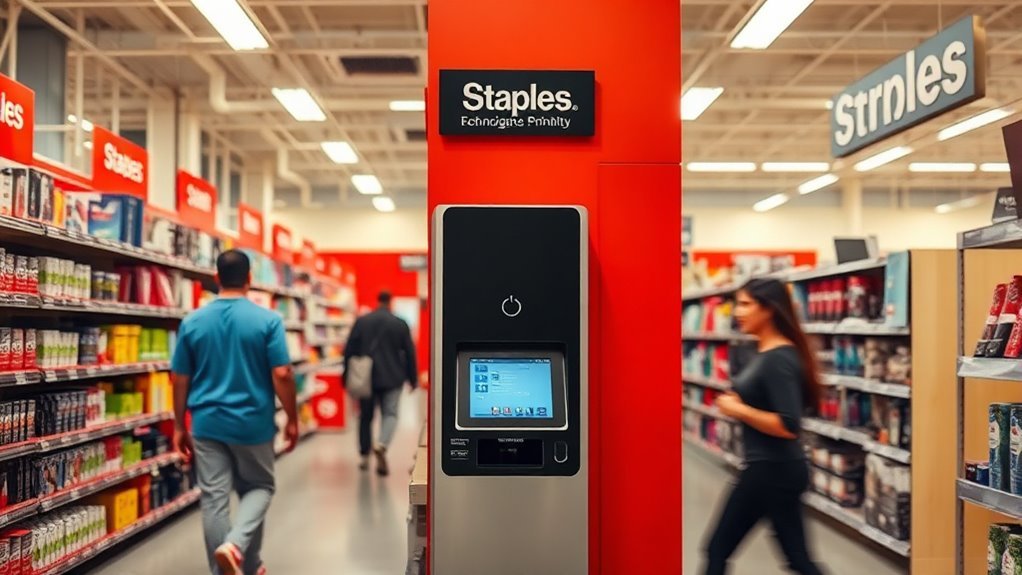
Wondering where to find the printing kiosk at Staples? You’ll usually spot it near the front of the store, close to the copy and office supply sections. It’s a standalone station with a touchscreen interface, designed for easy document uploads and printing.
If you don’t see it right away, just ask a store associate—they’re happy to point you in the right direction. Some stores might have multiple kiosks, especially larger locations, so you’ll want to choose the one that’s free and convenient.
The kiosk is clearly marked with Staples branding and signs indicating “Print Services” or “Printing Kiosk.” Once you locate it, you’re ready to start uploading your files and preparing your print job with ease.
Choosing Print Settings for Your Staples Order
When you start your Staples print order, you’ll need to choose the right paper type for your project.
Next, adjust the print quality to balance clarity and speed based on what you need.
Finally, decide whether you want color or black-and-white to match your budget and purpose.
Selecting Paper Type
Paper selection plays a vital role in the quality and feel of your printed materials at Staples. Choosing the right paper type ensures your project looks professional and suits its purpose.
When you start your print job, Staples offers several options to customize your paper choice. Here’s what you should consider:
- Paper Weight: Heavier paper feels more substantial and is ideal for presentations or flyers. Lighter paper works well for everyday documents.
- Finish: Decide between matte, glossy, or semi-gloss finishes depending on whether you want a non-reflective look or vibrant colors.
- Size: Confirm the paper size matches your project requirements, whether it’s standard letter, legal, or custom dimensions.
Selecting the correct paper type will make your prints stand out and match your intended use perfectly. It’s a simple step that really makes a difference!
Adjusting Print Quality
Selecting the appropriate paper sets the foundation for a great print, but fine-tuning the print quality ensures your final product looks exactly how you want. When adjusting print quality at Staples, start by choosing the resolution—higher dpi means sharper images but may take longer to print.
If you’re printing draft documents, select a lower quality to save time and ink. For photos or presentations, opt for high-quality settings to capture detail and color vibrancy. Staples’ printers usually offer options like “Draft,” “Normal,” and “Best”; pick the one that fits your needs.
Don’t forget to preview your print job to confirm your selections. Adjusting these settings properly helps you balance print speed, cost, and output quality to ensure a perfect result every time.
Choosing Color Options
How do you decide between color and black-and-white printing for your Staples order? It depends on your document’s purpose and budget.
Color printing is great for presentations, flyers, or photos, while black-and-white works well for text-heavy documents and saves money. When you’re selecting your print settings, consider these three key factors:
- Purpose: Choose color if your document needs visual impact; otherwise, black-and-white often suffices.
- Cost: Color printing costs more, so pick black-and-white to stay economical.
- Quality: Color prints may take slightly longer but offer richer detail; black-and-white prints are faster and reliable for basic needs.
Paying for Your Printing at Staples
Wondering what payment options Staples offers for your printing needs? You can pay using a credit or debit card directly at the self-service kiosk. Staples accepts major cards like Visa, Mastercard, American Express, and Discover.
Some locations also allow you to pay with a Staples Rewards card or gift card if you have one. After choosing your print settings and confirming your order, the kiosk will prompt you to insert or tap your card.
Make sure you complete the payment before leaving the station to avoid issues. If you’re unsure, a store associate is nearby to assist.
Picking Up Your Prints Quickly at Staples
Once you’ve completed your payment at the kiosk, you’ll want to grab your prints as quickly as possible. Here’s how to streamline the pickup process:
- Check the receipt for a pickup number or code. This will help you locate your prints without delay.
- Go straight to the designated print pickup area. Staples organizes prints by order numbers, so having your code handy speeds things up.
- Verify your order details before departing. Quickly review your prints to ensure all pages are included and the quality meets your expectations.
Troubleshooting Common Staples Printing Issues
Although Staples printing services are designed to be straightforward, you might encounter occasional issues like paper jams, connectivity problems, or print quality concerns.
If a paper jam occurs, carefully follow the on-screen instructions to remove the stuck paper without tearing it.
For connectivity hiccups, ensure your device is properly connected to Staples’ Wi-Fi or the printer’s network. Restarting your device or the printer often resolves minor glitches.
If print quality looks off, check the ink or toner levels and adjust the print settings for the best results.
Don’t hesitate to ask Staples staff for help—they’re familiar with common issues and can assist quickly.
Taking these steps will help you troubleshoot efficiently and get your prints without delay.
Frequently Asked Questions
Can Staples Print Large Format Posters or Banners?
Yes, Staples can print large format posters or banners for you. Just bring your design file, choose your size and material, and they’ll handle the printing.
You’ll get vibrant, professional results ready to display or promote your message. It’s pretty simple and hassle-free!
Are There Membership Discounts for Frequent Printing Customers?
Think of Staples as a garden—membership discounts are the sunlight helping your printing savings grow.
Yes, you can join their rewards program to earn points and enjoy exclusive deals.
This makes frequent printing more affordable and rewarding for you.
What File Formats Are Accepted for Printing at Staples?
You can print files in PDF, JPEG, PNG, TIFF, and Microsoft Office formats like Word, Excel, and PowerPoint at Staples. They accept most common formats, so just bring your file on a USB or email it to them.
It’s pretty straightforward. Just make sure your file is ready, and Staples will take care of the rest.
Is Staples’ Printing Service Available 24/7?
You won’t find Staples’ printing service awake 24/7; it sticks to regular store hours.
Can I Request Double-Sided Printing at Staples?
Yes, you can request double-sided printing at Staples. Just tell the associate or select the double-sided option when using their self-serve printers.
It saves paper and looks professional, so don’t hesitate to ask!
Conclusion
Now that you know how to use the printer at Staples in just seven easy steps, why not give it a try today? From preparing your document to picking up your prints, the process is straightforward and hassle-free.
You’ll save time and get quality results without any stress. It’s really that simple to get your printing done right at Staples.
So next time you need prints, Staples has got you covered. They’re ready to make your printing experience smooth and efficient, whether it’s for documents, photos, or any other project.
Using the Staples printer means fast service and great quality every time. Give it a go and see how easy printing can be!