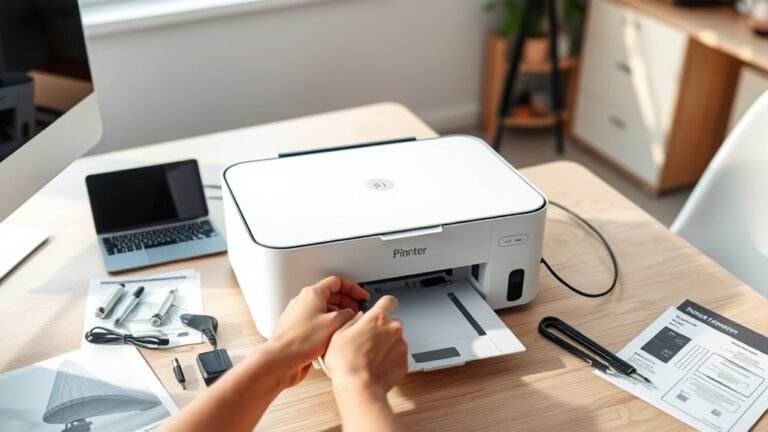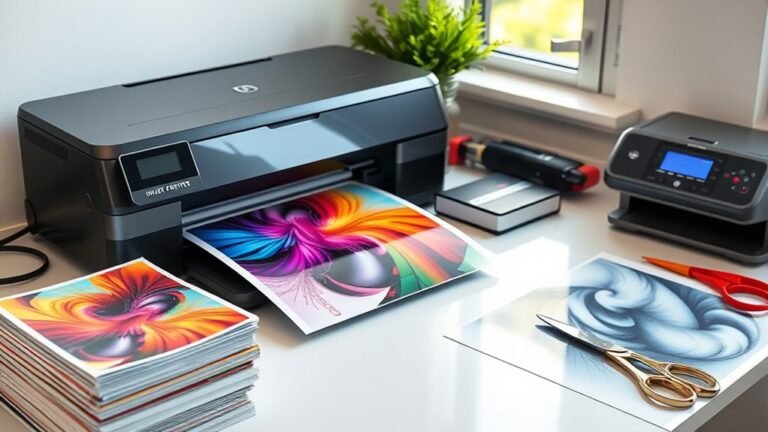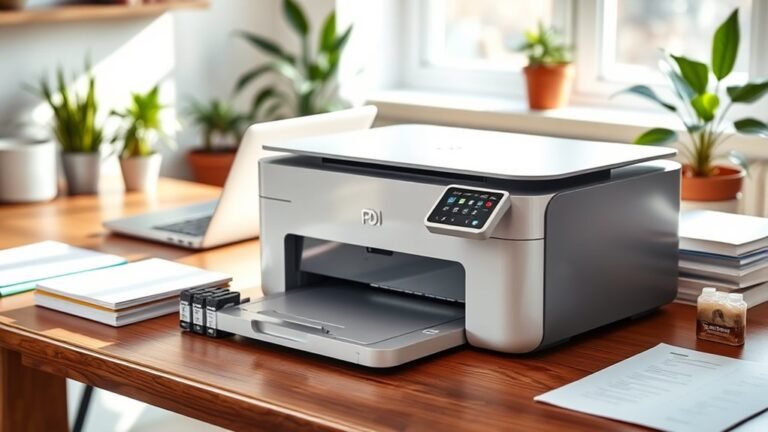
How Is a Sublimation Printer Used in Everyday Printing?
You use a sublimation printer daily to create vibrant, durable designs on polyester fabrics and coated surfaces like mugs or phone cases. This type of printing is perfect for adding eye-catching, long-lasting graphics to everyday items.
By printing your design on special transfer paper, then using a heat press at 350–375°F, you turn ink into gas that bonds with the material’s fibers.
This process produces soft, lasting prints that won’t crack or peel over time. With the right supplies and technique, you can customize everything from T-shirts to photo panels.
It’s a fun way to bring your creative ideas to life and make personalized gifts or products. Keep exploring to discover tips and creative project ideas.
Key Takeaways
- Sublimation printers use heat to convert ink into gas that bonds with polyester or polymer surfaces for vibrant, durable prints. They print designs onto transfer paper which is then heat-pressed onto items like polyester shirts, mugs, and mousepads.
- These printers need high-quality sublimation ink and compatible transfer paper to produce sharp, fade-resistant images. It’s important to use the right materials to get the best results.
- Also, designs have to be mirrored before printing. Plus, they need to be printed with precise color profiles to make sure the colors come out just right.
- In everyday use, sublimation printers are great for customizing polyester apparel, ceramic mugs, phone cases, and small accessories. They handle detailed, full-color images really well.
What Is Sublimation Printing and How Does It Work
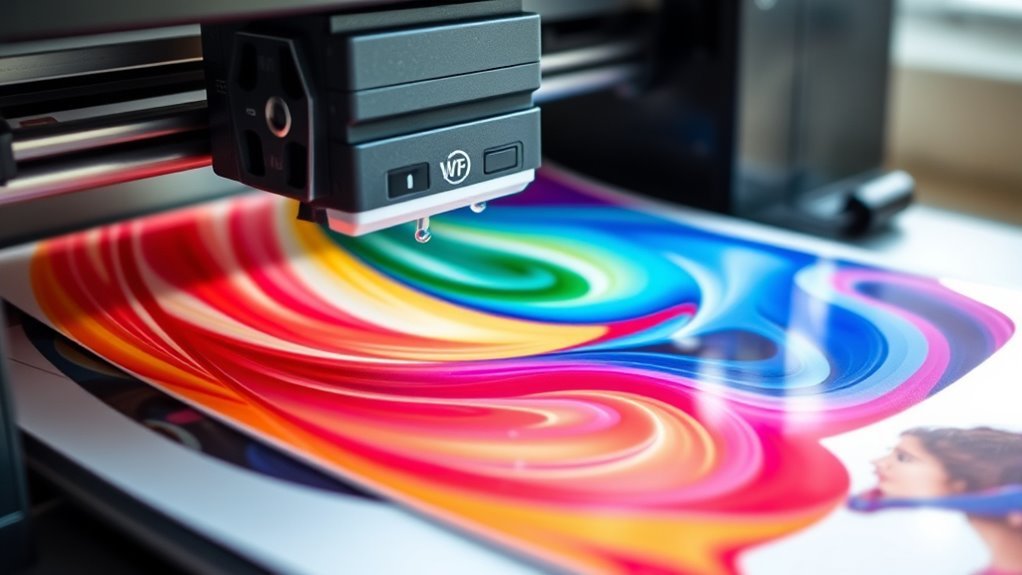
Although it might seem complex at first, sublimation printing is a straightforward digital heat-transfer process that lets you create vibrant, durable designs by turning special sublimation inks into gas with a heat press.
Sublimation printing transforms special inks into gas, creating vibrant, durable designs through a simple heat-transfer process.
You start by printing your design with sublimation ink onto transfer paper. Then, using a heat press set between 350–375°F, the heat converts the ink into gas, which bonds with polyester fibers or coated surfaces.
This process makes the dye part of the material, resulting in prints that are soft, vibrant, and resistant to fading or cracking. Sublimation printing works best on light-colored, high-polyester fabrics or specially coated ceramics and metals since the inks can’t lighten dark materials.
To get the best results, prepare high-resolution, color-corrected, and sometimes mirrored images. This guarantees precise and lasting transfers.
Essential Supplies for Daily Sublimation Printing
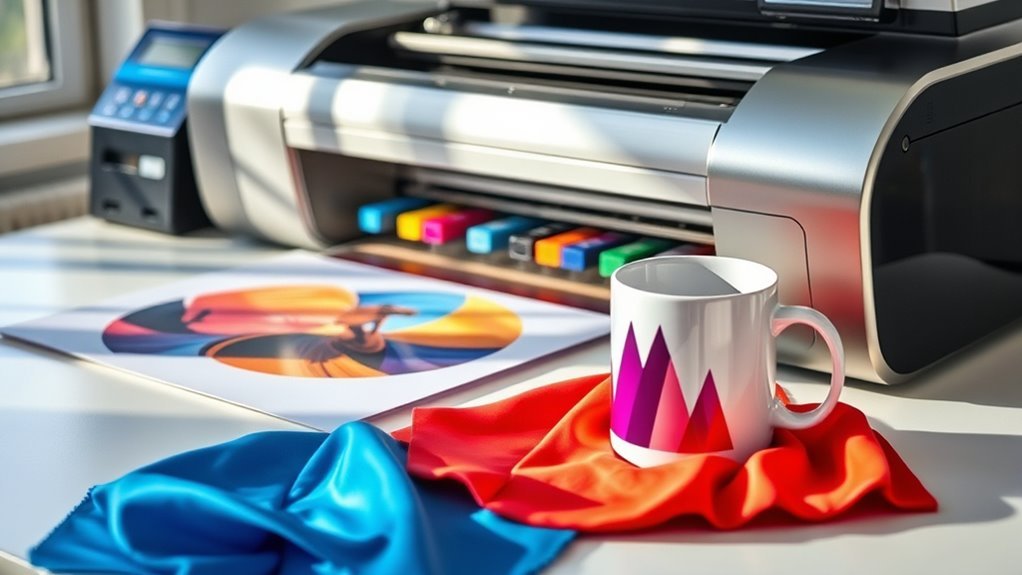
Now that you understand how sublimation printing works, let’s look at the supplies you’ll need to keep your daily workflow smooth and efficient. First, you’ll need a dedicated sublimation printer loaded with high-quality sublimation ink and compatible heat-transfer paper.
A calibrated computer with design software guarantees your images maintain sharpness and color accuracy. For transfers, use a reliable heat press set between 350–375°F with adjustable pressure and a digital timer for consistency.
Stock up on 100% polyester garments or polyester-coated items like mugs and metal to guarantee vibrant, durable prints. Don’t forget essentials like heat-resistant tape, Teflon sheets, lint-free pads, and thermal gloves to protect materials and maintain alignment.
Regular maintenance with cleaning solutions and spare parts keeps your printer running smoothly and colors vivid every day. It’s all about staying prepared so your prints come out perfect every time.
How to Get Your Designs Ready for Sublimation
Preparing your designs properly guarantees vibrant, accurate sublimation prints every time. Start by exporting your final design as a high-resolution PNG or JPG in sRGB color space, sized exactly to your print dimensions with a 0.125–0.25 inch bleed for edge-to-edge sublimation.
Convert all text to outlines or rasterize layers to avoid font issues, and flatten transparency while keeping an editable master file for future tweaks. Use vibrant, saturated colors, and proof your work on a calibrated monitor, since sublimation inks print darker and may shift slightly on polyester.
Don’t forget to mirror any design with text or directional graphics before printing. Finally, save and organize your print-ready files per substrate template, adding crop or registration marks if needed to make certain precise cuts and transfers.
Step-by-Step Sublimation Printing Workflow
Before you start, make sure you have all the essential supplies, including a sublimation printer, transfer paper, heat press, and your substrate.
Once your design is ready, print it onto the transfer paper and trim it carefully.
Then, apply heat with the press to transfer your image onto the material perfectly.
Easy, right? Just follow these steps, and you’ll get great results every time!
Essential Supplies Gathering
Start by gathering all the essential supplies to guarantee a smooth sublimation printing process. You’ll need a computer, a sublimation printer, sublimation inks, and high-quality sublimation paper—ideally 150–300 GSM as recommended by your printer manufacturer.
Next, prepare a heat press rated to reach 350–375°F (177–190°C), heat-resistant tape, Teflon or silicone sheets, and protective pads sized to your substrates. These help guarantee even pressure and prevent scorching.
Select compatible substrates like 100% polyester garments or polymer-coated items such as mugs and metal panels. Avoid cotton or untreated dark materials unless they’re specially coated.
Also, keep cleaning supplies, spare printer parts, and a temperature/time chart handy. These come in handy for consistent results and troubleshooting.
If cutting’s involved, gather a vinyl cutter and weeding tools. Just make sure your designs are print-ready in PNG or JPG format at 150+ DPI with bleed and sRGB profile.
Printing And Cutting
You’ll often begin by designing your artwork at the exact final size, making sure it includes bleed and a mirrored layout for textiles. Once your design is ready, print it onto transfer paper using your sublimation printer with the correct color profiles and ink settings.
If you’re working with cut designs, send the printed transfer paper to a vinyl cutter or plotter to trim the outlines precisely. For full-bleed transfers, you can skip cutting altogether.
After cutting, you’ll position the transfer paper onto your substrate, getting it ready for the heat press step. This printing and cutting stage guarantees your artwork matches your intended dimensions and style, setting a solid foundation for the sublimation process that follows.
Heat Press Application
Once your design is printed and cut, it’s time to apply it to your substrate using a heat press. First, preheat the press to 350–375°F, which is the typical range for dye sublimation. Adjust the pressure based on your substrate’s thickness to get the best results.
Next, place the printed transfer face-down on your item and secure it with heat-resistant tape. Cover it with a Teflon sheet or a protective cloth to avoid scorching.
Press for 25–30 seconds, then release the pressure. It’s important to wait for the timer to finish before lifting the press.
After that, carefully remove the protective cover and peel off the transfer paper. You can do this while it’s warm or cool, depending on your material’s instructions.
Finally, let your item cool completely. Be sure to follow the care guidelines to maintain those vibrant colors and strong adhesion.
Tips for Vibrant, Durable Sublimation Prints
To achieve vibrant, durable sublimation prints, focus on using 100% polyester or high-polyester blends. That’s because sublimation dyes bond chemically with polyester fibers instead of just sitting on the surface.
For vibrant, lasting sublimation prints, always choose 100% polyester or high-polyester blends.
Print your designs at high resolution (150–300 DPI) using the sRGB color profile. Also, include a small bleed (1/8–1/4 inch) to guarantee edge-to-edge coverage without white borders.
Preheat garments briefly to remove moisture and wrinkles. Then, press at 350–375°F for 25–30 seconds with medium pressure to transfer the dye onto the substrate effectively.
Make sure to use true sublimation inks and compatible paper. Don’t forget to mirror your image before printing, and secure edges with heat-resistant tape to prevent shifting.
After pressing, let the substrate cool slightly before peeling it off. For lasting results, wash items inside out in cold water and avoid ironing printed areas.
Fixing Common Sublimation Printing Problems
You’ll want to tackle print quality issues by checking your temperature, pressure, and ink choices carefully.
Preventing heat press problems means setting the right time and securing your materials properly to avoid ghosting or creases.
Let’s explore how to fix these common challenges for sharp, vibrant results every time.
Troubleshooting Print Quality
Sublimation printing often runs into common quality issues that can frustrate even experienced users. If your colors look faded or muddy, make sure you’re using true sublimation inks, print in sRGB or the recommended profile, and replace old ink cartridges—oxidation dulls vibrancy.
Ghosting or double images usually happen when the platen moves during transfer. So, secure your paper with heat-resistant tape and use a silicone pad to keep things steady.
White spots or poor adhesion may mean insufficient heat, pressure, or time. Follow the manufacturer’s settings, pre-press substrates, and increase pressure for thicker items.
Color shifts require correct ICC profiles and test presses. To avoid cracking or peeling, use proper sublimation media and stick to recommended temperature and timing for durable, vibrant prints.
Preventing Heat Press Issues
When heat presses don’t reach the right temperature or pressure, your transfers won’t bond properly. This leads to poor adhesion and faded designs.
Set your dye sublimation press between 350–375°F with medium to firm pressure for 25–30 seconds. Be sure to adjust the settings based on how thick your substrate is.
To prevent white creases or unprinted spots, smooth your garments flat. Use heat-resistant sheeting or silicone pads to ensure even platen contact.
Avoid color fading by using dedicated sublimation ink—not dry ink. Keep your cartridges fresh with regular maintenance to get the best results.
Over-curing or using incompatible substrates can cause cracking and damage during washing. So, always follow the manufacturer’s guidelines and stick to 100% polyester or coated materials.
Finally, secure your transfers with heat-resistant tape to stop ghosting from shifting while pressing. That little extra step really helps keep your designs sharp!
Everyday Items You Can Easily Sublimate at Home
Often, creating personalized items at home becomes a fun and rewarding project, especially with sublimation printing. Using sublimation ink, you can easily customize everyday items that brighten your space or wardrobe.
Here are three popular options:
- Polyester T-shirts and Jerseys – With a heat press set to 350–375°F for 25–30 seconds, you get vibrant, long-lasting prints on 100% polyester or high-poly blends.
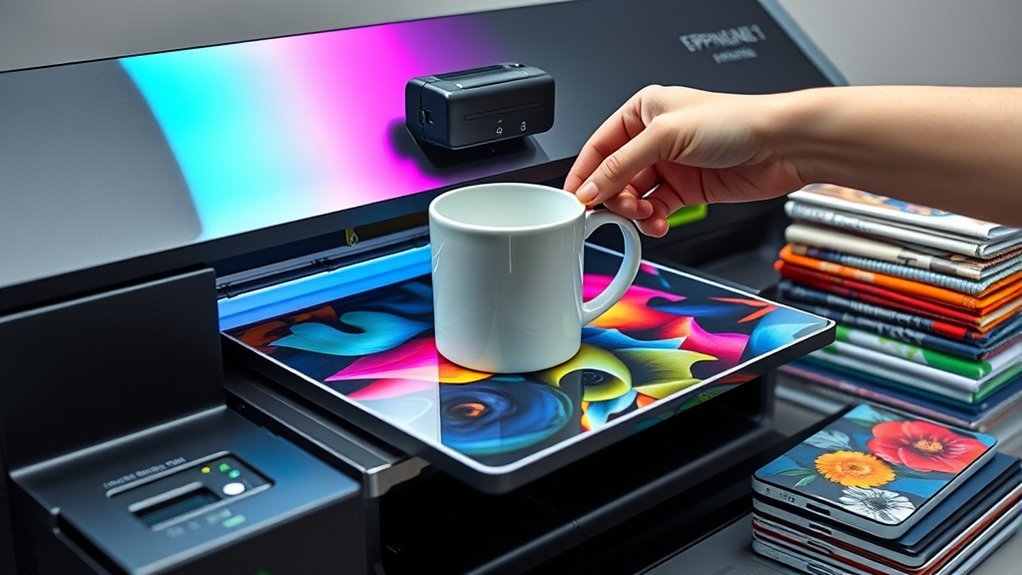
- Ceramic Mugs and Phone Cases – Using a mug press or wrap method, you can sublimate coated mugs and cases for unique, personalized gifts. These make great presents for friends and family.
- Mousepads, Coasters, and Keychains – These small items sublimate quickly with a desktop printer and small heat press. They’re perfect for quick, custom accessories you can use or gift anytime.
Creative Everyday Sublimation Printing Projects
Exploring creative everyday sublimation printing projects lets you transform ordinary items into personalized treasures. When your print becomes vibrant and durable, you can create custom photo mugs by heat-pressing high-res images onto sublimation paper, then applying them at around 350–375°F.
Transform everyday items into vibrant, personalized treasures with high-res sublimation printing at 350–375°F.
You can also design personalized sports jerseys with all-over dye sublimation on polyester fabric. This ensures the print becomes long-lasting without cracking.
For home décor, produce full-bleed pillow covers by pressing polyester at 350°F, giving your photos edge-to-edge coverage. Want unique gifts? Sublimate phone cases, mouse pads, and keychains using polyester blanks and recommended press times for vivid results.
Plus, your print becomes a lasting keepsake when transferred onto metal or ceramic photo panels. These projects turn everyday printing into creative, personalized expressions.
Frequently Asked Questions
What Are the Types of Sublimation?
You’ll find several types of sublimation: inkjet-based for small runs, textile printers for fabrics, ceramic and metal for hard goods, plus hybrid methods like vinyl sublimation.
These hybrid methods let you print on various surfaces beyond standard polyester. It’s a pretty flexible process depending on what you need!
Do Sublimation Printers Print Photos?
Yes, you can print photos with a sublimation printer. You’ll print on special transfer paper, then heat-press it onto polyester fabrics or coated items.
This creates vibrant, durable, full-color images with sharp details. It’s a great way to get high-quality photo prints on things like shirts, mugs, and more.
What Is Needed for Sublimation Printing?
Think of sublimation printing as painting with heat—you’ll need a sublimation printer with special inks, heat-transfer paper, a heat press, polyester substrates, heat-resistant tape, and design software to bring your vibrant creations to life.
It might sound like a lot, but once you get the hang of it, it’s pretty straightforward. Each tool plays a key role in making your designs pop with color and durability.
What Is a Sublimation Printer and How Does It Work?
A sublimation printer uses special inks to transfer mirrored images onto heat-transfer paper. You then apply heat and pressure, turning the ink into gas that bonds permanently with polyester surfaces.
This process creates vibrant, durable prints that really stand out. It’s pretty cool how the ink actually becomes part of the material, making the design long-lasting and resistant to fading.
Conclusion
You might think sublimation printing is just for professionals, but it’s surprisingly simple and perfect for your everyday projects.
While traditional printing often fades or peels, sublimation delivers vibrant, durable designs that last. With just a few supplies and easy steps, you can transform ordinary items into personalized treasures.
So, don’t wait—embrace the magic of sublimation and watch your everyday printing go from bland to brilliant in no time! Sublimation printing is a fantastic way to add a splash of color and creativity to your daily printing needs. Whether you’re customizing mugs, t-shirts, or home decor, this method ensures your designs stay bright and long-lasting. Give sublimation a try and see how it can elevate your printing projects with ease and style!