How to Add a Printer on iPhone in 10 Easy Steps
To add a printer on your iPhone, first make sure both your iPhone and AirPrint-enabled printer are powered on and connected to the same Wi-Fi network. This connection is key because AirPrint works wirelessly to send your print jobs directly from your device. Before you start, it’s a good idea to check if your printer supports AirPrint by looking at its specifications or through the iOS Print menu.
Once you’ve confirmed that, open the document or photo you want to print. Tap the Share icon, then select Print from the options. You’ll see a list of available printers—choose yours from there. You can adjust print settings if needed, like the number of copies or page range.
Finally, tap Print to send your job to the printer. If you run into any issues or want to explore alternative methods, keep reading for more tips and solutions to make printing from your iPhone a breeze!
Key Takeaways
- Ensure your iPhone and AirPrint-enabled printer are powered on and connected to the same Wi-Fi network.
- Open the document or photo you want to print. Tap the Share icon, then select Print from the Share Sheet.
- Tap Select Printer to search for your AirPrint-compatible printer on the local Wi-Fi. Choose your printer from the list.
- Adjust print settings like copies, page range, and color to fit your needs before confirming the print job.
- When you’re ready, tap Print in the top-right corner to send your document to the printer over the local network.
How to Add a Printer on iPhone in 10 Easy Steps
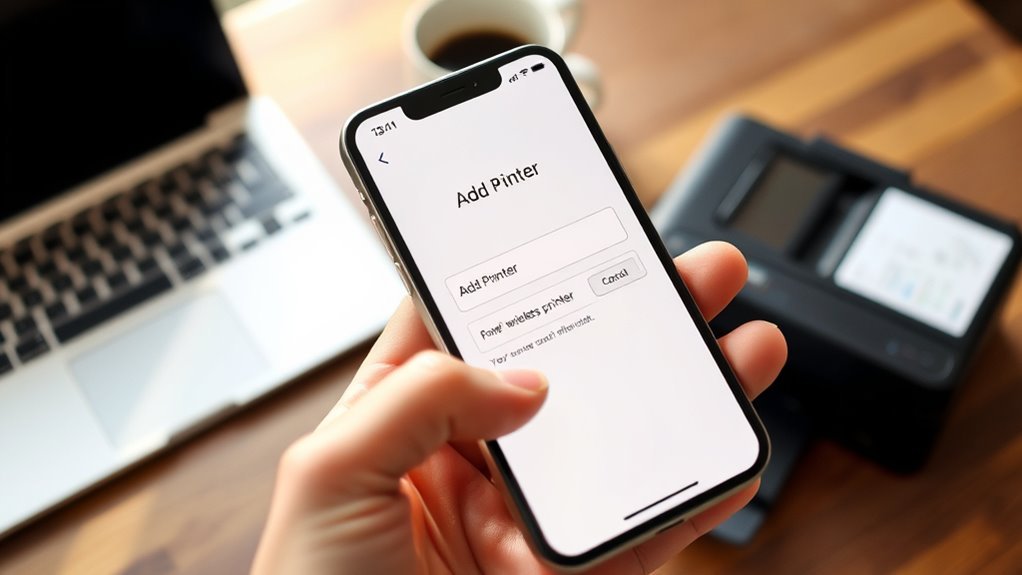
Start by ensuring your iPhone and AirPrint-enabled printer are both on and connected to the same Wi-Fi network. AirPrint requires this shared connection to work properly.
Make sure your iPhone and AirPrint printer are on the same Wi-Fi network for seamless printing.
Open the document, photo, or webpage you want to print. Tap the Share icon—a square with an up arrow—then scroll and tap Print.
Tap Select Printer to have iOS automatically find AirPrint printers nearby. Choose your printer from the list.
Next, adjust print options like the number of copies, page range, or color settings if available. When you’re ready, just tap Print to send your job.
If your printer isn’t AirPrint-capable, you’ll need the manufacturer’s app or a cloud service like ezeep to print from your iPhone. Following these steps makes adding a printer with AirPrint quick and easy.
Connect Your iPhone and Printer to the Same Wi-Fi Network
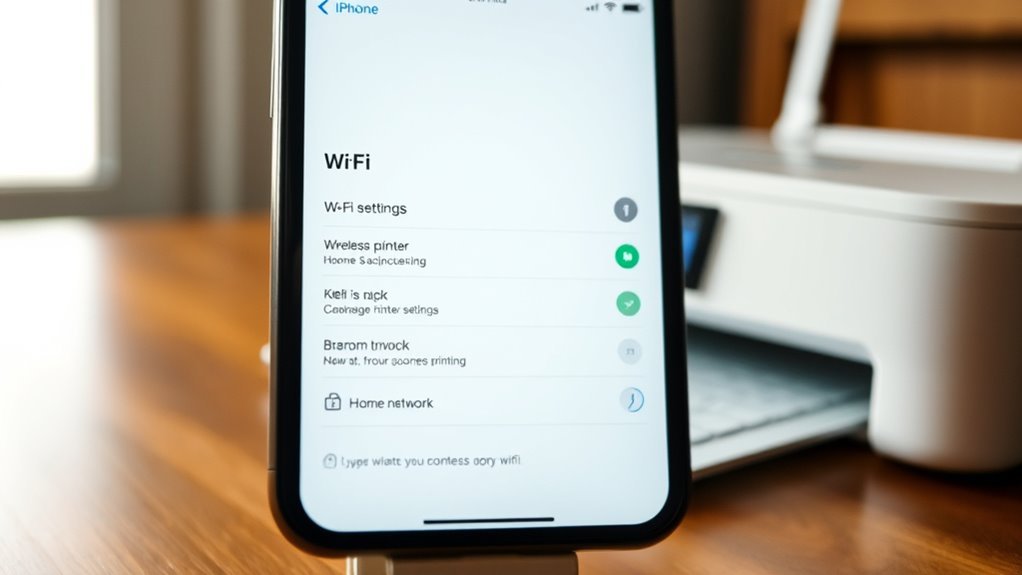
To print from your iPhone using AirPrint, both your device and printer need to be connected to the exact same Wi-Fi network. Make sure your iPhone and printer are on the same network name (SSID); AirPrint won’t detect printers on different or guest networks.
Confirm your printer is powered on and connected to your router via Wi-Fi or Ethernet. AirPrint works over the local network, not through a USB connection to a computer.
If your printer offers Wi-Fi Direct, you can temporarily join its hotspot with your iPhone to print without a router. Staying on the same Wi-Fi network guarantees seamless communication between your iPhone and printer, making AirPrint quick and hassle-free.
See If Your Printer Supports AirPrint
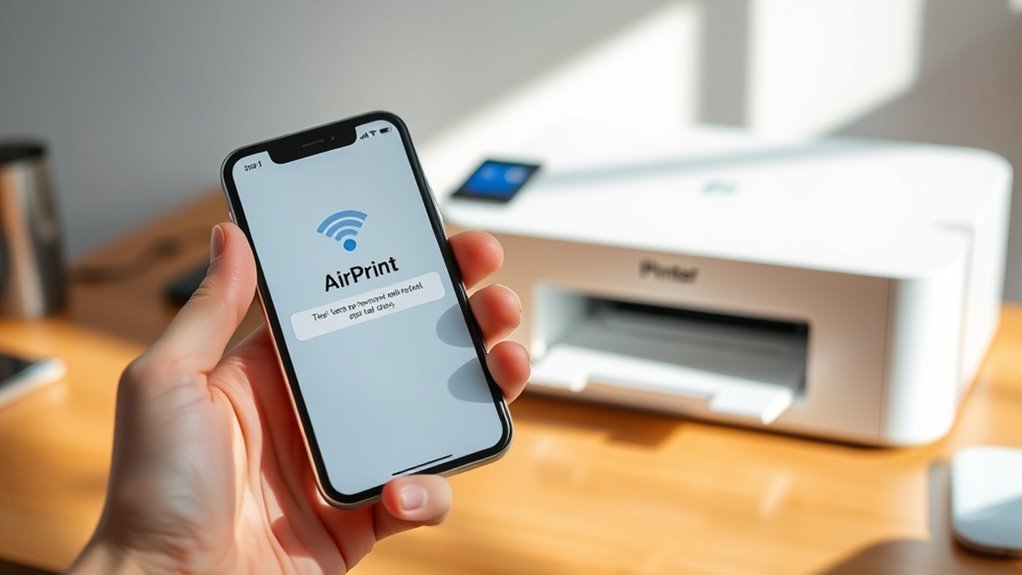
To see if your printer supports AirPrint, check the specifications or the manufacturer’s website for compatibility. Make sure your printer is connected to the same Wi-Fi network as your iPhone, since AirPrint only works over Wi-Fi or wired networks.
Once connected, you can easily find AirPrint-enabled printers through the iOS Print menu. It’s pretty straightforward to get started!
AirPrint Compatibility Check
Before you can print from your iPhone, you’ll want to check whether your printer supports AirPrint, Apple’s built-in wireless printing technology. To do this, check your printer’s specifications or visit the manufacturer’s website. Most modern printers clearly list AirPrint compatibility there.
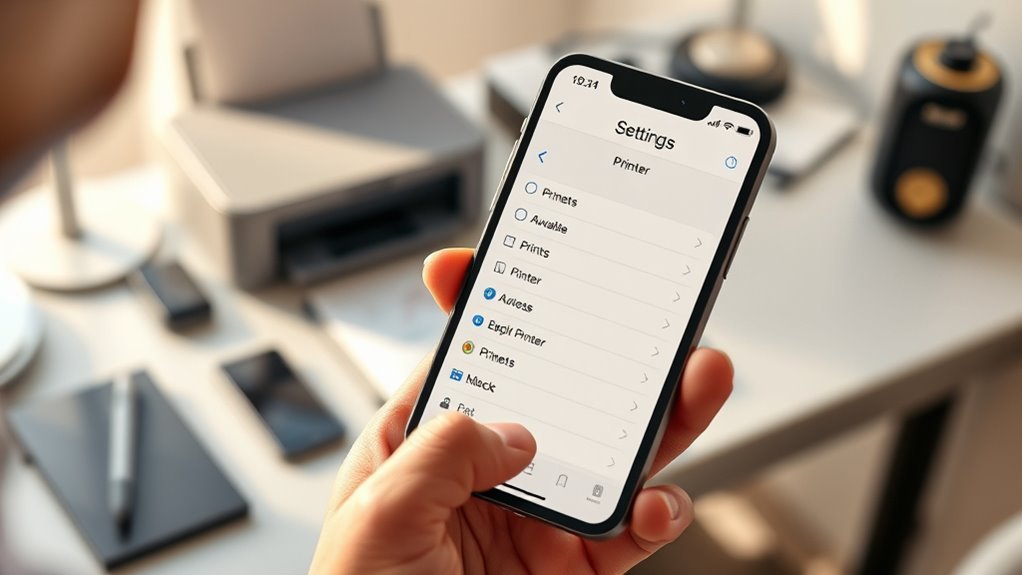
You can also open any app on your iPhone, tap Share → Print → Printer, and see if your printer appears in the AirPrint list. iOS detects compatible printers automatically, so this is a quick way to check.
If your printer isn’t listed, make sure its firmware is up to date, since some models gain AirPrint support through updates. If it still doesn’t work, try exploring manufacturer-specific apps or third-party cloud printing services.
Confirming your printer supports AirPrint guarantees a smooth, wireless printing experience from your iPhone. It’s definitely worth the quick check!
Confirm Printer Network Connection
When confirming your printer’s network connection, make sure it’s powered on and linked to the same Wi-Fi network as your iPhone. AirPrint requires both devices to share a network, so your printer should be connected via Wi-Fi or a wired connection to your router—not through USB or Bluetooth.
To verify your device is an AirPrint printer, check its specifications or the manufacturer’s website. If it’s not AirPrint-enabled, you might need the manufacturer’s iOS app or a third-party cloud printing service.
When unsure, consult your printer’s manual or contact support to confirm compatibility and any necessary network settings. Ensuring your printer is properly connected and compatible is essential before you proceed with adding it to your iPhone.
Open Your Document and Access the Share Menu
First, open the document, photo, or webpage you want to print using its native app on your iPhone.
Next, look for the Share icon—a square with an upward arrow—usually at the bottom of the screen. Tapping this icon will bring up the Share menu where you can find the print option.
Open Document Options
To get started with printing on your iPhone, open the document, photo, email, or webpage you want to print using its native app like Files, Photos, Mail, or Safari. Once you open the document, look for the Share icon or the Actions/Menu button to access available options.
If you don’t see the Share or Print option immediately, try zooming in on the document preview with two fingers to reveal the Share button. Tapping it will bring up further options, including Print.
| Step | Action |
|---|---|
| 1. Open the document | Use Files, Photos, Mail, etc. |
| 2. Tap Share or Menu | Find share or action options |
| 3. Reveal Print option | Scroll or zoom to find Print |
Locate Share Icon
After opening your document and accessing the basic options, your next step is to find the Share icon, which looks like a square with an upward arrow. This Share button typically appears at the bottom of the screen in apps like Photos, Safari, and Files.
If you don’t see it right away, tap the screen once to reveal hidden toolbars or menus where the Share button usually resides. Tap the Share icon to open the Share Sheet, where you’ll find actions like Copy, Save, and Print—scroll if necessary to locate Print.
In some apps, printing might be tucked behind a three-dot Actions button or an app-specific Share menu. If the Share button or Print option is missing, try opening the document in the Files or Photos app to access printing features.
Select “Print” and Choose Your AirPrint Printer
When you’re ready to print, open your document, photo, or webpage and tap the Share icon—a square with an upward arrow. Scroll the Share Sheet and tap “Print.”
In the Print dialog, tap “Select Printer” to let your iPhone search for AirPrint-enabled printers on the same Wi-Fi network. Once found, choose your AirPrint printer from the list. Your iPhone only shows compatible printers connected to your Wi-Fi, ensuring a smooth connection.
| Step | Action |
|---|---|
| 1 | Tap Share icon |
| 2 | Select “Print” |
| 3 | Tap “Select Printer” |
| 4 | Choose AirPrint printer from the list |
| 5 | Confirm printer is AirPrint compatible |
If no printer appears, check the printer’s power, Wi-Fi, and AirPrint support. Make sure everything’s turned on and connected properly before trying again.
Adjust Print Settings Like Copies and Page Range
After selecting your AirPrint printer, you can tap Copies to choose how many prints you want.
If you only need certain pages, look for Options or Range to enter specific page numbers.
These simple adjustments help you print exactly what you need without wasting paper.
It’s pretty straightforward once you get the hang of it! Just a few taps, and you’re all set.
Managing Copy Quantity
Tap the printer name in the Print dialog to confirm your selection, then set the exact number of copies you want using the Copies field before sending the job. This makes sure you print the right amount without wasting paper.
After setting the copies, review any additional options like double-sided printing or color settings to optimize your printout. When everything looks good, tap the Print button to start printing.
Keep in mind, if you need multiple copies of different page ranges, you’ll have to print each range separately. That means adjusting copies and pages for each job since iOS applies the same pages to all copies in one print job.
If your app lacks page-range support, consider exporting the file to a PDF app or using your printer’s official app for more control. It’s a handy workaround to get exactly what you need.
Selecting Specific Pages
Getting your print job just right means selecting the exact pages you want to print along with the number of copies. iOS lets you adjust these settings easily by accessing the print options—here, you can enter specific page numbers or ranges, like 1, 3-5, to avoid printing unnecessary pages.
After tapping Share → Print, tap Options or the preview area to reveal settings where you can set copies by tapping plus or minus buttons. To select pages, tap Pages in apps that support it, then type the desired pages or range before printing.
If you see a print preview, pinch to expand it, then use the Page Range field or page selector to pick pages. For apps without page-range options, export needed pages to a new PDF and print that to control output precisely.
Confirm and Send Your Print Job From the iPhone
Start by opening the document, photo, or webpage you want to print. Then, tap the Share icon (that’s the square with an arrow) and select Print to get to the iOS printing options.
Next, tap Printer (or No Printer Selected) to choose an AirPrint-enabled printer on your Wi-Fi network. You can set the number of copies and tweak options like page range, color, or double-sided printing if your printer supports it.
Take a quick look at the print preview screen to make sure everything looks right. When you’re ready, just tap Print in the top-right corner to send your print job immediately.
Your iPhone sends the job directly over the local network to the printer, so it’s super easy to print without any extra steps or waiting around.
Troubleshoot Common Printing Issues on iPhone
Once you’ve sent your print job from the iPhone, you might still encounter issues like the printer not showing up or jobs getting stuck in the queue. First, make sure your iPhone and AirPrint-enabled printer are on the exact same Wi-Fi network—AirPrint won’t work otherwise.
Ensure your iPhone and AirPrint printer share the same Wi-Fi network to avoid connection and printing issues.
If the printer doesn’t appear in the Print dialog, power-cycle both the printer and router. Then, reopen the document and tap Share → Print → Printer to rediscover it.
Keep both your iPhone’s iOS and the printer’s firmware updated to avoid bugs. If print jobs stall, open the Print Center via the App Switcher to cancel them, or restart the printer and resend.
These steps usually fix common AirPrint issues quickly and keep your printing smooth. So, don’t worry—it’s usually an easy fix!
Use Alternatives for Non-AirPrint Printers on iPhone
When your printer doesn’t support AirPrint, you’ll need to turn to alternative methods to print from your iPhone. Start by installing the printer maker’s app, like Epson iPrint or HP Smart. These apps let you print over your Wi-Fi network without using AirPrint.
If you have a USB-only or legacy printer, try cloud print services such as ezeep. Just install its app, sign in, and connect to compatible printers. You can also set up an ezeep Connector on your PC to expose the printer to your iPhone.
For Wi-Fi Direct or Bluetooth printers, pair your iPhone and print through the manufacturer’s app. These third-party apps often handle driverless cloud rendering and let you customize settings like duplex printing. They provide a smooth alternative when AirPrint isn’t available.
Tips for Smooth Printing From Your iPhone
To make certain smooth printing from your iPhone, you’ll want to verify that both your device and the AirPrint-enabled printer are powered on and connected to the exact same Wi-Fi network. AirPrint only discovers printers on the same local network, so this step is vital.
When ready, open your document or photo, tap the Share icon, then Print. Select your AirPrint-supported printer, adjust copies or page range, and set options like duplex or color before printing to avoid waste.
Open your document, tap Share, select Print, choose your printer, and customize settings before printing.
If your printer doesn’t support AirPrint, use the manufacturer’s app or a cloud service like ezeep. For older or USB printers, consider a cloud connector or computer sharing since iOS doesn’t support adding non-AirPrint printers directly.
Following these tips guarantees hassle-free printing from your iPhone.
Frequently Asked Questions
How Can You Add a Printer to Your iPhone?
You can add a printer to your iPhone by connecting both devices to the same Wi-Fi. Then, open the document you want to print.
Next, tap Share and select Print. Choose your AirPrint printer from the list.
Adjust the settings if you need to, and when you’re ready, just tap Print. It will start printing right away!
How to Print From iPhone Without Airprint?
Oh, who needs AirPrint? You can print from your iPhone using third-party apps like ezeep or your printer’s own app.
You can also connect via Wi-Fi Direct, or run a helper app on your PC to bridge the gap.
It’s pretty simple once you know the options!
How Do I Print From My iPad?
You print from your iPad by opening the item and tapping the Share icon. Then, select Print and choose an AirPrint-enabled printer that’s on the same Wi-Fi network.
After that, you can adjust your print options and tap Print. If your printer isn’t AirPrint-enabled, you’ll need to use its app or find another method to print.
How to Transfer Photos From iPhone to Printer?
Like sending a message in a bottle, you just select your photos, tap Share, then Print.
Choose your AirPrint printer, tweak settings, and send them sailing to paper.
It’s that simple and magical!
Conclusion
Adding a printer to your iPhone is like planting a seed in a garden—you start with the right connection, nurture it with the right steps, and soon, your ideas bloom onto paper. Just as a gardener adapts to the weather, you can troubleshoot or try alternatives if needed.
With patience and these simple steps, printing from your iPhone becomes as effortless as watching flowers grow. It’s all about turning your digital world into something tangible. Following these easy steps ensures a smooth setup, making printing on your iPhone quick and hassle-free. So, whether it’s for work or personal use, adding a printer to your iPhone opens up new convenience right at your fingertips.