How to Add HP Printer to Wi-Fi in 7 Easy Steps
To add your HP printer to Wi-Fi, start by noting your network’s exact name (SSID) and password. These details are crucial for a smooth connection. Power on your printer, complete the initial setup prompts, and place it near the router to ensure a strong signal.
Next, use the Wireless Setup Wizard, WPS button, or the HP Smart app to connect your printer to the network. These methods make it easy to link your printer without hassle. After connecting, download and install the correct drivers from HP’s official website to ensure compatibility and performance.
Finally, add the printer to your device, print a test page to confirm everything works, and troubleshoot any issues as needed. Keep going to explore setup tips and troubleshooting tricks that can help you get the most out of your HP printer on Wi-Fi.
Key Takeaways
- Power on the printer and complete the initial setup prompts. Make sure it shows a wireless icon or a WPS option.
- Connect the printer to Wi-Fi using one of these methods: the Wireless Setup Wizard, the WPS button, or the HP Smart app.
- When prompted, enter the exact Wi-Fi network name (SSID) and password. Remember, the SSID is case-sensitive.
- Place the printer within 3–6 feet of the router. This helps ensure a strong signal and avoids connection issues.
- Finally, check for a solid wireless light on the printer. You can also print a Wireless Network Test Report to confirm the connection is successful.
Gather Essential Network and Printer Information

Before you begin connecting your HP printer to Wi-Fi, gather key network and printer details to guarantee a smooth setup. Start by noting your Wi-Fi network name (SSID) exactly as it appears on your router or its label—remember, it’s case-sensitive.
Have your Wi-Fi password handy, as it’s essential for your new printer to join the network, especially if your router uses WPA2 or WPA3 encryption. Next, find and write down your printer model number, usually visible on the front or back of the device or its box. This helps you download the correct drivers and setup guides.
If your printer was previously linked to another network, reset its network settings so it can detect your current SSID. Also, check if your router uses 2.4 GHz or 5 GHz, since many HP printers only support 2.4 GHz Wi-Fi. It’s a good idea to double-check this before you start.
Prepare Your HP Printer for Wireless Setup
Start by powering on your HP printer, installing the ink cartridges and paper, and completing any initial setup on the control panel.
If your printer was connected to a different network before, reset its network settings to clear old configurations. This guarantees your printer is ready for a smooth wireless setup.
Power On And Setup
Unbox your HP printer, plug it in, turn it on, and follow the initial setup prompts like selecting your language and region. Then, install the ink cartridges and load paper to get ready for wireless configuration.
If you’re working with a new HP printer, this step guarantees it’s ready to connect to your network. Make sure the control panel is responsive and displays options like a Wireless icon or Wi-Fi Protected Setup (WPS).
Place your printer within 3–6 feet of your router to avoid connection issues. Once set up, you can smoothly proceed to Connect Your Printer to WiFi.
Also, confirm your printer model number before setup. That way, you can download any needed drivers or instructions if the prompts aren’t clear.
This power-on and setup process is essential to add your HP printer to WiFi successfully.
Reset Network Settings
Although resetting your HP printer’s network settings clears previous Wi-Fi connections, it’s an essential step to prepare your device for a fresh wireless setup.
To do this, press and hold the Wireless and Cancel (X) buttons simultaneously for about 5 seconds until the wireless light blinks or the control panel shows a reset message. If your printer lacks these buttons, just navigate the control panel or Embedded Web Server to select “Restore Network Defaults.”
After resetting, confirm the wireless light is off or blinking and the printer displays “Ready.” Keep your printer near the router and have your SSID and password handy.
You can reconnect using the Wireless Setup Wizard, WPS, or the HP Smart app. Try to avoid using a USB cable now unless you’re setting up a new account through direct connection.
Connect Your HP Printer to WiFi
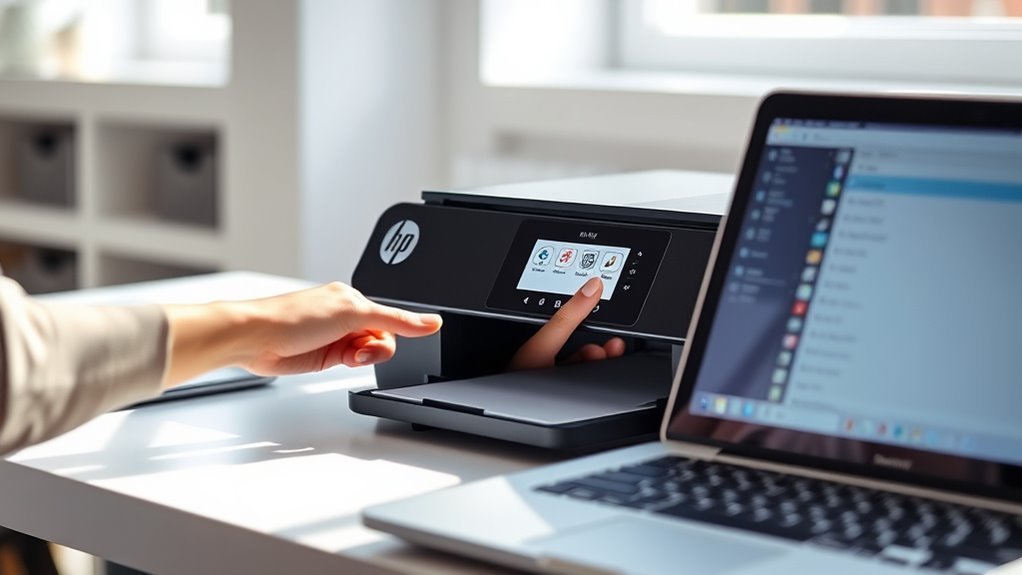
Now that your printer is ready, it’s time to connect it to your Wi-Fi network. You can use the Wireless Setup Wizard, WPS button, HP Smart app, or a USB connection to get it online.
Once connected, look for a solid wireless light or confirmation on your device to make certain the setup was successful. It’s pretty straightforward, so you’ll be up and running in no time!
Preparing Printer For Setup
Start by powering on your HP printer, loading paper and ink or toner, and completing any initial setup prompts on the screen.
If someone else used the printer on another network, reset its network settings to avoid conflicts. Confirm your Wi-Fi name (SSID) and password, and make sure your router broadcasts a compatible band (2.4 GHz or 5 GHz).
Place the printer close to the router, away from walls or metal objects. Then, check the wireless light or network status on the control panel.
| Step | Action | Tip |
|---|---|---|
| Power On | Turn on printer | Load paper & ink/toner |
| Reset Network | Hold Wireless + Cancel buttons | Clears old network details |
| Verify Wi-Fi & Location | Check SSID, password, and signal | Use 2.4 GHz if needed |
Wireless Connection Methods
To connect your HP printer to Wi-Fi, you can rely on several convenient methods tailored to your device and network setup. Use the Wireless Setup Wizard on your printer’s control panel by steering to Settings → Network Settings → Wireless Setup Wizard. Then select your network and enter the password until the wireless light is solid.
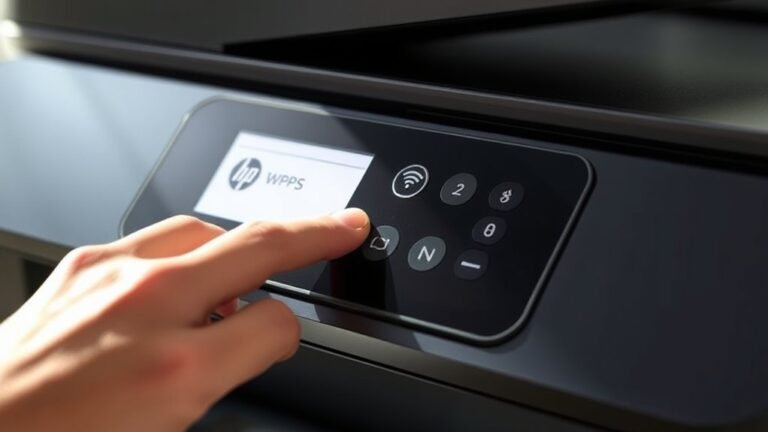
If your router supports WPS, just press its WPS button. After that, hold the printer’s Wireless/WPS button within two minutes to connect.
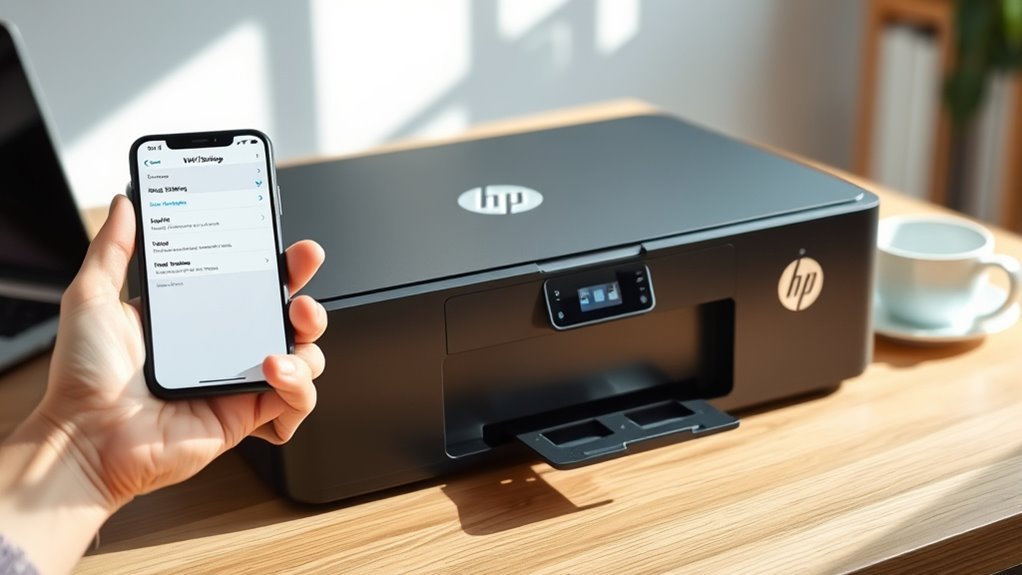
For printers without screens, open the HP Smart app on your phone, add the printer, and follow the prompts to transfer Wi-Fi credentials.
Alternatively, connect the printer to a computer via USB, run the HP installer, select “Wireless” setup, then disconnect the USB once connected.
If the connection fails, verify your credentials, restart devices, or reset network settings before trying again. It usually does the trick!
Confirming Successful WiFi Connection
Once your HP printer finishes the Wi-Fi setup, check that the wireless light is solid—usually blue or green—to confirm a successful connection. Next, print a Wireless Network Test Report or Network Configuration Page from the printer’s control panel. This helps you verify the SSID, IP address, signal strength, and connection status.
On Windows, go to Settings → Devices → Printers & scanners, select your HP printer, then click Manage → Printer Properties → Ports or print a test page. This confirms the IP address matches your router’s subnet (e.g., 192.168.x.x).
On macOS, open System Preferences → Printers & Scanners, select your printer, and check Options & Supplies for the IP address. Make sure it’s on the same network.
If your printer appears offline or shows the wrong SSID, just rerun the Wireless Setup via the HP Smart app or the printer’s setup wizard. That should get you back online in no time.
Download and Install HP Printer WiFi Drivers
Locate your exact HP printer model—like the HP Envy 6055—on the printer label or control panel. Then, head over to support.hp.com to download the latest full-feature driver or the “HP Easy Start” installer that matches your operating system.
During installation, choose the wireless connection option. When prompted, enter your Wi-Fi SSID and password. The installer will handle most of the setup automatically for home networks.
If your printer supports HP Smart, it’s a good idea to download the app. It offers a guided setup that downloads drivers and configures the wireless profile for you.
For printers without a display, connect them temporarily via USB. Run the installer, pick wireless as your final connection, and then disconnect the USB cable.
If the installer can’t locate your printer, try updating your OS first. Also, disable any VPNs or firewalls temporarily, and make sure both your printer and computer are on the same network before trying again.
Add Your HP Printer to Windows, Mac, and Mobile Devices
Start by ensuring your HP printer and device are connected to the same Wi-Fi network. On Windows, download the latest drivers from support.hp.com. Run the installer choosing “Wireless,” then add the printer via Control Panel if it’s not found automatically.
For macOS, open System Preferences → Printers & Scanners. Click +, select your printer or add it by IP. Install any HP drivers if prompted.
On iPhone or iPad, connect to the same Wi-Fi, then print directly from apps using AirPrint. Or, install the HP Smart app for enhanced features.
Android users should install HP Smart or enable the Default Print Service/HP Print Service Plugin in Settings → Printing. Then, add the printer on the shared network.
If your printer lacks a screen, use HP Smart or WPS for setup. It’s usually pretty straightforward!
Print a Test Page and Troubleshoot Wireless Connection Issues
If your HP printer isn’t printing as expected, printing a test page can quickly help you verify its wireless connection. Start by printing a wireless network test page from the printer’s control panel to check the SSID, IP address, and connection status.
You can also use the HP Smart app or Embedded Web Server for diagnostics and to confirm signal strength. If your printer is offline, double-check the Wi-Fi password and try moving the printer closer to the router.
If that doesn’t work, restart both devices. Sometimes a quick reboot fixes the issue.
For ongoing problems, reinstall the latest HP drivers and consider setting a manual IP address. This often helps resolve stubborn connection issues.
| Issue | Solution |
|---|---|
| Printer offline | Verify Wi-Fi password and restart devices |
| Weak signal | Move printer nearer to router (RSSI > -70 dBm) |
| Connection errors | Use HP Smart diagnostics |
| DHCP problems | Set manual IP address |
| Driver issues | Reinstall latest HP software |
Understand the Benefits of Wireless HP Printing
Wireless HP printing opens up a world of convenience by letting you print from multiple devices on the same Wi-Fi network without tangled cables. You can easily share your HP printer across laptops, phones, and tablets, saving valuable desk space.
HP wireless printers support mobile printing protocols like AirPrint for iOS and Mopria for Android, plus the HP Smart app. This means you can print directly from your smartphone or cloud services such as Google Drive.
With Wi-Fi connectivity, you get automatic firmware updates, remote diagnostics, and advanced features like scan-to-email. Security is strong with WPA2/WPA3 protection, but it’s best to avoid public or guest networks that block device communication.
Frequently Asked Questions
How Do I Set up My HP Printer on Wi-Fi?
You power on your HP printer and access the Wireless Setup Wizard. Then, select your Wi-Fi network and enter the password.
Alternatively, you can use the HP Smart app or the WPS button for a quick connection. Just follow the prompts to finish the setup.
How to Reset an HP Printer?
To reset your HP printer, press and hold the Wireless and Cancel buttons together for about 5 seconds. This will quickly reset some settings without much fuss.
If you want a full reset, you can use the control panel’s Settings menu. Or, try the HP Smart app to restore factory defaults. It’s pretty straightforward and gets everything back to square one.
How to Connect HP Deskjet 2700 to Wi-Fi?
Imagine your HP DeskJet 2700 as a bird ready to soar—just press and hold the Wireless button. Then, select your Wi-Fi network and enter the password.
Or, you can use the HP Smart app to connect it effortlessly to your wireless world. It’s pretty simple and quick!
How to Connect Printer to Computer?
You connect your printer to your computer by plugging in a USB cable or adding it over Wi-Fi through your system’s printer settings.
Just follow the prompts to install drivers, and you’re almost done.
Then, confirm the connection with a test print to make sure everything’s working right.
Conclusion
You’ll wonder how you ever lived without adding your HP printer to Wi-Fi—it’s like magic! With just a few simple steps, you’ll be printing wirelessly from anywhere in your home or office, no cables tying you down.
Say goodbye to frustrating setups and hello to smooth, effortless printing. Once connected, your HP printer becomes a productivity powerhouse, making your life so much easier.
You might even start printing just for fun! Adding your HP printer to Wi-Fi not only boosts convenience but also enhances your workflow. It’s a simple process that transforms your printing experience, letting you print documents, photos, and more from multiple devices seamlessly.
With your HP printer on Wi-Fi, you enjoy flexibility and freedom, whether you’re working remotely or managing tasks at home. So, get ready to unlock the full potential of your printer and enjoy hassle-free wireless printing every day!