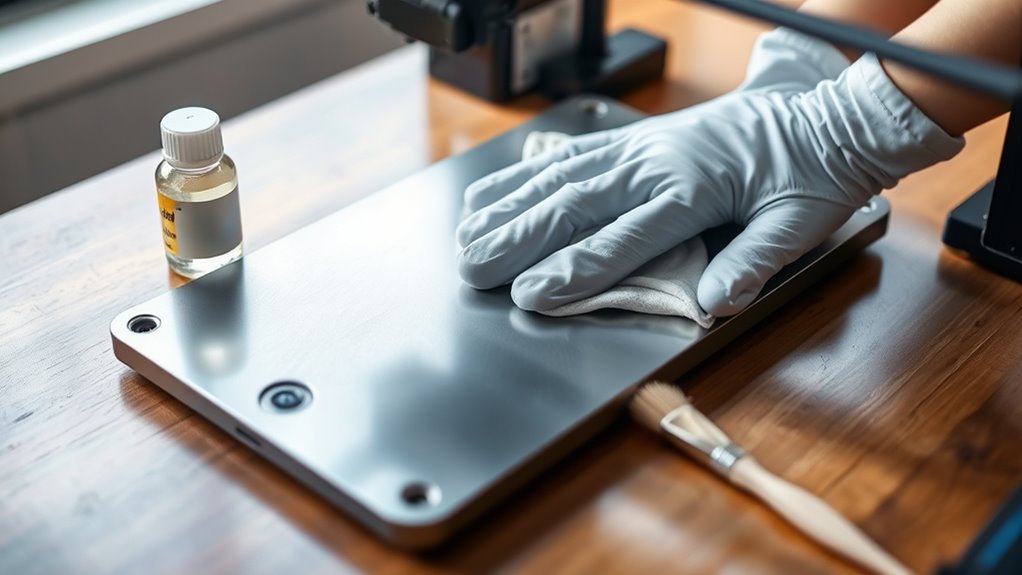
7 Easy Steps to Clean Your 3D Printer Build Plate
To clean your 3D printer build plate effectively, start by identifying the stubborn residue spots that are left behind after printing.
These leftover bits can be tricky, but don’t worry—it’s easier than you think to get your build plate looking spotless again. Using a slicer, add a cube primitive and adjust its size to cover the contaminated area, setting the thickness to around 0.4 mm.
Next, position the patch exactly over the residue, then slice and start printing the patch. Once the area is covered, pause the print, let it cool briefly, and gently peel off the patch. This lifts the residue without damaging the surface.
Following these simple steps helps restore your build plate smoothly while protecting its surface from tough leftover filament. Keep going to uncover more tips for flawless results!
Key Takeaways
- Inspect the build plate for residue and measure affected areas to plan cleaning or patching accurately.
- Avoid aggressive scraping on textured or PEI-coated surfaces to prevent damage.
- Use a thin patch print (~0.4 mm thick) to cover and soften residue for easy removal.
- Peel off the patch while warm with a steady grip to lift residue without harming the build plate.
- Clean the surface gently after residue removal to ensure good adhesion for future prints.
Understand the Residue Problem on Your Build Plate
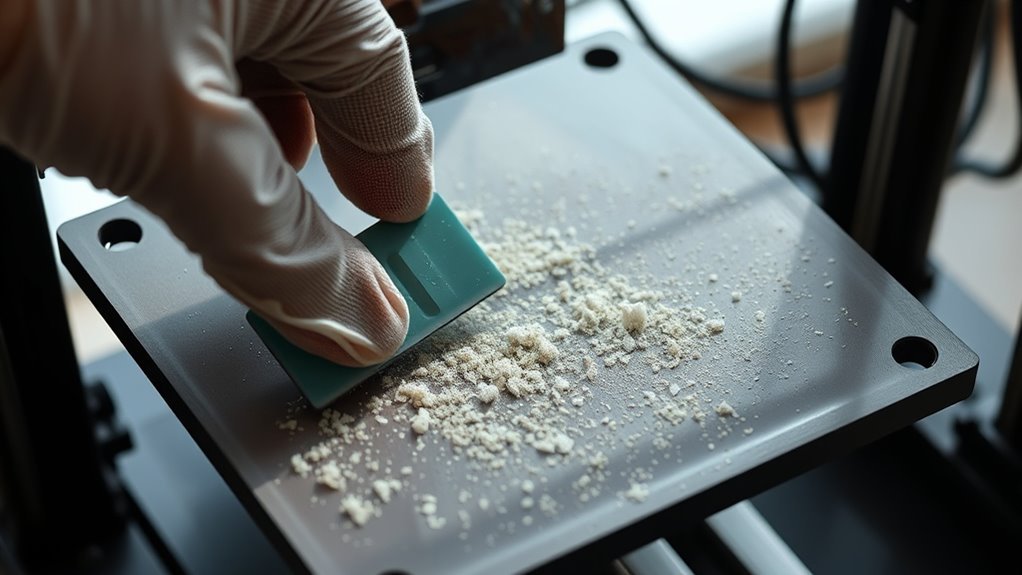
When you start noticing rough, uneven residue on your 3D printer’s build plate, it’s usually PLA leftover that’s bonded tightly after cooling. Even a thin layer, just 0.2–0.4 mm thick, can interfere with adhesion and first-layer quality.
You’ll want to select cleaning methods carefully since the residue’s strength depends on extrusion temperature and cooling speed—hotter and slower means stronger bonds. Add a visual inspection and measure the affected area, like a 100 x 100 mm patch, to plan your approach.
If your build plate has a textured or PEI-coated surface, avoid aggressive scraping to prevent damage. Understanding these factors helps you choose the best way to clean without harming your build plate, so your prints stick well and come out clean.
Add a Cube Primitive in Your Slicing Software for Residue
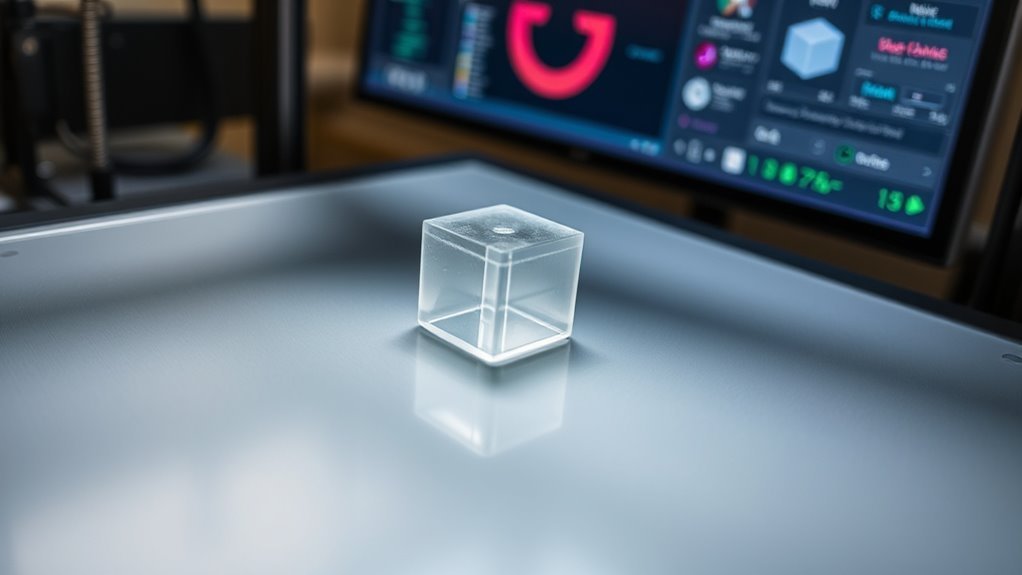
To tackle residue on your build plate, add a cube primitive in your slicer software to create a thin, precise layer that targets the affected area.
Add a cube primitive in your slicer to create a thin layer that precisely targets build plate residue.
In Bamboo Studio or similar, right-click the build plate, select “Add Primitive,” and choose a cube. Use the Scale tool and untick “Uniform Scale” to adjust the cube’s thickness independently from length and width.
Set the Z dimension to about 0.4 mm, roughly two filament layers thick. Then, set the X and Y dimensions to cover the residue—say, 100 × 100 mm.
Drag and position the cube exactly over the contaminated spot on the virtual bed, ensuring full coverage. Finally, slice the model to generate a print job that will lay down a fresh filament layer, ready to peel away old residue.
Adjust the Cube Size and Thickness to Cover Residue
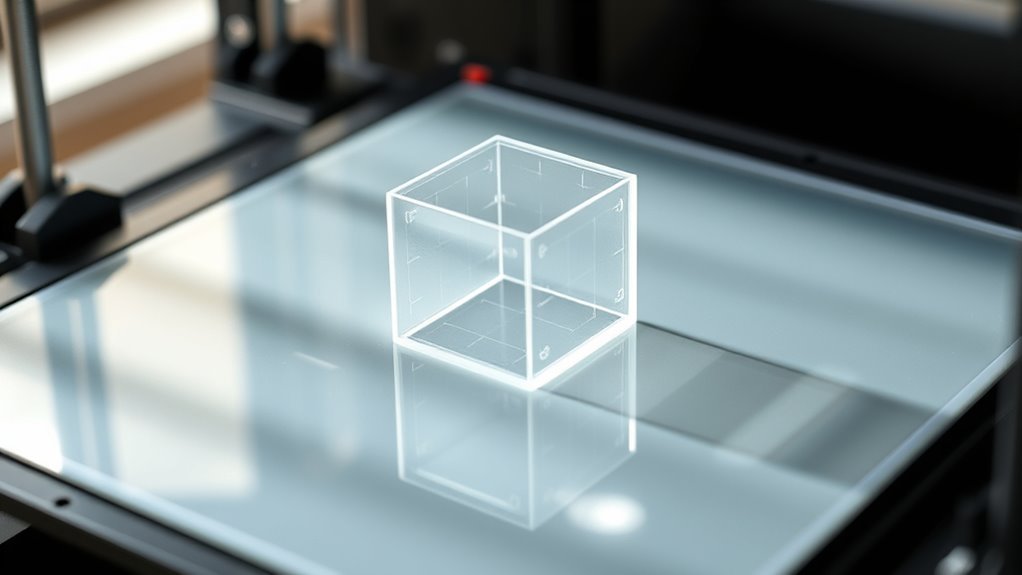
Start by unticking the “Uniform Scale” option in Bamboo Studio’s scale tool. This lets you adjust the cube’s thickness separately from its length and width.
Set the cube’s thickness (Z) to 0.4 mm—about two standard 0.2 mm filament layers. This creates a thin film that bonds well to the residue.
Next, adjust the X and Y dimensions to roughly 100 x 100 mm, or to a size that fully covers the contaminated area on your build plate. This guarantees the patch is large enough to address the residue without wasting material.
Position the Patch Over the Residue Spot in Software
Drag the thin cube patch over the residue spot on the virtual build plate, making sure it aligns perfectly from multiple camera angles. In Bamboo Studio, right-click the build plate, select “Add Primitive,” then choose a cube.
Use the Scale tool and untick “Uniform Scale” to set the cube thickness independently to 0.4 mm, about two filament layers. Adjust the X and Y dimensions to roughly 100 x 100 mm or just enough to fully cover the affected area.
Carefully position the cube directly over the visible residue area, checking alignment from different views to make certain it sits flush with the bed. This precise placement guarantees your patch will effectively cover the residue without interfering with the rest of your print.
Slice the Patch in Software and Prepare Your Printer
Slice the patch in your software to generate the print job and review the estimated print time—typically around 14 minutes for a 100×100 mm patch at 0.4 mm thickness.
In Bamboo Studio, right-click the build plate, add a cube primitive, then scale X/Y to about 100×100 mm and thickness to 0.4 mm by unticking “Uniform Scale.” Drag the cube so it overlaps the residue spot, checking from multiple angles.
After slicing, prepare your printer by loading filament and ensuring smooth extrusion. Here’s a quick overview:
| Step | Action | Tip |
|---|---|---|
| Add Primitive | Right-click, add cube | Use non-uniform scale for thin patch |
| Position Patch | Drag over residue | Confirm placement visually |
| Slice & Review Time | Generate print job | Expect ~14 min print duration |
Print the Patch and Pause After Coverage
Once you’ve generated the patch in your slicer, fire up the printer to lay down two filament layers over the residue. Slice a 100 x 100 mm, 0.4 mm-thick cube and start printing to cover the contaminated area, which usually takes about 14 minutes.
Keep a close eye on the print and stop or pause once the patch fully covers the residue—you don’t need to wait for the entire print to finish. When the patch is done, pause the printer while the filament is still warm.
Then, raise the nozzle and let the patch cool briefly so it stays pliable but not molten. This timing guarantees the filament bonds well with the residue, making it easier to remove in the next step.
Peel Off the Patch to Remove Residue
Once the patch finishes printing over the residue, carefully raise the nozzle and peel it off while still warm. You’ll want to use a snug, steady grip to lift the patch, as this helps pull away most of the stuck PLA cleanly.
Adjust your print settings to make certain the patch bonds well without overdoing it. This makes removal easier and more effective.
Applying The Patch
Although it might seem unusual, applying a thin printed patch directly over the crusted PLA residue offers an effective way to lift it off your build plate. Start in Bamboo Studio by adding a cube primitive. Untick “uniform scale,” set thickness to 0.4 mm, and adjust X/Y to about 100 × 100 mm to cover the residue.
Drag the cube over the crusted area and slice it, estimating a ~14-minute print. Begin printing, letting fresh filament bond with the residue. Stop once coverage is enough, raise the print head while warm, then peel the patch off.
The residue should come away cleanly, sometimes with stray bits.
| Step | Action |
|---|---|
| 1. Add cube | Set thickness & X/Y size |
| 2. Position | Align over residue |
| 3. Slice | Generate print job |
| 4. Print | Lay filament on residue |
| 5. Peel | Remove patch with residue |
Optimal Print Settings
Applying the patch correctly depends heavily on choosing the right print settings to guarantee it bonds well with the residue and peels off cleanly. Set the patch thickness to about 0.4 mm—roughly two layers of 0.2 mm filament—to make certain good adhesion without wasting material.
Use a 100 × 100 mm X–Y patch size to cover common residue spots efficiently while keeping print time around 14 minutes. Print at your usual nozzle temperature for that filament so the new plastic fuses properly with the old residue.
Stop the print once the area is covered; you don’t need to finish the entire patch. Keep uniform scaling unticked so you can adjust thickness independently from X–Y size, optimizing both adhesion and easy removal.
Peeling Off Technique
Peel off the patch while it’s still warm to maximize the bond between the new filament and the residue. First, add a thin cube in your slicer, set thickness to 0.4 mm, and size it roughly 100 x 100 mm to cover the affected area.
Position it carefully over the residue and slice the model. Start printing the patch; it usually takes about 14 minutes, but you can stop early once enough coverage is achieved.
When printing finishes, raise the head and, while the patch remains warm, grab an edge and peel it off. The new filament should lift away the stuck PLA residue.
This technique removes stubborn bits without tools, but be mindful not to peel too hard or too long to avoid damaging your build plate. It’s a handy trick once you get the hang of it!
Frequently Asked Questions
How to Clean up a 3D Printed Model?
To clean up your 3D printed model, gently scrape off supports while the model is still cool. This helps avoid damaging the print.
If there’s stubborn residue, soak the model in warm soapy water for a bit. It’ll loosen things up nicely.
Next, use isopropyl alcohol to remove any oils or fingerprints. This step really helps get the surface ready for finishing.
Finally, carefully file and sand your model for a smooth, detailed finish. Take your time here—it makes a big difference!
How Often Should You Clean the Build Plate on a 3D Printer?
You should clean your 3D printer build plate lightly every 3–5 prints. Then, perform a deeper cleaning every 10–20 prints or whenever you notice adhesion issues.
If you’re printing with abrasive materials, it’s a good idea to clean the plate more often. This helps maintain print quality and prevents damage over time. Keeping up with this routine makes your prints come out better and your printer last longer.
How to Clean an Elegoo Print Plate?
You don’t need magic—just print a thin PLA square over the grimy spot using Bamboo Studio.
When warm, peel it off; the new filament lifts the old residue. Easy, no CAD skills or special tools required!
What Can I Clean My 3D Printer Plate With?
You can clean your 3D printer plate with isopropyl alcohol for light residue. For stubborn PLA, gently heat the bed and scrape softly.
Avoid acetone unless the surface is compatible. And if you have heavy buildup, warm soapy water works well.
Conclusion
You might think a dirty build plate is just a minor hassle, but by following these steps, you’ll find cleaning it surprisingly simple—and oddly satisfying. As you print that patch and peel it away, you realize it’s not just residue coming off; it’s frustration, too.
Coincidentally, a cleaner plate means better prints and a clearer mind. So, take a moment, tackle the mess, and watch your 3D projects come to life effortlessly. Keeping your 3D printer build plate clean not only improves print adhesion but also extends the life of your equipment.
By maintaining a spotless build surface, you can avoid failed prints and save time and material. So, grab your cleaning tools and enjoy the rewarding process of prepping your 3D printer. Trust me, your future prints will thank you!