What Is Printer Mapping and How Does It Work?
Printer mapping is a handy way to connect your workstation to network printers using IP addresses, hostnames, or shared server paths. This setup makes printers show up automatically in your print dialog, so you can access them easily without fumbling around. It also takes care of installing the right drivers for you, which saves a lot of hassle.
You can manage printer mapping centrally through Group Policy or print servers, making it easier to set up and reducing downtime. Whether you prefer direct IP mapping or server-based methods, this process streamlines your printing experience and keeps things running smoothly.
Curious about how these methods work or how to fix common issues? Keep reading to dive deeper into printer mapping and get helpful troubleshooting tips.
Key Takeaways
- Printer mapping assigns a network or shared printer to a workstation for easy access in the print dialog. It connects printers automatically using UNC paths, IP addresses, or hostnames without manual setup on each machine.
- This means you don’t have to configure printers one by one, which saves a lot of time. Mapping supports deployment via Group Policy, login scripts, print servers, or management tools for centralized control.
- You can go for direct IP mapping, which connects printers by IP for simplicity. Or, you might choose server-based mapping, which centralizes queue management and monitoring.
- Either way, printer mapping ensures the correct driver installation. This makes printing more reliable and maintenance much easier across network environments.
What Printer Mapping Means and Why It Matters
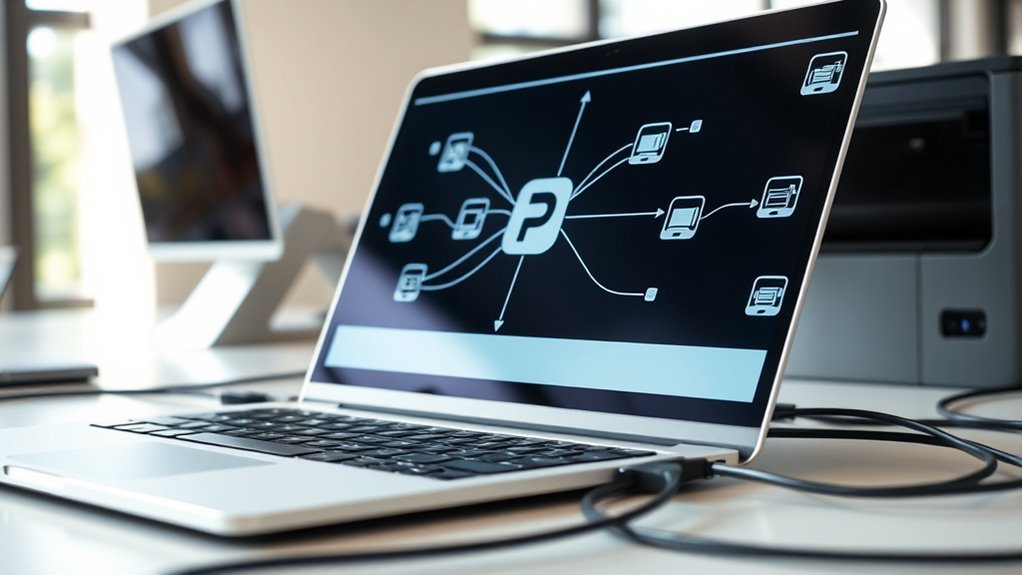
Although it might seem simple, printer mapping plays a crucial role in ensuring you can easily access shared or network printers from your computer. When you map a printer, you assign a network or shared printer—identified by a UNC path, IP address, or hostname—to your workstation.
This makes it appear as an available device in your print dialog. You can do this through various methods like Group Policy Preferences, login scripts, or management tools. Sometimes, even email hyperlinks are used for self-installation, which is pretty handy.
Mapping helps centralize printer queues and monitoring, but you can also use direct IPs for simpler setups. On Windows, you map a printer by adding it via IP or hostname and installing the right driver.
This ensures smooth and reliable printer access every time you print. It’s a straightforward step that really makes a difference in keeping things running without a hitch.
How Printer Mapping Works in a Network Environment
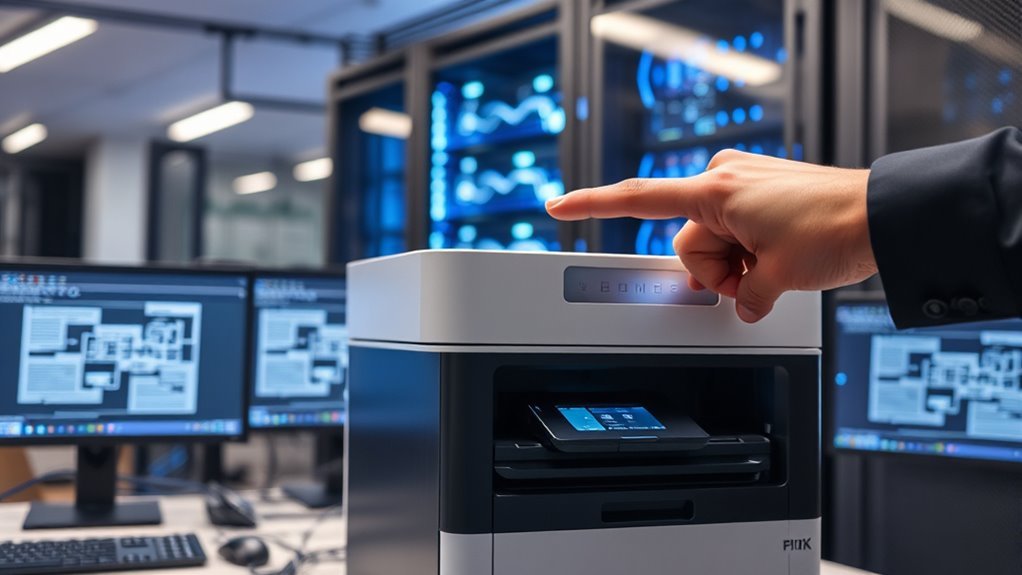
When you map a printer in a network environment, your computer automatically connects to a shared device using either a UNC path, IP address, or hostname. This means you won’t have to set it up manually each time.
In Windows environments, you can map printers via Group Policy, login scripts, or print servers. These methods push connections and drivers to users or machines, making things easier on everyone.
Mapping can use DNS names for flexibility or fixed IPs for simplicity. Both have their perks depending on what you need.
| Method | Connection Type | Key Benefit |
|---|---|---|
| UNC Path | ServerPrinter | Centralized management |
| IP/TCP-IP | Hostname/IP | Quick, direct connection |
| Print Server | Managed Queue | Driver provisioning & tracking |
Comparing Printer Mapping Methods: IP Address vs. Print Server
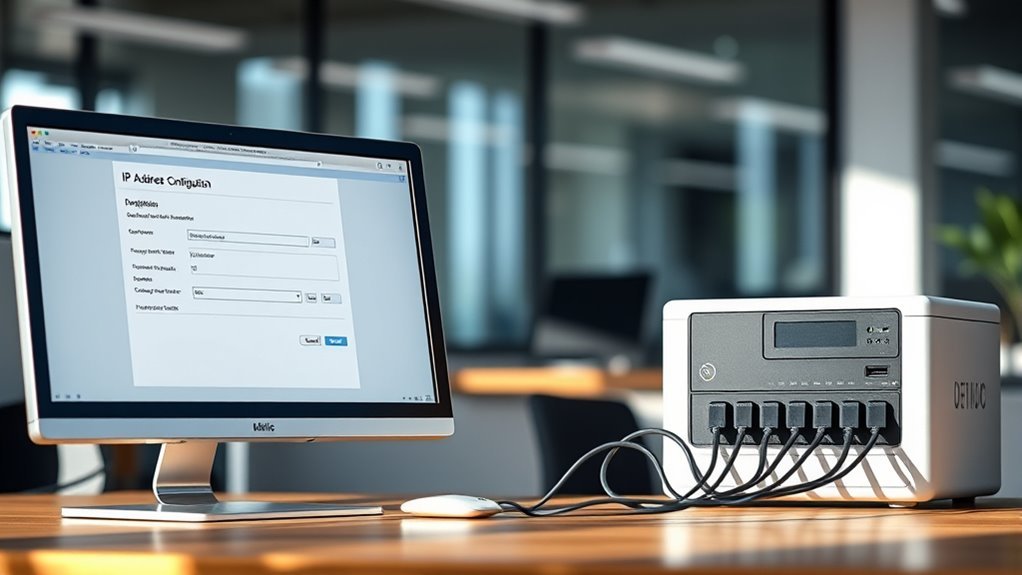
Deciding between IP address mapping and print-server mapping depends on your network’s size and management needs. IP address mapping connects you directly to a printer’s IP or hostname, reducing complexity and letting end-users or local admins clear queues easily.
However, if the printer’s IP changes, you’ll need to reconfigure clients, unless you use DNS names to abstract that change. On the other hand, a print server routes all jobs through a centralized system, offering benefits like queue management, user tracking, and consumption monitoring—essential for auditing and reporting.
It also simplifies driver deployment and supports Windows-only features or Mac access to Windows queues. For simple setups, direct IP mapping works well, but if you need centralized control and policy enforcement, a print server is the better choice.
When to Choose Direct IP Mapping or Print Server Mapping
To choose between direct IP mapping and print server mapping, think about how much control and monitoring you want over your printing setup. If you want something simple where users connect straight to printers, direct IP mapping is your best bet. It cuts down on complexity and delays, and lets users handle their own local print queues.
Consider how much control you need—direct IP mapping offers simplicity and lets users manage local print queues.
But, if you need to keep an eye on things centrally, track usage, or manage drivers for lots of users, then a print server is the way to go. It also works well if you have Mac clients needing Windows-only print queues, and makes driver distribution easier.
For direct IP mapping, try to use DNS names instead of fixed IPs whenever you can. This way, you don’t have to reconfigure clients if IP addresses change.
In the end, pick direct IP if you want simplicity and local control. Go with a print server when you need centralized management and reporting.
How to Use Group Policies and Directory Services for Printer Mapping
Although managing printers across a network can get complex, using Group Policy Preferences (GPP) and directory services like Active Directory lets you deploy and control printer mappings efficiently.
Spiceworks Inc. highlights how GPP’s “Printers” preference item supports deploying TCP/IP and shared printers, with item-level targeting based on OUs, security groups, or IP ranges. Active Directory stores printer objects, letting you abstract IP changes and control access seamlessly.
Here’s how you can leverage these tools:
- Deploy printers by user, group, or computer via GPP
- Use Item-level Targeting for precise printer assignments
- Store printer objects in Active Directory for easy management
- Combine GPP with directory services to simplify driver provisioning and access control
This method streamlines network printer deployment and management effectively.
Print Server Benefits: Monitoring and Queue Management
When you use a print server, you gain centralized control over all print queues, making it easier to manage jobs from one place. You’ll get real-time insights into usage, helping you track who prints what and when.
This makes handling stuck jobs and monitoring device status much more efficient. It’s a real time-saver and keeps everything running smoothly.
Centralized Print Queue Control
Since managing multiple print jobs can quickly become overwhelming, using a print server lets you control all print queues from a single console. Print servers centralize queue management, making it easy to monitor, pause, restart, or cancel jobs for any user without juggling multiple devices.
With centralized print queue control, you can manage printer drivers once on the server for all clients. You can also deploy printers efficiently using Group Policy Preferences. Plus, it handles print job spooling, prioritization, and automatic retries.
It even detects network or server issues that might affect multiple users. This approach improves reliability and simplifies administration, especially in environments needing cross-platform access or advanced Windows-only queue features.
Real-Time Usage Monitoring
Beyond just managing queues, print servers give you real-time insights into printer usage across your network. When you map printers through a print server, you gain detailed logs of print jobs, including user activity, page counts, and document metadata.
This helps you spot stalled jobs early and manage capacity efficiently. You can pause, restart, or cancel jobs remotely, reducing disruptions and support calls.
| Printer Name | Active Jobs | Pages Printed Today |
|---|---|---|
| Office-1 | 2 | 134 |
| Lobby-Printer | 0 | 89 |
| HR-Printer | 1 | 47 |
| Finance-2 | 3 | 156 |
| Sales-3 | 0 | 120 |
Mapping printers via a print server simplifies monitoring and keeps your network printing smooth and transparent. It’s a straightforward way to keep everything running without a hitch.
Enhanced Print Job Tracking
Although managing print queues can feel routine, a print server takes it further by giving you enhanced tracking capabilities that make monitoring effortless and precise. By centralizing print job data—including user info, document name, and timestamps—a print server helps you audit usage and generate detailed reports.
It also keeps you informed on job status in real time, accessible via the printer’s IP address. So, you’re never left guessing what’s happening with your print jobs.
With a print server, you can:
- Monitor print queues for stalled or failed jobs instantly
- Enforce quotas and track cost-per-page for budgeting
- Pause, cancel, or reassign jobs remotely without user intervention
- Analyze error logs to detect recurring issues and plan maintenance
This level of control really streamlines your print environment and cuts down downtime significantly. It’s all about making your printing process smoother and hassle-free.
Troubleshooting Common Printer Mapping Issues
When printer mappings act up, pinpointing the root cause quickly helps you avoid prolonged downtime. Take care to check overlapping Group Policy Objects or legacy scripts if a removed printer keeps reappearing.
Cached per-machine connections might need a reboot or profile reset. If users can’t print to an IP-mapped printer, verify TCP/IP settings by pinging the device, confirming DNS resolution, and ensuring port 9100 is open.
Driver mismatches often cause failures, so install the correct vendor driver with admin rights. For stuck or intermittent print jobs, determine if the printer is direct IP or server-based—clear queues accordingly or check the print server spooler.
On Windows 11, manually add printers if discovery fails, using the IP address or hostname with appropriate drivers. It’s a bit more hands-on, but usually does the trick.
Printer Mapping Automation Tools and Software
Dealing with printer mapping issues manually can really slow you down, especially when you’re working in larger environments. Printer mapping automation tools make this a lot easier by using rules tied to Active Directory, LDAP, client IPs, or hostnames. They auto-assign printers to end users right when they log in or if their workstation changes.
These tools dynamically update mappings and help reduce driver overhead in virtual sessions. This not only improves performance but also makes the user experience smoother.
Here are some key benefits:
- Proximity-based printer selection, so users connect to the nearest device.
- Centralized queue management and monitoring through print server integration.
- Dynamic re-evaluation of rules at logon or when the network changes to keep mappings accurate.
- Support for custom drivers and staged deployments, which is great for mixed setups.
Using automation software like this helps you manage printer assignments efficiently. Plus, it keeps end users productive without all the manual hassle.
Frequently Asked Questions
How to Map a Printer From a Print Server?
You open Printers & scanners, click Add a printer, then select “The printer that I want isn’t listed.”
Next, enter the shared printer’s UNC path (PrintServerNamePrinterShareName), click Next, and follow the prompts to complete the mapping.
It’s pretty straightforward once you get the hang of it! Just take it step by step.
How Do Travel Printers Work?
Like a mini scribe in your bag, travel printers work by connecting wirelessly or via USB to your device. They use inkjet or thermal tech to print basic documents quickly.
These printers are powered by batteries, making them super convenient for on-the-go use. So, you can print wherever you need without being stuck near an outlet.
What Are Two Disadvantages of Sharing a Locally Attached Printer?
Two disadvantages you face when sharing a locally attached printer are losing access if the host PC turns off or crashes and struggling with driver updates since each user might need manual installs or admin rights on their machines.
It can be pretty frustrating because if the host computer goes down, no one can print until it’s back up. Plus, managing drivers across different users isn’t always straightforward—it can mean a lot of extra work for everyone involved.
Why Can’t My Computer Find My Printer on the Same Network?
Your printer’s playing hide and seek because its IP address changed, firewall’s blocking discovery, or it’s on a different subnet.
Check IP, firewall settings, and drivers to bring your printer out of its digital hiding spot.
Conclusion
Printer mapping isn’t just a tech detail—it’s your secret weapon for flawless printing everywhere. Without it, you’d be lost in a sea of cables and error messages, wasting hours on manual setups.
But with the right mapping method, you’ll breeze through network printing like a superhero. So, don’t underestimate printer mapping; it’s the magic that keeps your office running smoothly.
This smart setup saves time and frustration by automatically connecting your computer to the right printer on the network. In short, printer mapping is essential for seamless network printing, reducing errors, and boosting productivity every single day.