How to Print on Acetate With HP Printer in 7 Easy Steps
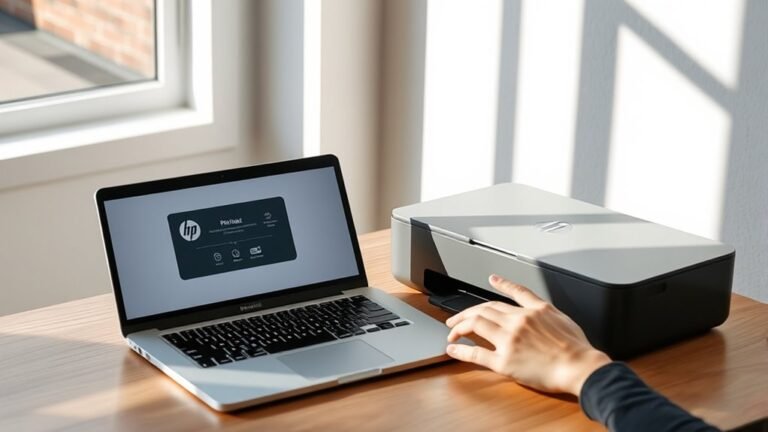
To print on acetate with your HP printer, start by choosing inkjet-compatible transparency sheets that have a rough, printable side. This is super important because not all acetates work well with inkjet printers.
Next, give your printer a quick clean to avoid any ink carryover or smudges.
Now, load single acetate sheets into your printer tray with the printable side facing down. Make sure you set your printer to the “Transparency” media type and select the highest quality print setting.
It’s a good idea to run a few test prints first to check for any smudges or banding.
Once you’ve printed, let the sheets dry completely on a dust-free, flat surface before you handle them. This helps prevent any smearing or fingerprints.
Following these easy steps will ensure sharp, professional results every time you print on acetate with your HP printer. Keep going for more detailed tips!
Key Takeaways
- Select inkjet-compatible acetate transparency sheets with a rougher printable side. This helps with better ink adhesion and makes feeding more reliable.
- Power off the HP printer first. Then, clean the printhead and do a test print on plain paper before using the acetate sheets.
- Load acetate sheets one at a time, with the printable side facing down. Handle the edges only to avoid fingerprints and smudges.
- Set your printer media type to “Transparency/Film.” Print at the highest quality and resolution for sharp, dense prints.
- Let the acetate prints dry fully on a flat, dust-free surface. This prevents smearing and ink transfer when you stack them.
Choose the Right Acetate Sheets for HP Inkjet Printers
When printing on acetate with your HP inkjet printer, you’ll want to choose sheets specifically labeled “inkjet compatible” to make sure the ink adheres properly. Make sure to pick acetate transparency sheets designed for overhead or projector use, as these typically offer clearer, more uniform prints.
Look for clear “transparency” grades that align with HP’s “Transparency/Film” media guidelines to reduce misfeeds and ensure even ink coverage. Also, verify which side is printable—most acetate sheets have a rougher side that absorbs ink better.
It’s a good idea to print a small test swatch first to get the best results without smearing. Lastly, use a standard thickness often sold as overhead transparency film to prevent feeding issues.
Following these steps will help you make the most of your HP inkjet printer’s capabilities when printing on acetate.
Clean Your HP Printer for Clear Acetate Prints
To get crisp, clear prints on acetate, you need to make sure your HP printer is clean before starting. First, power off the printer and let it cool.
Ensure your HP printer is clean and cooled down before printing on acetate for sharp, clear results.
Remove the transparency sheet tray and any items from the loading path to avoid transferring dust or old ink. Next, run the printer’s built-in cleaning cycle or print a cleaning page to clear leftover ink or toner that can cause streaks.
If available, perform a nozzle or printhead cleaning on inkjet models, or toner cleaning on laser printers. Test with plain paper first to avoid wasting acetate sheets.
Gently wipe the paper-feed area and sensors with a dry, lint-free cloth. Avoid using liquids inside the printer because that can cause smudges or blotches.
Finally, print a test strip on a single acetate sheet to make sure you get sharp, clean output. Easy, right?
Load Acetate Sheets Correctly to Avoid Jams and Smudges
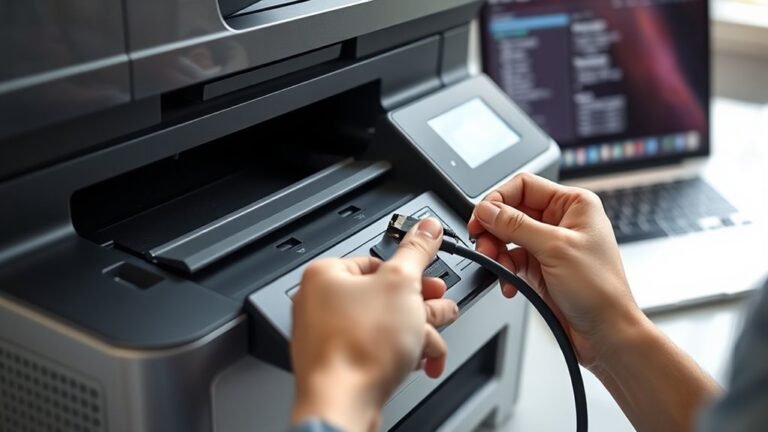
Although acetate sheets can be tricky to handle, loading them correctly into your HP printer prevents jams and smudges. Always use the printer’s single-sheet or manual feed tray to avoid misfeeds.
Make sure you insert the acetate with the correct printable side facing down—usually the slightly rough or coated side. Also, keep the film’s orientation consistent with your print settings.
Handle each sheet by the edges only to prevent fingerprints and dust. These can cause smudges and uneven ink adhesion.
Before printing your full job, run a test on plain paper. Then print a single acetate sheet to check alignment and orientation.
If your HP printer supports it, select “Transparency/Film” as the media type. And remember, let your prints fully dry before stacking or moving them to avoid smearing.
Choose the Right Printer Settings for Acetate Transparencies
Selecting the right printer settings plays a key role in achieving crisp, smudge-free prints on acetate transparencies. Start by choosing the correct Media Type—look for “Transparency” or “Film” in your HP printer settings. This helps the printer adjust ink or toner application and drying time for the acetate sheets.
Next, set Print Quality to the highest available option, like “Best” or the top dpi, to ensure sharp images and reduce banding. Always use single-sheet feeding from the proper paper source to prevent jams caused by acetate’s slick surface.
If you use an inkjet printer, make sure your acetate is inkjet-compatible with a special coating, and run a quick test print. You might want to experiment with different media-type settings if you notice stripes or banding for best results.
Adjust Image and Printer Settings for Clear, Dark Prints
To get clear, dark prints on acetate, start by boosting your image’s contrast and using bold, thick blacks in your design. Then, set your HP printer to the highest quality mode and select a media type like “Transparency” for best results.
Always run a test print first to spot any banding or light spots before printing your final image. It’s a quick step that can save you from wasted materials and frustration. Give it a try!
Optimize Image Contrast
Several key adjustments can dramatically improve the clarity and darkness of your acetate prints. First, increase image contrast by converting your design to grayscale and using levels or curves to push dark tones near-black (close to RGB/CMYK 0%) while keeping highlights distinct from midtones.
Use bold, dark lines—thicker than you might expect—to prevent banding common with fine details on acetate. Print a test strip on scrap acetate, tweaking brightness and contrast incrementally until blacks are dense without losing midtone detail.
In your HP print dialog, set Media Type to “Transparency/Film” and select the highest quality option to avoid washed-out blacks. If dark areas appear gray or striped, disable light ink saving and print at the highest resolution for uniform ink coverage and rich blacks.
Configure Printer Settings
While configuring your HP printer for acetate printing, make sure to set the media type to Transparency or Glossy Film and select the highest print quality to guarantee sharp edges and deep blacks. Choose single-sheet feeding to prevent inconsistent ink placement that causes dark bands.
If your printer supports it, print in photo mode (inkjet) or use the default film/transparency profile. Be sure to turn off any draft or fast settings that decrease ink density.
Adjust your image for high contrast and darker areas by boosting blacks and using bold lines since acetate can show light through thin ink. Always run a test print first on plain paper, then a small acetate test to verify print alignment and solid blacks before you print your full batch.
Test Your Prints to Spot and Fix Problems Early
Before printing on acetate, run a test print on regular paper to check scale and margins. This helps you avoid surprises later.
Then, print a small test patch on acetate to spot issues like banding or smudging early. Catching problems now lets you adjust settings before using your final sheets. It’s a simple step that saves time and materials in the long run.
Early Print Inspection
If you want to avoid costly mistakes on your acetate prints, start by running 1–2 small test images that include dark solid areas and fine lines or gradients on the exact acetate you’ll use. Inspect your test prints under normal room light and at an angle to catch subtle issues like banding, which often shows more clearly on dark sections.
Compare your results with the printer’s “Transparency/Film” media setting and, if necessary, rerun tests using the highest quality and resolution settings. Also, confirm the printable side and orientation by including a letter “R” or barcode pattern in your test.
Finally, let the print dry completely, then gently wipe a corner to check for smearing or poor adhesion. This way, you can be sure your larger prints will hold up perfectly.
Identifying Print Issues
How can you quickly spot print issues before wasting expensive acetate sheets? Start by running a quick test print on plain paper. Then print a small area on acetate to check for banding or stripes.
If you notice thick black stripes, especially in dark regions, switch the media type to “transparency/film.” Also, make sure you’re using inkjet-compatible acetate.
Persistent banding often means your printer needs cleaning. Remove any ink residue and try printing again.
Compare prints using a dark test image and one with midtones. This helps determine if ink density is causing the stripes.
If problems continue, consider switching to laser-compatible acetate or a laser printer. Laser printing often eliminates the stripe issues common with inkjet acetate.
Early testing really helps you fix problems without wasting costly sheets. So, don’t skip that quick check!
Let Acetate Prints Dry Fully Before Handling
An important step in printing on acetate with your HP printer is making sure the prints dry completely before you handle them. Unlike normal paper, acetate takes longer to dry, especially with dense black text or graphics that have thicker ink coverage.
You should place the sheet flat in a dust-free area and avoid disturbing it until the ink feels dry to a light touch and shows no tackiness. Handling your prints too early can smear the ink or cause it to transfer to other sheets.
Only lift or stack the acetate once you’re sure it’s fully dry to keep your prints crisp and clean. Taking this simple precaution ensures professional-looking results every time you print on acetate.
Frequently Asked Questions
Can You Print Directly Onto Acetate?
Yes, you can print directly onto acetate if it’s labeled inkjet compatible. Just load one sheet at a time, choose the right media setting, print on the correct side, and let it dry to avoid smearing.
It’s pretty simple once you get the hang of it. Just make sure your printer supports the type of acetate you’re using, and you’ll be good to go!
Can a Printer Print on Acetate?
Yes, your printer can print on acetate if you use the right type, like inkjet-compatible sheets. Make sure to select the correct media setting and print on the coated side for clear, smudge-free results every time.
It’s pretty straightforward once you have the right materials. Just a heads-up—using the wrong acetate or settings might cause smudging or poor print quality. So, double-check before you start printing!
How to Print on Acetate Inkjet?
Printing on acetate with an inkjet printer is like painting on glass—you’ll need inkjet-compatible acetate, load it correctly, and set your printer to transparency mode.
Make sure to use high-quality settings, and give the ink plenty of time to dry fully to avoid smudges.
It’s a bit delicate, but once you get the hang of it, your prints will look great!
How Do I Get My HP Printer to Print on Photo Paper?
You’ll load photo paper in the correct tray, select Photo Paper/Glossy Photo under Media Type, and set the paper size accurately.
Make sure you choose the highest quality print setting. It really makes a difference!
Before you start printing, run a test print. And don’t forget to load the paper with the glossy side facing up.
Conclusion
Printing on acetate with your HP printer is like painting on a clear canvas—every step matters to make your image vivid and sharp. By choosing the right sheets and cleaning your printer, you set the foundation for a great print.
Loading your acetate carefully and tweaking your printer settings helps you avoid smudges and jams that could blur your masterpiece. Taking these small precautions really pays off.
Remember to test your print first and let your acetate sheets dry fully. This way, your creations will shine bright and clear.
With the right acetate sheets, proper printer care, and correct settings, your HP printer can produce stunning, streak-free prints every time. Follow these simple steps, and your acetate projects will impress with crisp, vibrant images that stand out beautifully.