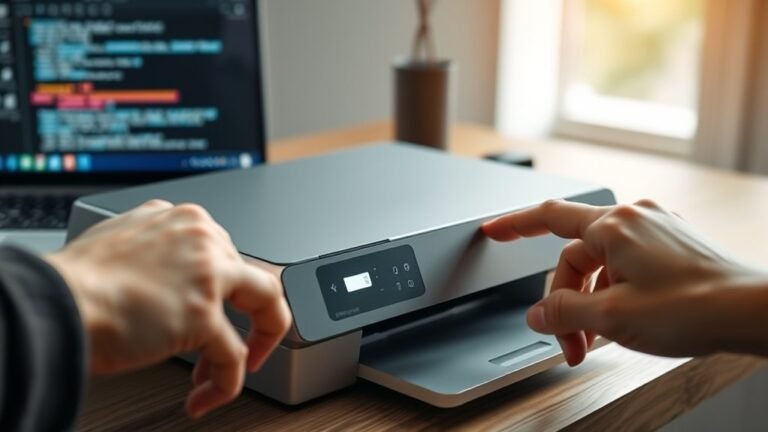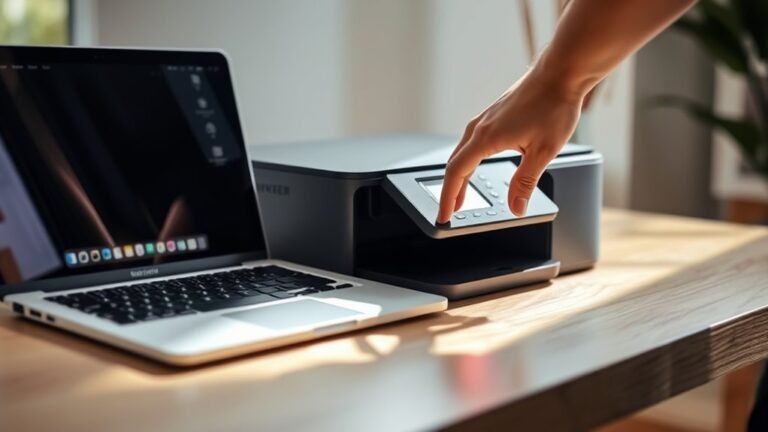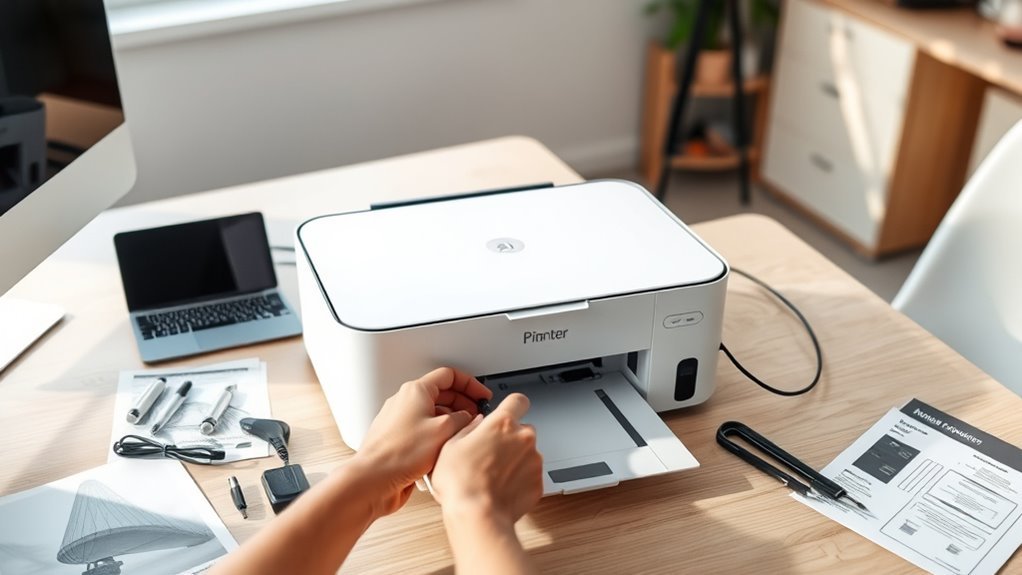
How to Install Printer in 10 Easy Steps
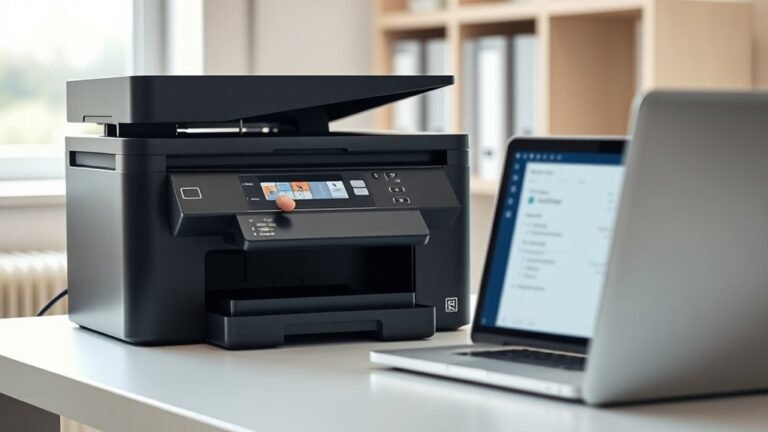
First, unpack your printer and gather all the necessary cables. Make sure to confirm the power voltage and have your network information ready if you’re setting up a wireless printer.
Plug the printer into a grounded outlet and power it on before connecting any cables. This helps avoid any power issues down the line.
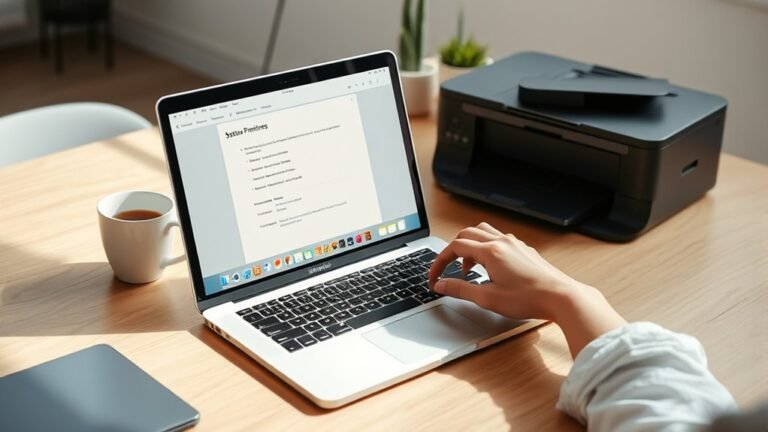
Next, connect the printer to your computer using a USB cable or through your network. Then, open the Printers & Scanners settings on your computer to add the new device.
After that, install or update the printer drivers using the CD that came with your printer or download the latest drivers from the manufacturer’s website. This step is crucial for smooth operation.
Once installed, print a test page to make sure everything is working correctly. If you run into any problems, troubleshoot connectivity issues or consider sharing the printer on your network for easy access by other devices.
Keep going for more detailed setup tips and solutions to common printer problems.
Key Takeaways
- Unpack your printer and gather all the cables you’ll need. Make sure to double-check the power cord voltage before you start the installation.
- Next, plug in the printer and switch it on. Wait until you see the power indicator light up to confirm it’s ready.
- If you’re setting up with USB, connect the printer directly to your computer’s USB port after turning the printer on.
- The drivers will usually install automatically. But if they don’t, just download the latest ones from the manufacturer’s website.
- For network printers, you can connect using Ethernet or Wi-Fi. If your computer doesn’t detect the printer automatically, add it manually and then verify the connection.
Get Your Printer and Cables Ready
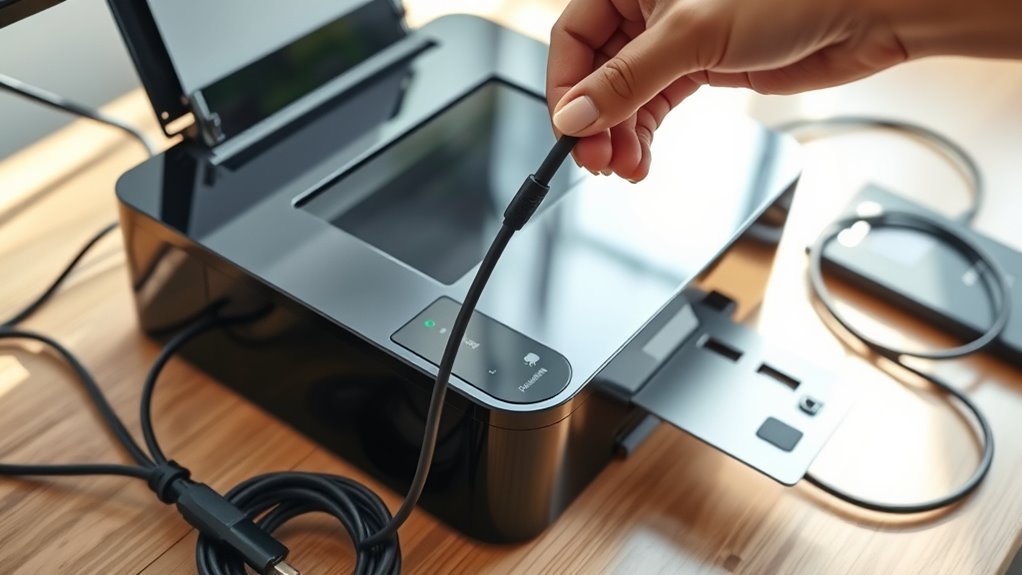
Before you begin installing your printer, make sure you’ve unpacked it and gathered all the necessary cables. Whether you’re setting up wired or wireless printers, having the right connections ready saves time.
Unpack your printer and gather all cables before installation to ensure a smooth setup process.
For wired models, locate a USB Type-A to Type-B cable or an Ethernet cable if your printer supports network connections. Keep your printer’s power cord handy and check the voltage on the label to confirm compatibility.
If you plan to use wireless printers, have your Wi-Fi network name (SSID) and password ready. Also, note if your printer supports 2.4 GHz, 5 GHz, or both.
Keep your computer nearby with an open USB port or Ethernet access. Finally, when you add a printer, use either the installation CD or download the latest drivers to avoid delays during setup.
Select your printer from the list to continue.
Connect the Printer to Power and Your Computer or Network
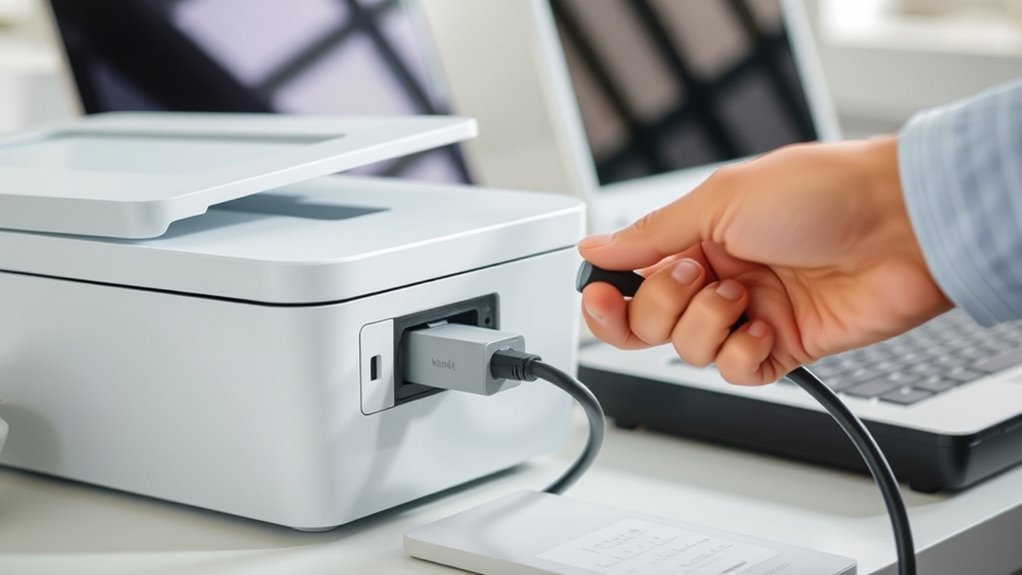
First, plug your printer into a grounded power outlet and turn it on. Give it a moment to initialize.
Next, connect your printer to your computer using a USB cable, or hook it up to your network via Ethernet or Wi-Fi. Once you’re connected, check your system’s printer settings. This way, you can make sure your device shows up and is ready to use.
Power Connection Setup
Start by plugging the printer’s power cord into its power inlet and then into a grounded wall outlet or surge protector. Make sure you switch the printer’s power rocker to ON and watch for any front-panel LEDs or display lighting up.
You need to connect the printer properly to avoid setup issues. To make certain everything’s ready:
- Plug the printer into a reliable power source to prevent interruptions.
- Verify the power indicator lights confirm the printer is receiving power.
- Disable any power-save modes during setup to avoid unexpected shutdowns.
Following these steps guarantees your printer is powered correctly and ready for the next connection stage. Remember, you must plug the printer securely and use grounded outlets or surge protectors to protect your device and data.
USB Cable Connection
Once your printer is powered on and stable, you can connect it to your computer using a USB cable. Make sure the printer is plugged directly into your computer with a USB-A-to-B cable, avoiding USB hubs.
If your computer only has USB-C ports, use a USB-C adapter. Your operating system will usually detect the printer automatically and begin installing drivers if you’re online.
If it doesn’t, run the printer’s setup CD or download the latest drivers from the manufacturer’s site. For network-capable printers, you can temporarily connect via USB to run the setup utility.
This helps you add printers to your wireless network. This method guarantees you can easily add a network and get your printer ready to use without hassle.
Network Connection Basics
Before connecting your printer to your computer or network, make sure it’s plugged into a grounded power outlet and fully powered on. You’ll know it’s ready when its display or LEDs show a ready or idle status.
Next, follow these steps to set up your network connection:
- For wired, connect an Ethernet cable from the printer’s LAN port to your router. Then, check for an IP address.
- For wireless, use the printer’s control panel or your router’s WPS button to join your Wi-Fi network. Make sure to confirm the SSID and IP.
- Print a network status page to record connection details.
Once connected, install the printing software on your computer. Don’t forget to add the printer and choose to Share this printer if others need access.
This way, you’ll guarantee smooth printing across your network.
Turn On the Printer and Wait for Detection
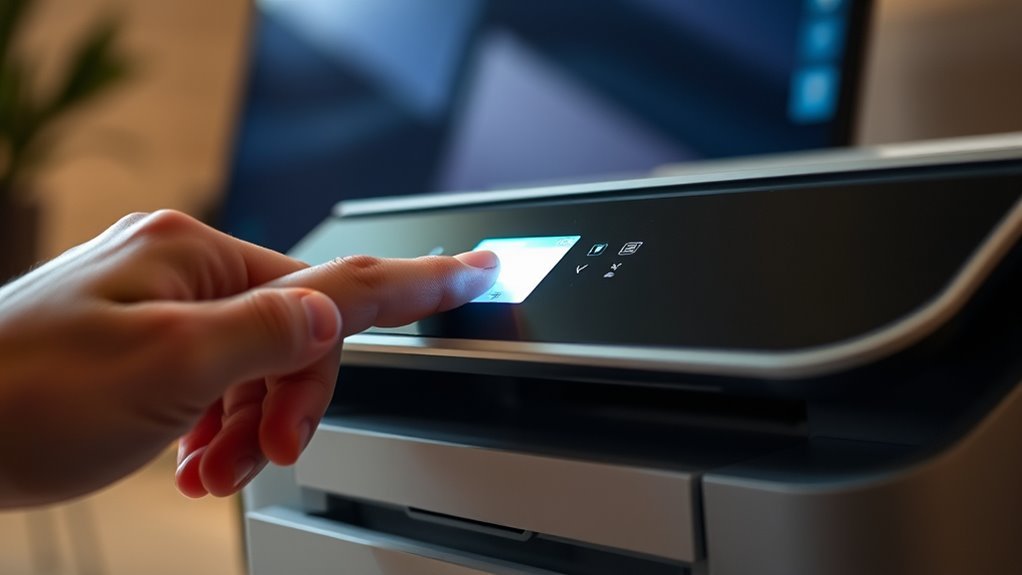
After plugging in your printer, press the power button and wait for the indicator light or message to confirm it’s ready. Make sure your computer is connected via USB or network before checking for the printer in your system settings.
Give your device about 30 to 60 seconds to detect and start installing the printer automatically. Just hang tight for a moment while it sets up.
Power On Printer
Start by plugging your printer into a power outlet and pressing its power button. Be sure to wait for the control panel or power light to show a solid light, indicating the printer is fully powered. This usually takes about 10–30 seconds.
Next, give the printer 30–60 seconds to complete its internal startup and network or Wi-Fi initialization before moving on.
Follow these steps to power on your printer correctly:
- Power on the printer before connecting any USB cables to guarantee automatic detection.
- For wireless models, make certain the printer’s display shows a connected Wi-Fi icon or an IP address.
- If the printer doesn’t show a ready status, check for error messages like paper jams or toner issues and fix them.
This will make certain your printer is ready for installation.
Wait For Detection
Once you turn on your printer and connect it to your computer, give your operating system 30 to 60 seconds to detect the device and start installing the drivers.
On Windows, keep an eye out for a taskbar notification. You can also check by going to Settings → Devices → Printers & scanners to see if your printer shows up.
If you’re on macOS, open System Preferences → Printers & Scanners. Your printer should appear in the Default tab if it’s connected properly.
| Operating System | Detection Indicator |
|---|---|
| Windows | Taskbar notification or Printers & Scanners |
| macOS | Printer appears in Printers & Scanners |
| Troubleshooting | Check cables, USB ports, Wi-Fi connection |
If the printer isn’t detected, double-check all your connections. Try different USB ports or adjust your network settings before moving on.
Confirm Printer Connection
To confirm your printer connection, first make sure the printer is plugged into a working outlet and powered on. Press the power button and wait 10–30 seconds for the printer’s display or status lights to signal it’s ready.
Next, connect your printer either via a direct USB cable or make certain it’s linked to the same Wi-Fi network as your computer.
Here’s what to do:
- Watch for your operating system’s detection notification—Windows shows it in 30–60 seconds; macOS lists the printer in System Settings > Printers & Scanners.
- If your printer uses a temporary setup mode, follow on-screen steps to configure the network before detection.
- If detection fails, check cable connections, printer error lights, and your computer’s USB or Wi-Fi status, then try again.
This process guarantees your printer is ready for use. Easy, right? Just follow these steps, and you’ll be printing in no time.
Open Your Computer’s Printers & Scanners Settings
Accessing your computer’s Printers & Scanners settings lets you add and manage your printer easily. On Windows, open Start, go to Settings, then Devices (or Bluetooth & devices), and select Printers & scanners.
Here, you can click “Add a printer or scanner” to search for connected devices. If your printer doesn’t show up, choose “The printer that I want isn’t listed” to add it manually via IP, hostname, or path.
Before adding, make certain your printer is powered on and connected properly. After selecting your printer, just follow the prompts to install drivers automatically or manually.
| Step | Action | Tip |
|---|---|---|
| Open Settings | Start > Settings > Devices | Use search bar for quick access |
| Add Printer | Click “Add a printer or scanner” | Wait a few moments for detection |
| Manual Add Options | Select “Printer isn’t listed” | Add by IP, hostname, or path |
| Driver Installation | Follow prompts | Download drivers if needed |
Add a Wired USB Printer to Your Computer
After opening your computer’s Printers & Scanners settings, you can connect a wired USB printer by plugging its USB cable directly into your PC’s USB port—avoid using hubs for the best connection. Then, connect the printer to power and turn it on.
Open Printers & Scanners, plug your USB printer directly into your PC, power it on, and avoid using hubs.
Your computer should automatically detect and install the necessary drivers, especially if it’s connected to the internet.
If it doesn’t, here’s what to do:
- Click “Add a printer or scanner” (Windows) or the + button (Mac) to start detection.
- If the printer isn’t found, select the manual add option and follow the prompts.
- Download and run the latest drivers from the manufacturer’s website if automatic setup fails.
This guarantees your printer is ready quickly and reliably.
Add a Network or Wireless Printer to Your Computer
First, make sure your printer is powered on and connected to the same network as your computer. Then, use your computer’s settings to locate the printer on the network.
After that, just follow the installation wizard to complete the setup. It’ll get your printer ready to use in no time!
Verify Network Connection
To add a network or wireless printer to your computer, make sure the printer is powered on and connected to the same network as your device—either through an Ethernet cable or by joining the same Wi-Fi SSID.
Next, verify your PC’s network settings to guarantee smooth communication. Here’s what to check:
- Confirm your printer and computer share the same subnet and network; VPNs should be disabled temporarily.
- Make sure your firewall isn’t blocking network discovery protocols like mDNS or SMB.
- If the printer isn’t found automatically, print its network status page to get the IP address and add it manually in your system’s printer setup.
Following these steps helps you avoid frustrating connectivity issues and get your printer ready for action.
Locate Printer On Network
With your network connection verified, you can now locate the printer on your computer. First, make sure the printer is powered on and connected to the same local network as your PC, either via Ethernet or Wi-Fi.
On Windows, go to Settings → Bluetooth & devices → Printers & scanners, then click “Add device” to let Windows search for your printer. If it doesn’t appear, select “The printer that I want isn’t listed,” and add it using its IP address found on the printer’s display or router.
On a Mac, open System Preferences → Printers & Scanners, click +, and choose the printer from the Default or IP tab. If discovery fails, double-check your firewall settings. You might also want to install the manufacturer’s network driver for better support.
Complete Installation Wizard
Before you start the Add a printer wizard, make sure your printer is turned on and connected to the same network as your computer. This could be either via Ethernet or the same Wi-Fi SSID.
Then, open Settings → Bluetooth & devices → Printers & scanners and click Add a device. Windows will search for available network and wireless printers.
If your printer appears, just select it and follow the prompts to install drivers automatically. If it doesn’t show up, click “The printer that I want isn’t listed” and add it manually by hostname, IP address, or shared path.
Complete these steps to finish the installation:
- Select your printer from the list or add it manually.
- Allow Windows to download and install drivers.
- Print a test page to confirm everything works perfectly.
Install or Update Drivers During Printer Installation
Start the driver installation by letting your computer automatically search for the correct software. Both Windows and macOS typically find and install the right manufacturer driver if your computer is online.
Begin driver installation by allowing your computer to automatically locate and install the correct software online.
If this doesn’t work, head to the printer manufacturer’s support page, download the latest driver for your exact model and OS version, and run the installer. Avoid using old setup discs if you can; online downloads usually have newer firmware and bug fixes.
When asked to pick a driver during installation, choose the model-specific one—not generic options. This way, you get access to all features like duplex printing or scanning.
After installing or updating drivers, restart both your computer and printer to finalize the setup. This helps make certain everything runs smoothly.
Set Your Printer as Default and Print a Test Page
Next, print a test page to confirm everything works smoothly. Here’s what to do:
- Confirm your printer is online and properly connected.
- On Windows, select your printer in Settings → Printers & scanners → Manage → Print a test page. On Mac, select the printer and click “Print Test Page.”
If it fails, restart devices or rerun the test after checking drivers.
This quick check gives you confidence your printer’s ready!
Troubleshoot Printer Connection Problems
If your printer won’t connect, double-check that it’s powered on and properly linked to your computer—either via USB or the same network for Ethernet and Wi-Fi models. Check Device Manager or System Preferences for errors, then update or reinstall drivers from the manufacturer’s site.
Run the built-in troubleshooter to fix common issues. For network printers, verify the IP address matches your subnet and ping it.
Temporarily disable firewalls or antivirus software and avoid USB hubs by connecting directly. Power-cycle your router or printer and reconnect Wi-Fi if needed.
| Problem Detected | Your Feeling |
|---|---|
| Printer not found | Frustrated |
| Driver issues | Annoyed |
| Network IP mismatch | Confused |
| Connection lost | Helpless |
These steps help ease your frustration and get your printer working smoothly.
Share Your Printer With Other Devices on the Network
Setting up your printer to share across your network lets multiple devices print without needing separate connections. To get started, install the printer on your host computer and enable sharing.
Sharing your printer on the network allows multiple devices to print without extra connections.
On Windows, find your printer in Control Panel, then enable sharing under Printer properties. On macOS, go to System Preferences > Sharing, then check Printer Sharing.
Make sure network discovery and file/printer sharing are turned on in your network settings. Finally, add the shared printer on other devices by searching for it in the printer setup options.
Don’t forget, the host computer must stay on and connected for others to print.
Follow these steps:
- Enable printer sharing on the host.
- Turn on network discovery and sharing.
- Add the shared printer on client devices.
This way, everyone prints smoothly!
Frequently Asked Questions
How Do I Connect a Printer to Wi-Fi?
You connect your printer to Wi-Fi by accessing its wireless setup menu. Then, select your network, enter the password, and confirm the connection.
If your printer doesn’t have a display, don’t worry. Just use a USB connection and open the printer’s setup utility on your computer to get it connected.
Why Is My Printer Not Printing?
Your printer isn’t printing because it might be off, unplugged, or not connected properly. Check if drivers are installed, the printer’s on the same network, and clear any stuck print jobs or spooler errors before trying again.
Sometimes, it’s just a simple connection issue. So, double-check all the cables and make sure everything’s plugged in right.
Also, make sure your printer is actually turned on. You’d be surprised how often that’s the problem!
If it’s a network printer, confirm it’s connected to the same Wi-Fi as your computer. That can save you a lot of headaches.
Don’t forget to look for any stuck print jobs. Clearing those out can get things moving again quickly.
And finally, if you’re seeing spooler errors, restarting the print spooler service might just fix the issue. Give it a shot!
How to Install Brother Printer in Laptop?
You’ll connect your Brother printer to your laptop via USB or Wi-Fi, then install drivers automatically or download them from Brother’s website.
Finally, add the printer in your system settings and print a test page to confirm.
It’s pretty straightforward once you get started! Just take it step by step, and you’ll have your printer ready in no time.
Are Printers Easy to Set Up?
You’ll find that over 80% of modern printers set up automatically once plugged in, so yes, printers are generally easy to set up.
Just connect, power on, and your computer usually does the rest quickly.
It’s pretty much plug-and-play nowadays. No need to stress about complicated installations!
Conclusion
Installing your printer might seem tricky, but it’s really straightforward when you follow these steps. You might worry about technical issues, but most problems can be easily fixed with simple troubleshooting tips.
Once set up, you’ll enjoy hassle-free printing right from your computer or even other devices on your network. So don’t stress—just take it step by step, and you’ll have your printer ready to go in no time!
With these easy steps, installing your printer becomes a breeze. You can quickly connect your device and start printing documents, photos, and more without any hassle. Following this guide ensures your printer works smoothly, saving time and frustration. Whether you’re setting it up via USB or Wi-Fi, this process covers everything you need. Soon, printing from multiple devices on your network will be straightforward and convenient. Just stick to the steps, and you’ll enjoy a fully functional printer in no time!