How to Set Up Wireless Printer in 3 Easy Steps
First, make sure your wireless printer is turned on and placed close to your Wi-Fi router. Have your network name (SSID) and password ready so the setup goes smoothly.
Next, use the printer’s setup menu to find your Wi-Fi network. Select it and enter the password exactly as it appears. This step is key to getting your printer connected without any hiccups.
Once your printer is connected to Wi-Fi, you just need to add it to your device. You can do this through your system settings or the printer’s app. Following these simple steps gets you printing wirelessly fast.
And hey, once you’re set up, you can explore more tips to optimize your printer and troubleshoot if needed. It’s easier than it sounds!
Key Takeaways
- Turn on the printer and place it near the Wi-Fi router for a strong signal before starting setup.
- Access the printer’s Setup or Network menu and select Wi-Fi setup to find available networks.
- Choose your Wi-Fi network and enter the password exactly as shown, noting case sensitivity.
- Wait for the wireless light or screen message to confirm a successful network connection.
- Add the printer to your device via settings, ensuring both are connected to the same Wi-Fi network.
Get Your Printer and Wi-Fi Ready for Setup
Before you start setting up your wireless printer, make sure it’s turned on and placed near your Wi-Fi router to get a strong signal.
To prepare, locate the Wi-Fi network name (SSID) and Wi-Fi password on the label of your router or in its settings—these are case-sensitive.
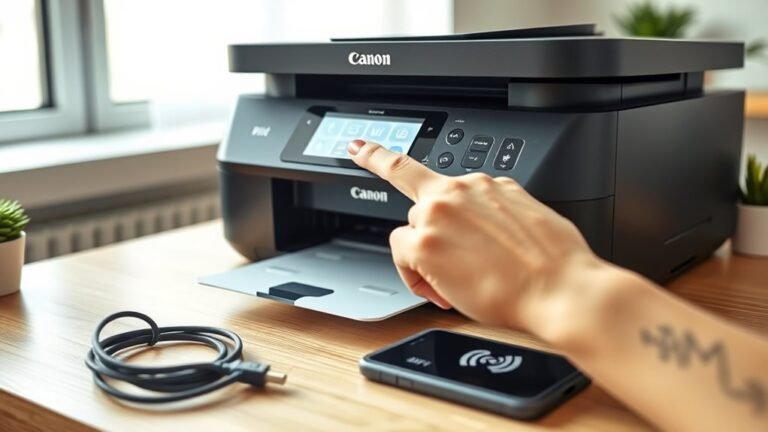
On your printer, press the button to access the Setup or Network menu, often marked with a gear icon. During Wi-Fi setup, choose your network from the list of available options.
Have your Wi-Fi password ready to enter exactly as shown. Follow the on-screen instructions carefully to avoid connection issues.
Keep your printer powered on and within range of the router until the wireless light or message confirms the printer’s network connection. That way, you know you’re all set!
Connect Your Printer to Wi-Fi
With your printer powered on and your Wi-Fi details at hand, you’re ready to connect your printer to your wireless network. Use the printer’s control panel to open the Wireless or Setup menu, then choose the Wi‑Fi Setup Wizard.
Select your Wi‑Fi network name (SSID) and enter the password carefully since it’s case-sensitive. Wait for the wireless light or screen message to confirm the connection.
If available, you can also press the WPS button on your router, then select WPS on your printer within two minutes for quick pairing. Keep your printer close to the router during setup for a stronger signal.
Once connected, you can use apps like HP Smart or Canon PRINT to add the printer and manage printing tasks easily. It really makes things simple!
Add Your Wireless Printer to Windows, Mac, or Mobile Devices
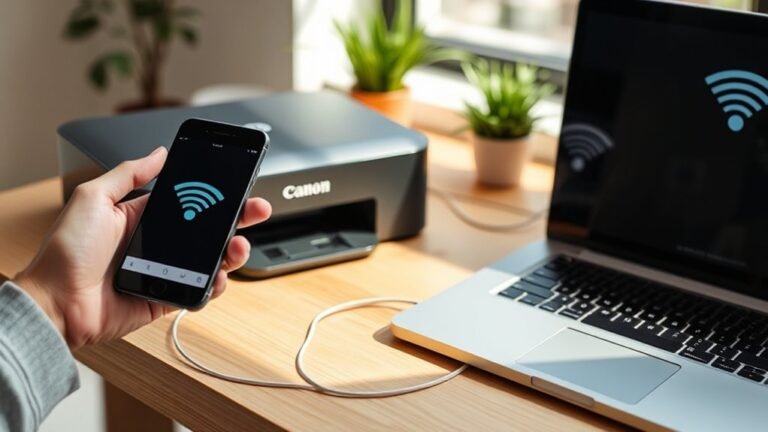
To add your wireless printer to your Windows, Mac, or mobile device, first make sure both devices are connected to the same Wi-Fi network.
On Windows 11, go to Settings → Bluetooth & devices → Printers & scanners, then click Add and select your printer from the list.
For Windows 10, head to Settings → Devices → Printers & scanners, choose Add a printer or scanner, and click Add device.
On a Mac, open System Preferences → Printers & Scanners, click the + button, select your printer, and add it.
For iPhone or iPad, connect to Wi‑Fi, tap the Share icon in any app, and choose Print.
If issues arise, check the manufacturer’s website for Setup software and firmware updates after connecting your printer to Wi‑Fi using the printer’s Setup menu.
Frequently Asked Questions
How to Setup a Wireless Printer Wirelessly?
You just connect your printer to Wi-Fi using its setup menu or WPS button. Then, add the printer on your computer or phone from the device’s printer list.
Don’t forget to enter your Wi-Fi password correctly! It’s a small step, but super important to get everything working smoothly.
How Do I Get My Computer to Recognize My Wireless Printer?
You get your computer to recognize your wireless printer by ensuring both connect to the same Wi-Fi. Then, add the printer via your system’s settings.
If it doesn’t appear right away, go ahead and restart your devices. Also, it’s worth checking the Wi-Fi frequency to make sure everything’s compatible.
How to Set up a Printer Step by Step?
Turn on your printer and connect it to Wi-Fi using its control panel. It’s usually pretty straightforward—just follow the on-screen instructions.
Next, add the printer to your computer through the printer settings. You’ll be guided through some prompts, so go ahead and enter your network password when asked.
Once that’s done, try printing a test page to make sure everything’s set up correctly. And that’s it—you’re all set!
How Do I Connect a Wireless Printer to My Computer?
You connect a wireless printer by ensuring both devices share the same Wi-Fi, then adding the printer through your computer’s settings.
Next, select your printer from the list and confirm the drivers install.
Finally, print a test page to finish. Easy, right?
Conclusion
Setting up your wireless printer is so easy, you’ll wonder why it hasn’t been done sooner! With just three simple steps, you’re practically a tech genius. No more tangled cords or frantic searches for USB cables—your printing life is about to become effortless and wireless.
Once you connect your printer to Wi-Fi and add it to your devices, you’ll feel like you’ve enabled a secret superpower. It’s amazing how freeing it is to print from anywhere in your home or office without being tied down by cables.
Go ahead, print away like a pro! Setting up a wireless printer not only saves time but also keeps your workspace neat and organized. With this quick and easy process, you’ll enjoy the convenience of wireless printing on all your devices in no time.