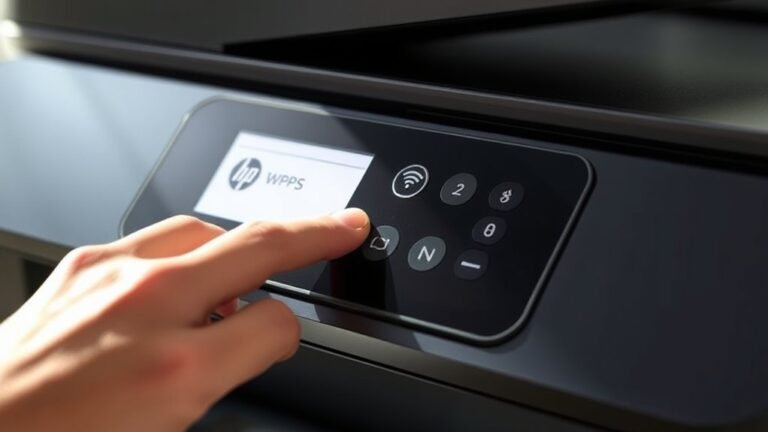
How to Connect Printer to Wi-Fi in 10 Easy Steps
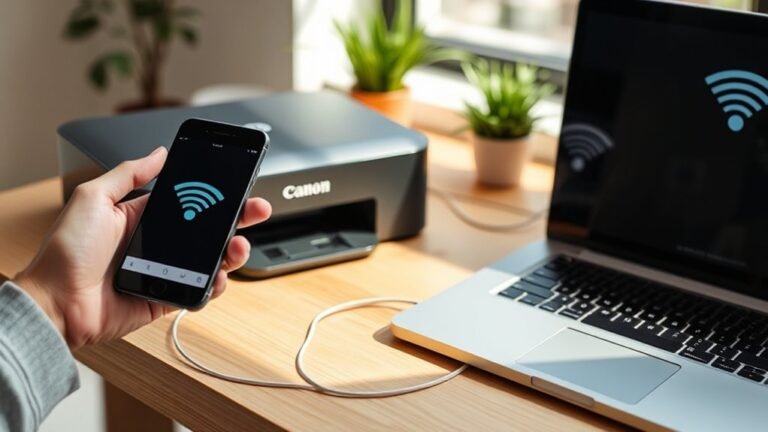
To connect your printer to Wi-Fi in 10 easy steps, start by powering on your printer and having your network name and password ready. Connecting your printer wirelessly is super convenient and lets you print from anywhere in your home or office without cords.
Next, use the printer’s wireless setup menu to find and select your Wi-Fi network. Make sure you enter the password carefully, paying attention to uppercase letters and symbols—it’s easy to mistype!
After your printer connects to the network, add it to your computer through Windows or Mac settings. This part is pretty straightforward, and once done, confirm everything is working by printing a test page.
If you want to ensure a smooth setup or run into any issues, don’t worry—there’s more helpful info ahead to guide you through the process.
Key Takeaways
- Plug in and power on the printer, then access its wireless or network settings menu to start Wi-Fi setup.
- Locate and confirm your Wi-Fi network name (SSID) and case-sensitive password before connecting.
- Use the printer’s Wi-Fi Setup Wizard to scan for networks, select your SSID, and enter the correct password.
- Keep the printer close to the router during setup to ensure strong signal and accurate network detection.
- After connecting, install printer drivers on your computer and print a test page to confirm successful Wi-Fi printing.
Turn On Your Printer and Gather Setup Materials
To get started, plug in your printer and press the power button to turn it on. Let it boot fully before you begin the Wi-Fi setup process.
Begin by plugging in your printer and powering it on; wait for it to fully boot before starting Wi-Fi setup.
To connect your printer to your network smoothly, make sure you have your Wi-Fi network name (SSID) and password ready. These details are essential for quick access during setup, so keep them handy.
If your printer has a display screen, navigate to the wireless or network settings menu to find the Wi-Fi setup option. For the best connection experience, place your printer close to the router during setup.
This reduces connection failures and boosts signal strength, making it easier to connect your printer without interruptions.
Locate Your Wi-Fi Network Name and Password
Once your printer is powered on and ready, the next step is to locate your Wi-Fi network name (SSID) and password. These details are essential to connect your printer to your wireless network.
You can find the Wi-Fi network name and Wi-Fi password on a sticker on your router or by logging into your router’s settings page. Keep your printer close to the router during setup for a strong signal and accurate network list. Remember, the Wi-Fi password is case-sensitive, so enter it exactly as shown.
- Check your router’s sticker or settings for the Wi-Fi network name and password
- Note if your router uses 2.4GHz or 5GHz bands and which your printer supports
- Keep the printer near the router for strong signal
- Enter the Wi-Fi password carefully, respecting case sensitivity
- Confirm you select the correct Wi-Fi network name on your printer’s setup menu
Access Your Printer’s Wireless Setup Menu
Although your printer is already powered on, you’ll need to make sure to navigate to its control panel and open the Settings or Network Settings menu to begin connecting it to Wi-Fi.
On most printers, you’ll find an option labeled Wi-Fi Setup Wizard or something similar that starts the wireless setup process. For Brother printers, specifically, head to Network Settings, then WLAN, and select Setup Wizard to get going.
Most printers have a Wi-Fi Setup Wizard; Brother models use Network Settings > WLAN > Setup Wizard to start.
If your printer uses a manual setup flow, you can enter your SSID and Wi-Fi password directly from this wireless setup menu. Keep your printer close to your router during this step so the network list loads properly.
Once you access the Wi-Fi Setup Wizard, your printer will be ready to scan for available networks. Easy, right?
Select Your Wi-Fi Network From the List
After you launch the Wi-Fi Setup Wizard on your printer, it will start scanning for nearby networks. On your printer’s control panel, you’ll see a list of Wi-Fi networks (SSIDs) appear.
Make sure to select the exact network name you want to connect to, because choosing the wrong SSID will stop your printer from accessing the internet. Many printers only support 2.4GHz bands, so if the list shows both 2.4GHz and 5GHz versions, pick the 2.4GHz one.
Here’s what to keep in mind:
- Wait for the full list of SSIDs to populate.
- Select the exact Wi-Fi network name.
- Prefer 2.4GHz network over 5GHz if both appear.
- Use your printer’s control panel to make selections.
- Confirm the network is chosen before proceeding.
This step makes sure your printer connects correctly to your Wi-Fi.
Enter Your Wi-Fi Password Carefully
Type your Wi-Fi password carefully on your printer’s control panel, making sure to match every character exactly, including uppercase and lowercase letters. Entering your Wi-Fi password carefully is essential because it’s case-sensitive, and any mistake will stop your printer from connecting.
Use the password found on your router’s sticker or in its settings—don’t guess. If your router broadcasts both 2.4GHz and 5GHz networks under the same name, make sure your printer connects to the 2.4GHz band, as many printers don’t support 5GHz.
After entering your Wi-Fi password carefully, wait for the printer to confirm the connection before moving on. If you see an error, double-check each character and re-enter the password carefully.
This attention to detail saves time and avoids connection frustration.
Install Printer Drivers on Your Computer
Once your printer confirms a successful connection to your Wi-Fi network, the next step is to install the necessary drivers on your computer. On Windows, go to Settings → Devices → Printers & scanners, then click Add a printer or scanner.
After connecting your printer to Wi-Fi, install the drivers by adding the printer through your computer’s settings.
If Windows doesn’t find your printer automatically, don’t worry. Just visit the printer manufacturer’s website to download the correct drivers for your model and OS.
On Mac, open System Settings or Preferences → Printers & Scanners, then click the + button to add the printer. You might see a prompt to install driver software—just follow the instructions.
Also, make sure your computer is connected to the same Wi-Fi network (SSID) as the printer. This helps avoid any connection issues.
Remember to:
- Click Add a printer in Windows or + on Mac
- Use the manufacturer’s website for driver downloads
- Confirm drivers match your OS and printer model
- Verify both devices share the same Wi-Fi network
- Check the printer appears in your Printers & Scanners list
Add Your Wi-Fi Printer to Windows or Mac
| Step | Windows |
|---|---|
| Open Settings | Settings → Devices |
| Add Printer | Printers & scanners → Add a device |
| Select Printer | Choose your Wi-Fi printer |
| Restart if needed | Restart printer & computer |
| Confirm | Check printer list |
Confirm Printer Wi-Fi Connection and Test Print
After adding your Wi-Fi printer to your computer, the next step is to make sure it’s properly connected to your network and ready to print. First, check the printer’s display for a “Connected” or Wi-Fi status indicator.
Then, print a Wireless Network Test Report to confirm the printer is connected and has an IP address on your network. On your computer, verify the printer appears in your system settings.
Finally, send a test page to ensure it receives print jobs over Wi-Fi—not USB.
- Look for a “Connected” status on the printer panel
- Print a network test report from the printer menu
- Confirm the printer appears in Windows Settings or macOS Preferences
- Send a test page from your device to the printer
- Verify the test page prints successfully, confirming connection
Use Alternative Ways to Connect Your Printer to Wi-Fi
Although connecting your printer to Wi-Fi usually follows a straightforward process, sometimes you’ll need alternative methods to get it online. One easy option is using the WPS button.
Just press your router’s WPS button, then hit the printer’s WPS or WLAN button within two minutes to connect automatically.
If your printer lacks a display, the printer setup app on your phone or computer can guide you through selecting your Wi-Fi network and entering the password.
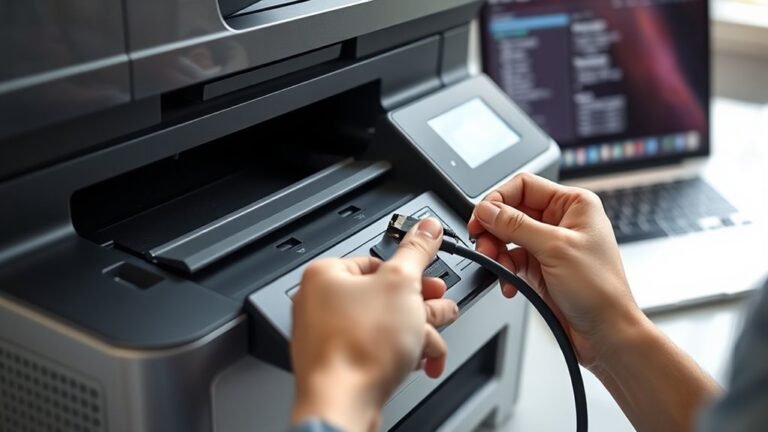
For printers that don’t connect wirelessly at first, try using a USB cable to run the setup software on your computer and complete the Wi-Fi configuration.
After setup, make sure your printer is reachable on the same Wi-Fi network before printing.
Troubleshoot Common Wireless Printer Connection Issues
When your printer won’t connect to Wi-Fi, start by rebooting your printer, router, and device to clear any temporary glitches. This simple step often resolves common issues when connecting your printer.
Next, make sure you choose your printer from the correct network and verify these points:
Ensure you select your printer on the right network and double-check key connection details.
- Place your printer close to the router to avoid weak signal problems.
- Confirm both your device and printer are on the same Wi-Fi network.
- Double-check the Wi-Fi password; it’s case-sensitive.
If your router broadcasts 2.4GHz and 5GHz on one SSID, separate them or pick 2.4GHz first.
Also, update your printer’s firmware from the manufacturer’s site if connection fails repeatedly.
Following these tips will help you troubleshoot common wireless printer connection issues quickly.
Frequently Asked Questions
How Do I Manually Connect My Printer to Wi-Fi?
You manually connect your printer to Wi-Fi by accessing its Wi-Fi setup or network settings. Then, select your network name, enter the correct password, and confirm the connection.
If the connection fails, try restarting your devices. Also, make sure you have a strong signal strength for the best results.
How Do I Connect My Printer to My Wifi Network?
Connecting your printer to Wi-Fi is like tuning a radio to the right frequency. Just open its Wi-Fi setup, select your network, and enter the password.
Then, confirm your choice. It’ll sync smoothly and be ready to print your next masterpiece.
Why Won’t My Printer Hook up to My Wi-Fi?
Your printer won’t hook up to Wi-Fi because it’s likely out of range, using the wrong password, connected to a different network, or the router’s band isn’t compatible.
Try restarting your devices and double-checking your settings to fix the problem.
Sometimes, it’s just a simple mix-up with the network name or password.
And other times, the router might be on a band your printer doesn’t support. Just take it step by step!
What Are the Two Methods to Connect to a Printer Wirelessly?
You can connect wirelessly using the printer’s Wi-Fi setup wizard by selecting your network and entering the password.
Or, you can use WPS. Just press the router’s WPS button, then the printer’s WPS button within two minutes.
It’s pretty simple once you know the steps!
Conclusion
Connecting your printer to Wi-Fi might seem tricky at first, but with these simple steps, you’ll be printing wirelessly in no time.
Just remember, patience is your best friend—like learning to ride a bike, a little practice makes perfect.
Once you’ve got it set up, you’ll wonder how you ever lived without the freedom of printing from anywhere in your home.
So go ahead, give it a try—you’ve got this!
Getting your printer connected to Wi-Fi opens up a whole new world of convenience. Imagine being able to print documents, photos, and more without having to plug in cables or move your printer around.
Whether it’s for work, school, or just everyday use, wireless printing makes life easier.
By following these easy steps, you’ll master how to connect your printer to Wi-Fi quickly and effortlessly. Soon enough, printing from any device in your home will feel natural and simple, saving you time and hassle.