Why Is My Printer Not Printing and How to Fix It
Your printer might not be printing for several common reasons like paper jams, empty or dried-out ink cartridges, outdated drivers, or even network connection issues. These problems can be frustrating, but the good news is many are easy to fix with a few simple steps.
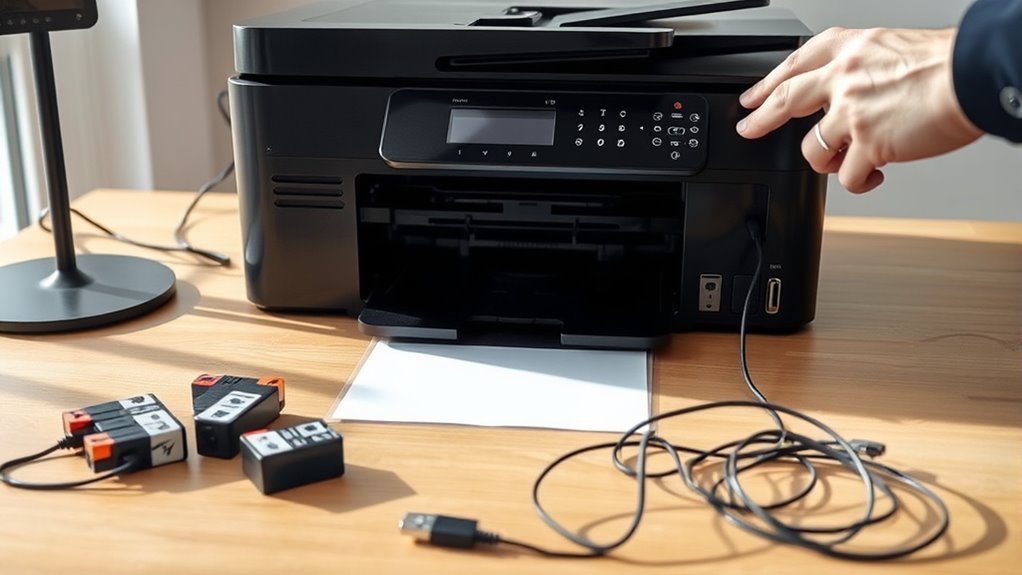
Start by checking for any paper jams and clear them carefully. Then, take a look at your ink levels to make sure cartridges aren’t empty or dried out. It’s also helpful to restart both your printer and computer to refresh the connection.
Next, update or reinstall your printer drivers—sometimes outdated software causes printing glitches. Don’t forget to clear any stuck print jobs in the queue, as they can block new print requests from going through.
If these quick fixes don’t do the trick, you might want to check your network settings or dive into more detailed troubleshooting. With a bit of patience, you’ll have your printer back up and running in no time!
Key Takeaways
- Check and clear paper jams, making sure there are no torn scraps or misaligned trays blocking the printer mechanism. Paper jams are a common cause of printing problems, so it’s worth a quick look.
- Inspect ink or toner levels. If your prints look faint or parts are missing, try running cleaning cycles to clear any clogged nozzles.
- Restart the printer, clear the print queue, and restart the Print Spooler service. This can help fix stuck jobs or spooler errors that prevent printing.
- Update or reinstall printer drivers and firmware. Sometimes outdated software causes communication or network issues, so keeping everything current helps.
- Verify your network connections, IP settings, and firewall permissions. If your printer shows as offline or can’t be detected, these settings are usually the culprit.
Why Your Printer Isn’t Printing (Common Causes)
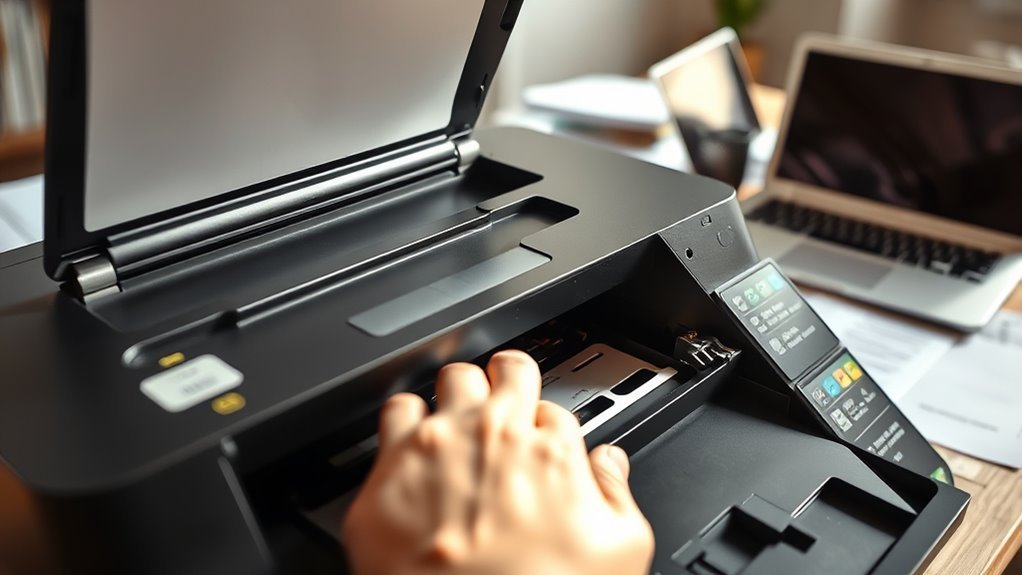
If your printer won’t print, the issue often boils down to a few common causes you can check quickly. Paper jams are a frequent culprit—torn scraps or misaligned trays can block the mechanism. So, power down and remove any obstructions carefully.
Next, inspect your ink or toner cartridges; empty or dried-out cartridges often produce no output or faint prints. Don’t forget your printer driver—outdated or missing drivers can break communication between your computer and printer, causing print jobs to stall.
Sometimes, stuck print jobs or spooler errors freeze the queue. Clearing the queue or restarting the spooler usually helps.
Quick Fixes to Get Your Printer Printing Again
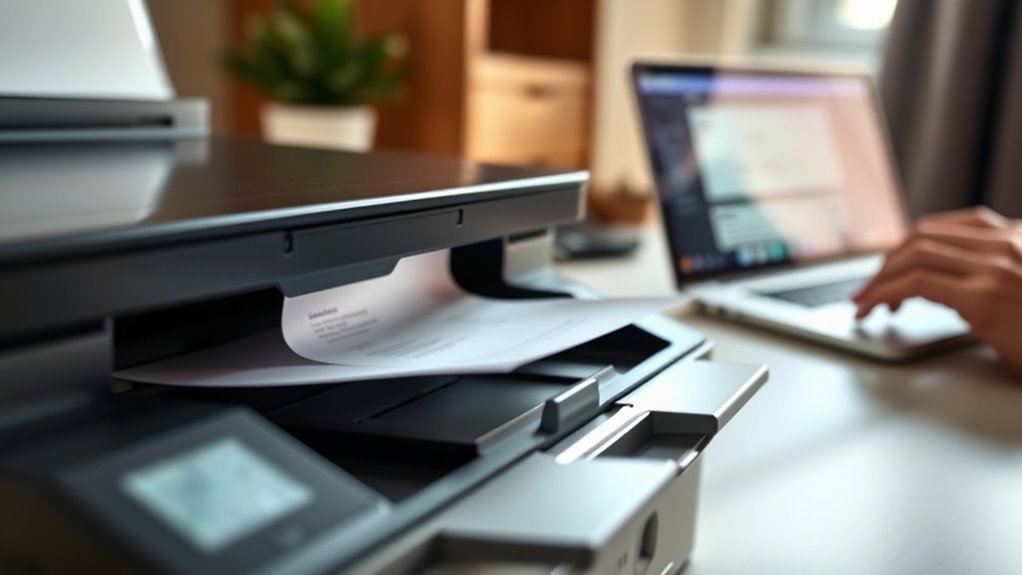
Start by checking for any paper jams and making sure your ink or toner cartridges have enough supply.
Next, restart your printer and connected devices properly to clear temporary glitches.
These quick steps often fix common printing issues fast.
Check Paper And Ink
Before diving into complex troubleshooting, check your paper and ink supplies to quickly get your printer back on track. Start by inspecting the paper tray—make certain you’re loading paper correctly, with the right size and type set in the printer driver.
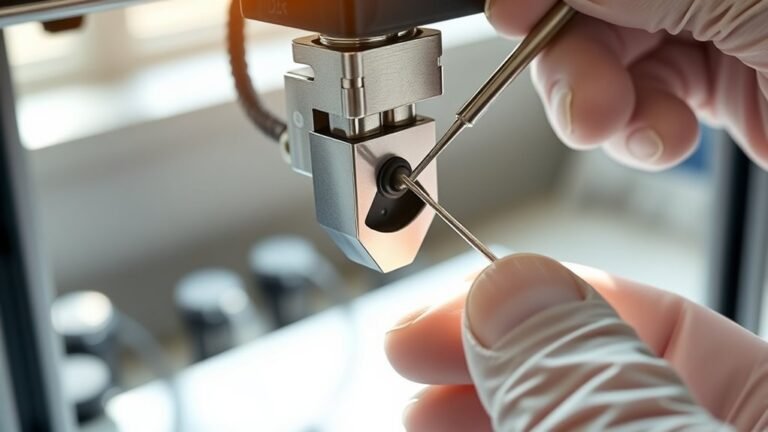
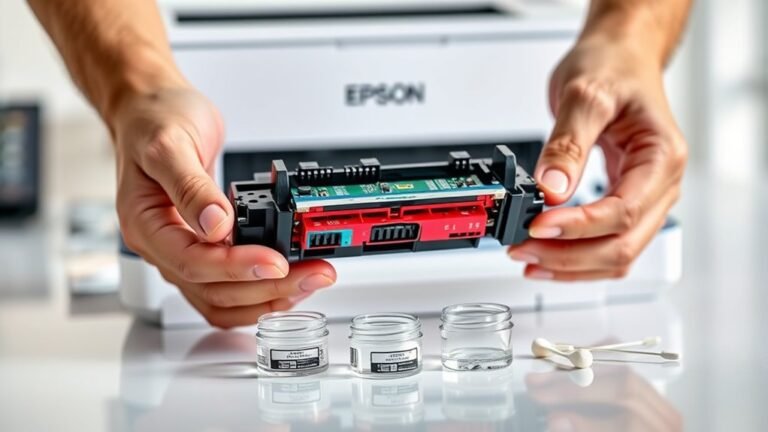
Fan the paper to prevent sheets from sticking, reducing jams. Next, examine your ink cartridges. If prints look faded or colors are missing, run the printer’s cleaning cycle and print a nozzle check pattern.
Replace cartridges if ink levels are low or the pattern shows gaps. Store spare ink cartridges sealed and install new ones promptly to avoid drying out.
After these steps, align the print head through the printer’s maintenance menu and print a test page to guarantee peak print quality.
Restart Devices Properly
Power down both your printer and computer, then unplug them for at least 30 seconds to fully reset their connections. For network printers, don’t forget to power down your router or switch for 30–60 seconds to clear cached errors and refresh the printer’s IP address.
After powering devices back on—printer first, then computer—check the print queue and clear any stuck jobs blocking new prints. If your printer stays offline, restart drivers, power-cycle USB hubs or docking stations, and connect the printer directly to rule out hardware faults.
Finally, run a self-test or network configuration page from the printer’s control panel to confirm everything’s working. Properly restarting devices can quickly resolve common printing issues and get your printer back online.
Fixing Paper and Ink Issues That Block Printing
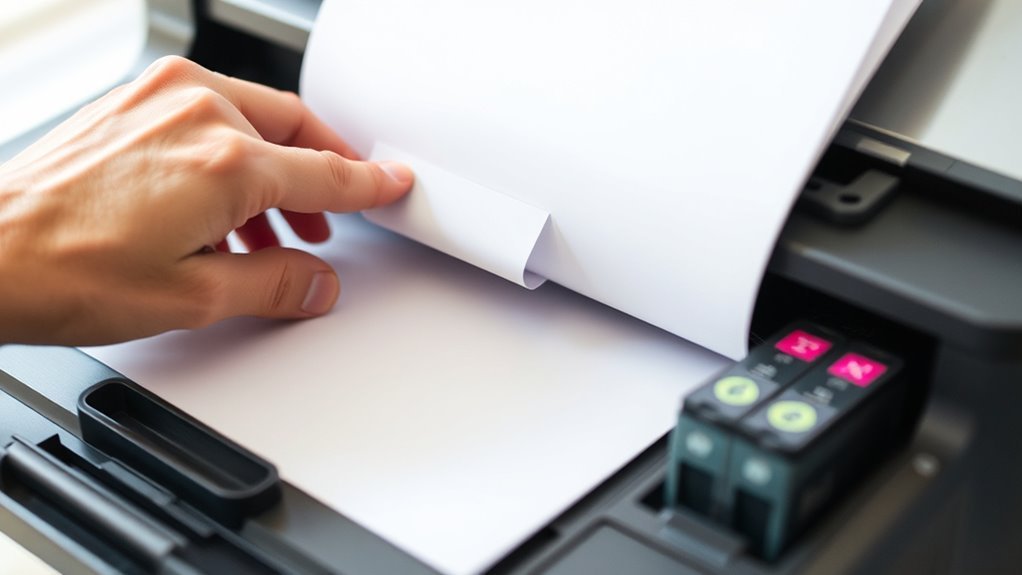
When your printer won’t print, paper jams and ink problems often hold things up. To get your printer back on track, here’s what you should do:
First, power off and unplug the printer before you carefully remove the jammed paper. Make sure you follow your model’s instructions so you don’t damage the rollers or sensors.
If your prints look faint or some parts are missing, try running the printhead cleaning cycle up to three times. Also, check your ink and toner cartridges—replace them if they’re low or dried out. Keep in mind, expired paper and toner can block printing too.
Always use the right paper size and weight. Fan the stack before loading it into the tray, and store paper and toner in a dry place. This helps prevent jams or poor print quality.
After you’ve fixed these issues, print a test page to make sure everything’s working smoothly. Easy, right?
How to Update and Reinstall Printer Drivers
To fix printing issues, start by updating your printer drivers through your computer’s settings or Device Manager. It’s a simple first step that often does the trick.
If updating doesn’t work, go ahead and uninstall the drivers. Then, reinstall them to refresh the connection between your printer and system.
Just make sure you always download the latest drivers directly from your printer manufacturer’s official website. That way, you’ll guarantee compatibility and avoid any headaches.
Driver Update Methods
Updating or reinstalling your printer driver can clear up many printing issues by making sure your device communicates properly with your computer. To update drivers effectively, start by confirming your printer model and current printer settings.
Then, follow these steps:
- On Windows, open Device Manager, right-click your printer under “Printers,” select “Update driver,” and choose “Search automatically” or download the exact driver from the manufacturer’s website to fix software problems.
- On macOS, go to System Settings → Printers & Scanners, remove your printer, then add it again to prompt macOS to fetch the latest driver.
- For networked printers, update firmware via the printer’s web interface and make sure the driver matches your printer’s IP and protocol to avoid communication errors.
These methods help you keep your printer drivers current and resolve many printing glitches. It’s a simple way to make sure your printer runs smoothly without any hiccups.
Reinstalling Printer Drivers
Reinstalling printer drivers can often resolve stubborn printing issues by ensuring your system uses the most compatible and up-to-date software. On Windows, open Device Manager or go to Settings > Printers & scanners. Then, remove your printer.
Next, download the latest driver package from the manufacturer’s site for your model and OS. After installation, reconnect the printer. It’s usually that simple!
For macOS, remove the printer in System Settings > Printers & Scanners. Then add it back using either vendor drivers or Apple’s built-in options. Just make sure your macOS is updated first.
If you’re dealing with network printers, verify the IP address and install the correct drivers, like PCL, PS, or AirPrint. This helps prevent protocol mismatches that can cause problems.
Sometimes, print jobs get stuck even after a driver reinstall. If that happens, stop the Print Spooler service, clear the queue folder, and then restart the spooler. This usually fixes corrupted entries and gets things moving again.
Clear a Stuck Print Queue to Resume Printing
When your printer suddenly stops responding, clearing a stuck print queue often gets things back on track quickly.
Clearing a stuck print queue is a quick fix when your printer stops responding.
On Windows, you can stop the Print Spooler service via Services, delete all files in the spoolPRINTERS folder, then restart the spooler to clear stuck jobs immediately.
On macOS, open the printer queue in System Settings and cancel or delete all jobs.
For a network printer, check for large or corrupted files causing the jam and reboot the printer if needed.
Here’s how to clear a stuck printer queue effectively:
- Stop the Print Spooler and clear files (Windows) or delete jobs in the queue (macOS).
- Restart your printer and computer if jobs reappear.
- Use diagnostic tools to detect spooler errors or corrupted files.
This helps you quickly fix printing issues without hassle.
Troubleshoot Printer Network and Connection Problems
Although network printers offer convenience, connection problems can quickly halt your workflow. Start by printing the printer’s network configuration page to make sure your printer and computer share the same network.
If their IP addresses differ, reconnect the printer to the correct Wi‑Fi or set a static IP in your router. For wired connections, check that the Ethernet cable is firmly connected and the link/activity LEDs are lit.
If your printer shows as “offline,” open Settings > Printers & scanners, clear stuck jobs, and restart the Print Spooler service. Don’t forget to review your firewall settings—firewalls or antivirus software might block your printer’s IP or discovery protocols.
Finally, update your printer drivers and firmware to resolve common printer issues related to network configuration. It’s usually a quick fix that saves a lot of headaches later on.
How to Adjust Printer Settings for Better Printing
Fine-tuning your printer settings can make a significant difference in print quality and efficiency. If you face printer problems, adjusting the settings on your computer is a great first step.
Here’s how to enhance your printing experience:
- Match the paper size, type, and source tray in the settings to the paper trays loaded in your printer. This avoids misfeeds or poor prints.
- Select the appropriate print quality and DPI for your task—higher DPI for photos, lower for drafts—to balance speed and ink use.
- Use the maintenance menu to align the print head and calibrate paper feed. Running cleaning cycles can fix streaks or banding.
When to Call a Technician for Printer Hardware Issues
If you’ve tried cleaning and basic maintenance but your printer still jams or shows persistent print defects, it’s time to call a technician. Recurring paper jams after cleaning feed rollers or replacing trays usually point to worn rollers or fuser faults needing professional repair.
When your printer says errors like “fuser error” or “motor fault” even after power cycling and updates, don’t ignore them. These messages often mean something serious is going on inside.
Vertical lines, banding, or repeating spots after aligning print heads often mean failing drums or print heads that require expert service. Overheating, burning smells, or mechanical noises—especially in older devices—are signs to call a technician immediately.
If you work in a managed print environment, timely technician intervention guarantees minimal disruption to your printing issues and keeps your workflow smooth. So, don’t wait too long before getting professional help.
Frequently Asked Questions
Why Isn’t Printer Sharing Working in Windows 10?
Your printer sharing isn’t working because your host PC might not be online, sharing settings could be off, drivers mismatched, or firewall blocking connections.
Check network profiles, enable sharing, update drivers, and adjust firewall rules to fix it. It’s usually a simple fix once you know where to look. Just take it step by step!
How to Connect Printer to Laptop?
Wondering how to connect your printer to your laptop? Just plug in the USB, connect via Wi-Fi, or pair through Bluetooth.
Then, install drivers or let your system detect it automatically. You’ll be printing in no time!
What Does the “Driver Is Unavailable” Error Mean on My Printer?
The “driver is unavailable” error means your computer can’t communicate with your printer because the driver is missing, corrupted, or incompatible.
You’ll need to update, reinstall, or replace the driver to fix this and print again. It’s a pretty common issue, but usually easy to sort out.
Why Is My Printer in Idle Status?
Your printer shows idle because it’s not actively processing jobs. Check for paused print jobs, make sure it’s connected to the right network, and update drivers.
Also, verify cables, wake it from sleep, and confirm it’s set as the default printer. These simple steps usually get things moving again!
Conclusion
If your printer isn’t printing, don’t panic. Start by checking the basics like power and connections. Then, clear any paper jams and replace ink cartridges if needed.
Next, update your printer drivers and reset your print queue. Also, verify your network connection and adjust your printer settings to make sure everything is aligned correctly.
Sometimes, a quick restart can solve a lot. But if you’ve tried these steps and it’s still not working, it might be time to call a technician.
You can fix common printer issues yourself and avoid unnecessary frustration. By staying patient and proactive, you’ll get your printer back up and running smoothly in no time. Remember, understanding why your printer isn’t printing and knowing how to fix it can save you time and stress in the long run.