How to Add a Printer on Mac in 3 Easy Steps
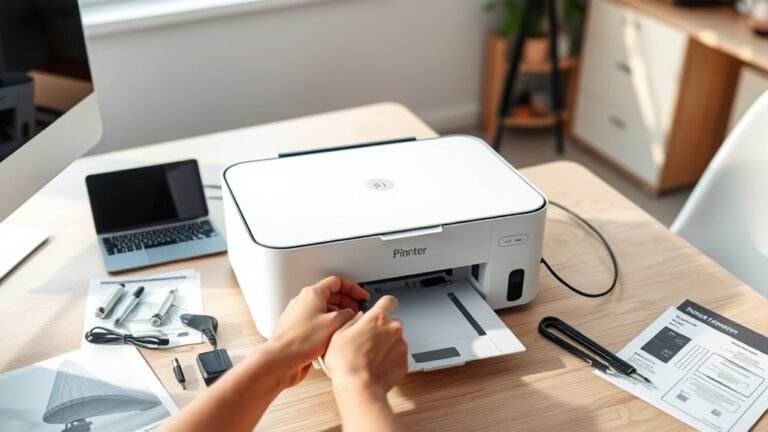
To add a printer on your Mac in three easy steps, start by finding your printer’s network name or IP address. You can usually find this on the printer’s label or by printing a configuration report directly from the device.
Next, open the Self Service app. This handy tool lets you browse and install your UMD network printer automatically, saving you time and hassle.
If your printer isn’t listed in Self Service, don’t worry! Just go to System Settings > Printers & Scanners, click Add, and select the IP tab. Then, enter the printer’s IP address or hostname and follow the prompts to finish setting it up.
Keep reading to discover helpful tips that will make your printer installation smooth and easy!
Key Takeaways
- Open System Settings (or System Preferences) and select Printers & Scanners.
- Click the Add Printer (+) button to start adding a new printer.
- Choose the printer from the default list or switch to the IP tab to enter its IP address.
- Select the appropriate protocol (AirPrint, IPP, LPD, or HP Jetdirect) for connection.
- Allow macOS to auto-select the driver or manually choose the printer software if needed.
It’s pretty straightforward once you get to this step!
How to Find Your Printer’s Network Name or IP Address
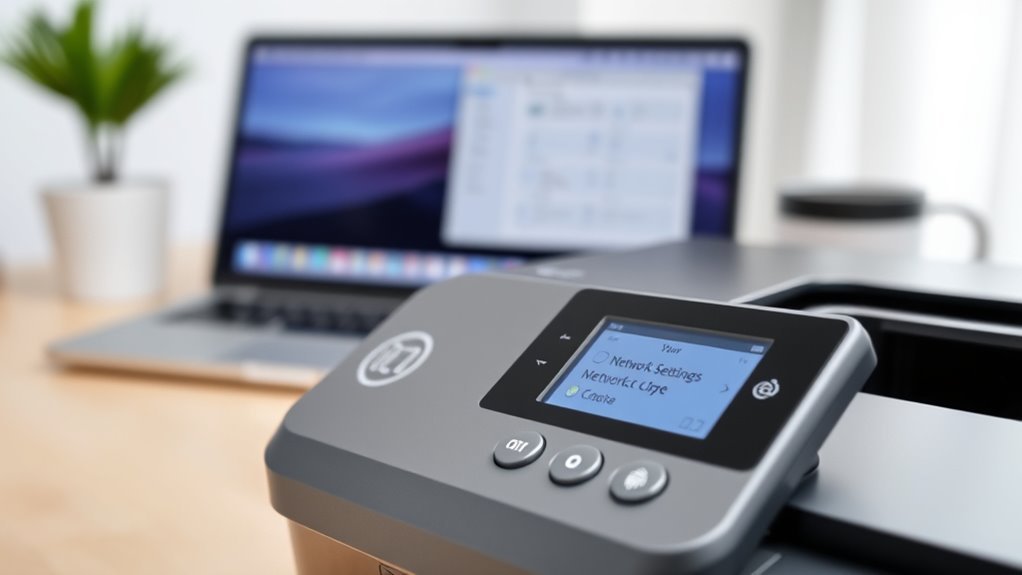
To find your printer’s network name or IP address, start by checking the printer itself for a label or sticker that lists this information. It’s often displayed as a location-based name or a series of numbers.
If you don’t see a label, try printing the printer configuration or network report from the printer’s menu. This will give you the printer’s IP address, hostname, and connection type.
On your Mac, go to System Settings > Printers & Scanners and click the plus (+) to Add Printer. Network printers often show up by name here, and you can reveal their IP by selecting Add > IP and entering it in the Address field.
If the printer isn’t visible, no worries. Just check your router’s connected devices list for the printer’s hostname or IP.
Install Your Printer With the Mac Self Service App
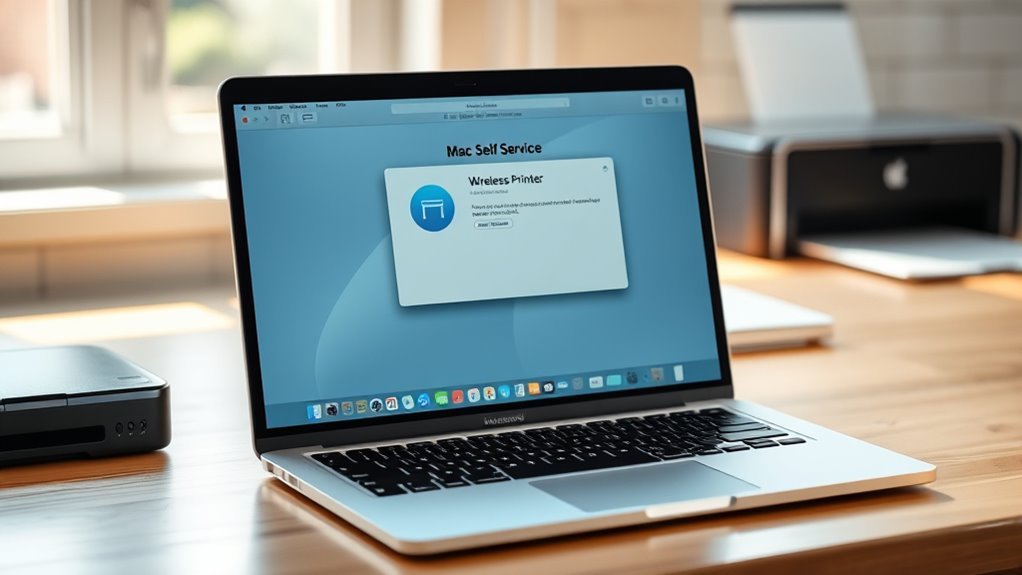
Open the Self Service app on your Mac. You can find it in the Applications folder or just search for it using Spotlight. Once you’re in, go to the Printing category to browse the available UMD network printers.
Launch the Self Service app on your Mac and explore the Printing category to find UMD network printers easily.
Look for your printer by its label name—usually something location-based like kplz404-lw. When you find it, click Install or Activate to add it to your Mac. The cool part? Self Service automatically picks the right driver and configuration for you.
That’s why it’s the preferred way to install UMD network printers. But if the Install button is grayed out or you don’t see your printer listed, no worries. You’ll just need to add it manually through System Settings > Printers & Scanners.
If you run into any other issues, don’t hesitate to reach out to the TechCenter Help Desk for support. Using Self Service really makes setting up your printer easier by making sure your Mac has the proper driver and settings without any extra hassle.
Manually Add a Printer Using Its IP Address on a Mac
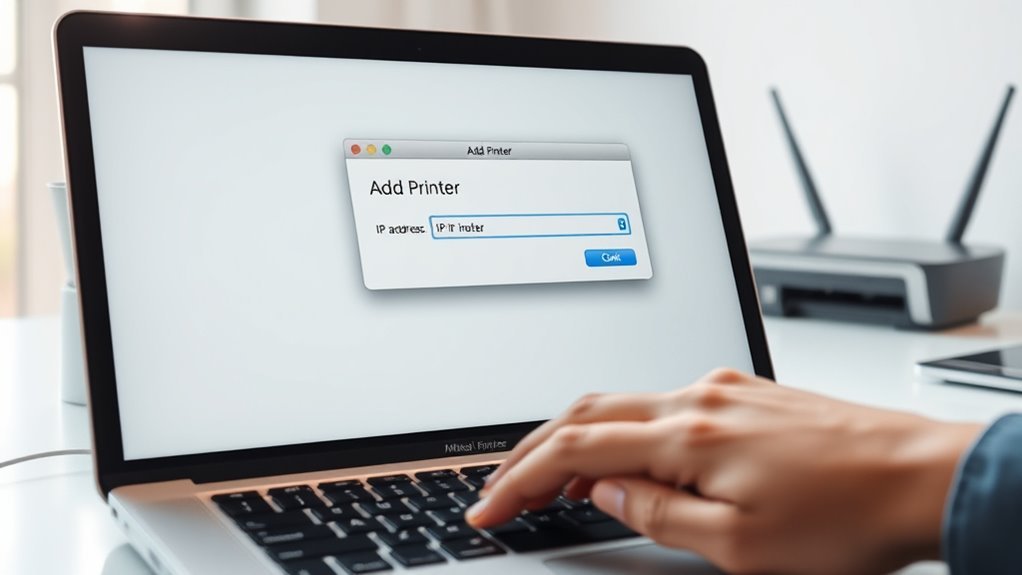
Navigate to the Apple menu and select System Settings (or System Preferences), then go to Printers & Scanners. Click the Add Printer, Scanner, or Fax button (+), and choose the IP tab marked by a blue globe.
In the Address field, enter the printer’s IP address or full host name. If your admin requires it, add a queue name; otherwise, leave it blank.
Next, pick the right Protocol from AirPrint, IPP, LPD, or HP Jetdirect/Socket to guarantee proper communication. In the Use field, let macOS Auto Select the driver, or click Select Software to choose a specific manufacturer’s driver or a generic one.
After clicking Add, check for any detected accessories like a Duplex Unit. If you see “Unable to verify the printer on your network,” just cancel and try again. It usually works the second time!
Frequently Asked Questions
How to Set up a Printer on a Mac Computer?
You open System Settings, click Printers & Scanners, then hit the plus button to add a printer.
For network printers, enter its IP address. For AirPrint, just select it from the list if you’re on the same Wi-Fi.
It’s pretty straightforward once you get to that point!
Why Can’t My Apple Devices Find My Printer?
Your Apple devices can’t find your printer because they’re likely on different Wi-Fi networks, the printer isn’t AirPrint-compatible, or it’s in sleep mode.
Also, outdated macOS or missing drivers can block detection.
Try checking your network settings first. Sometimes, it’s just a quick fix!
How to Print Across Multiple Pages on Mac?
Want to print a big poster? Just export your file as a PDF and open it in Preview.
Then, use the “Tile Scale” or “Poster” options to split your image across multiple pages. This makes it super easy to assemble later.
Why Is My Computer Not Finding My Printer?
Your computer isn’t finding your printer because they might not be on the same network. The printer could also be off or showing errors.
Or maybe your Mac’s firewall and router are blocking the connection. It’s a good idea to check these first.
Conclusion
Now that you know how to add your printer on a Mac, you’re ready to print like it’s the Roaring Twenties all over again—fast and hassle-free.
Whether you choose the easy Self Service app or add your printer manually using its IP address, you’ve got this down pat. Just follow these simple steps, and you’ll be printing documents and photos in no time.
No need to call the IT cavalry! Adding a printer on Mac is straightforward and user-friendly. With just a few clicks, your Mac will be connected and ready to print anything you need. So go ahead, enjoy seamless printing, and make the most of your Mac’s capabilities!