How to Clean a Thermal Printer Head in 10 Easy Steps
To clean your thermal printer head in 10 easy steps, start by turning off and unplugging the printer. Then, wait at least 15 minutes to let it cool down completely. This is important to avoid any damage or burns.
Next, ground yourself to avoid static electricity, which can harm the printer’s sensitive parts. Open the media cover carefully, and remove the ribbon and paper. Take your time here so you don’t accidentally damage anything.
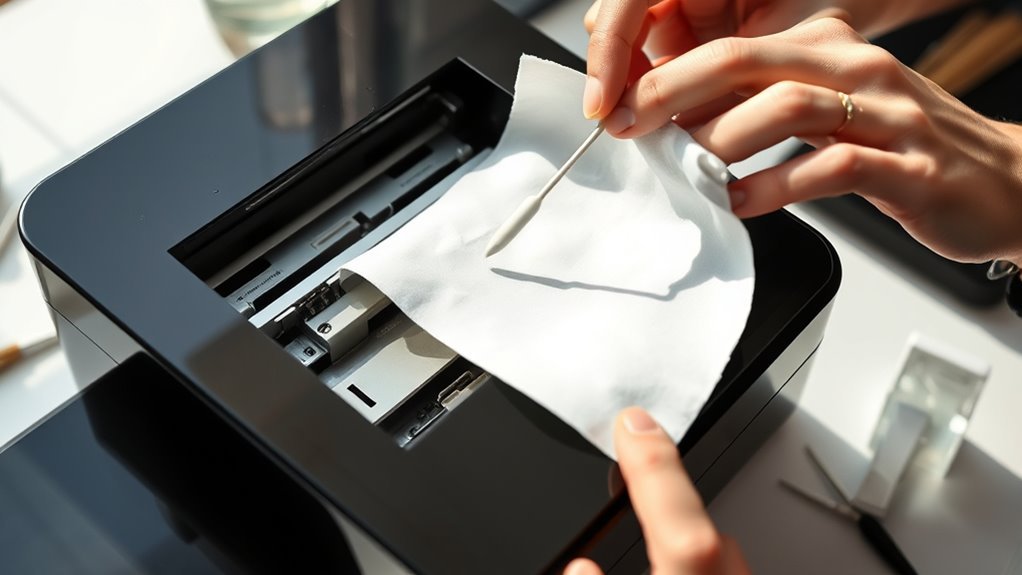
Now, grab a lint-free swab dipped in isopropyl alcohol. Gently clean the printhead and platen roller with it. Be gentle—no need to scrub hard.
After cleaning, reinstall the ribbon and paper, then close the media cover securely. Finally, power the printer back on and run a test print to see if everything looks good. Stick around for helpful tips to make sure your cleaning job is thorough and effective!
Key Takeaways
- Turn off and unplug the printer. Then, wait at least 15 minutes for the printhead to cool below 40°C before you start cleaning.
- Open the media cover and carefully remove the paper rolls and ribbons. Make sure the printhead area stays free from dust and debris.
- Grab a lint-free swab and moisten it with 90%+ isopropyl alcohol. Gently wipe the printhead lengthwise in one smooth motion.
- Next, clean the platen roller using a separate swab dampened with alcohol. Rotate the roller as you wipe to get rid of any adhesive and residue buildup.
- Finally, let all the cleaned parts air dry completely for at least 5 minutes. Once dry, you can reassemble everything and power on the printer.
Power Off and Unplug the Printer
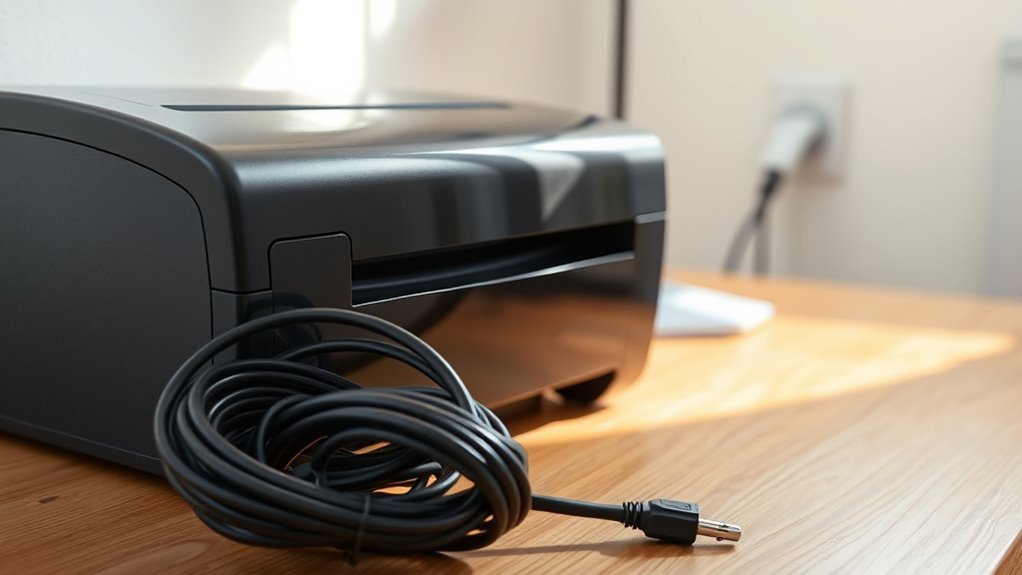
Before you start cleaning the thermal printer head, always turn the printer off and unplug it from the mains. This vital step helps eliminate the risk of electric shock and prevents accidental activation of moving parts inside the printer.
When you turn the printer off and unplug it from the mains, you make certain that no power is flowing through the device. This is essential for your safety. It also protects the delicate components from damage caused by unexpected movements or electrical surges.
Never skip this step, as it’s the foundation of safe and effective cleaning. By taking this precaution, you create a safe environment for yourself and avoid potential hazards that could occur if the printer were still powered on during maintenance.
Allow the Thermal Printer Head to Cool
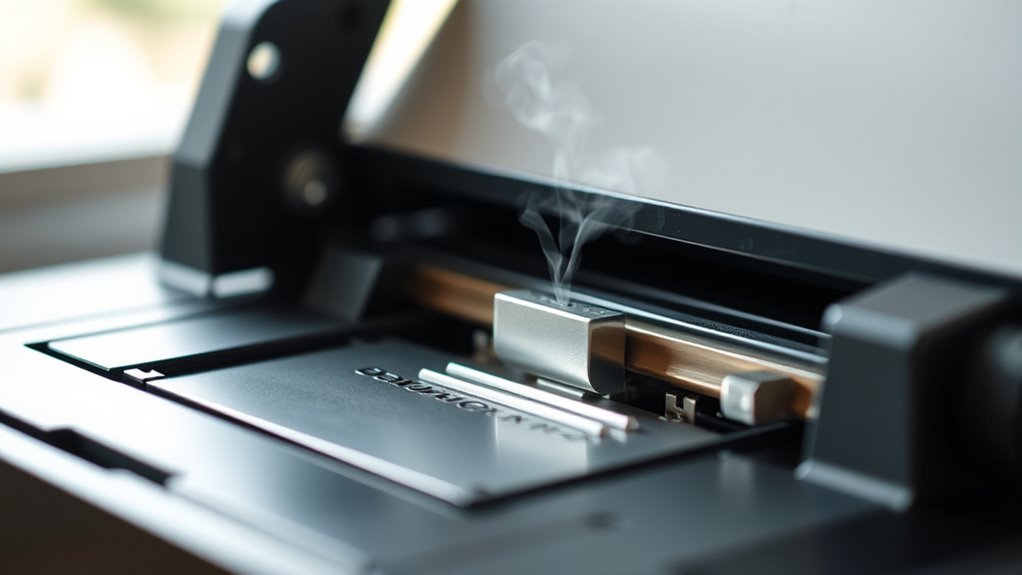
Since thermal printheads heat up quickly during use, you’ll need to wait at least 15 minutes after printing for the printer head to cool down to a safe temperature before handling it. Even if your printer shows it’s idle, the thermal printhead can still be hot, so always allow cooling to avoid burns.
Check that the printhead surface is below skin-touch temperature (around 40°C or 104°F) before you start cleaning. Never touch the glass or ceramic elements while warm, as heat combined with oils from your fingers can damage the printhead.
Taking this precaution helps protect both you and the thermal printhead, ensuring safe and effective cleaning. So, make sure you allow cooling properly every time to keep your printer working well and lasting longer.
Ground Yourself by Touching the Printer Frame to Discharge Static
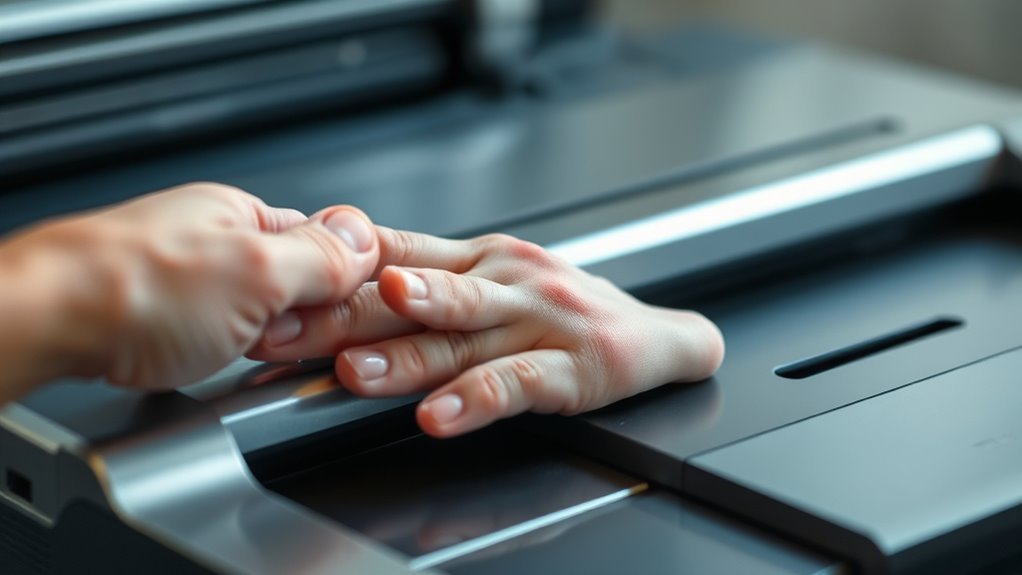
After the printhead has cooled to a safe temperature, you’ll want to ground yourself to prevent static electricity from damaging sensitive components. To do this, firmly touch the metal frame or chassis of the powered-off printer for several seconds.
This grounding step discharges any static build-up and lowers the risk of ESD damage. If you have an anti-static wrist strap, wear it and connect it to the printer frame or a grounded mat for continuous protection while cleaning.
Avoid touching the printhead or circuit boards with bare hands after grounding. If you move away or touch clothing, just re-ground yourself by touching the metal frame again.
Grounding is especially important in low humidity environments, where static electricity builds up more easily and can harm your printer’s delicate parts. So, it’s a simple step that really helps keep your printer safe!
Open the Media Cover and Remove Ribbon and Paper
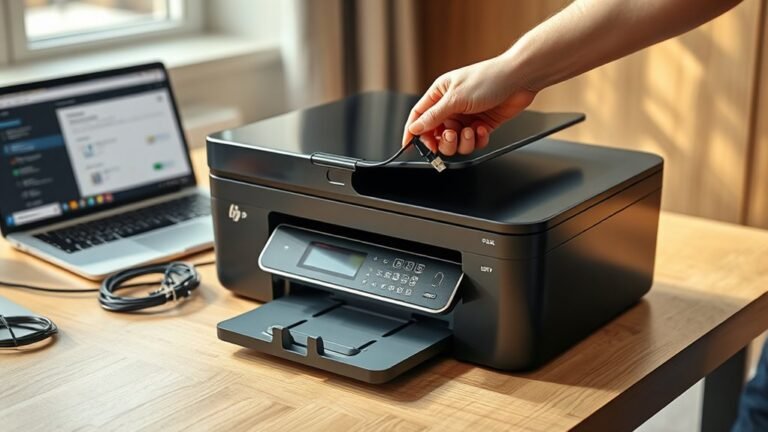
Power down your printer and let the printhead cool for at least 15 minutes to prevent burns. Once it’s cooled, open the media cover or printhead access door by lifting the lever or pressing the release, depending on your model.
This will expose the thermal head, ribbon, and paper path. Carefully remove the paper roll or any loose label scraps to avoid contamination during cleaning.
If your printer uses a thermal transfer ribbon, gently take out the ribbon roll and core. Be careful not to touch the thermal head surface while doing this.
Place the removed ribbon and paper on a clean, dry surface. Keep the printhead area clear of dust and liquids as you get ready to clean, making sure the printer stays protected throughout the process.
Clean the Thermal Printer Head and Platen Roller With Isopropyl Alcohol
Before you start cleaning, make sure your printer is unplugged and the printhead has cooled for at least 15 minutes. Open the media cover and remove the paper roll and ribbon.
Always unplug your printer and let the printhead cool for 15 minutes before cleaning.
Then, moisten a lint-free cotton swab with 90%+ isopropyl alcohol to clean the thermal printhead gently. Wipe lengthwise in one smooth motion to protect the heating elements.
Next, use a separate swab dampened with alcohol to clean the platen roller by rotating it and wiping across its entire surface. Focus on removing adhesive, dust, and ink build-up.
Picture this: the swab gliding gently along the thermal printhead, the platen roller turning smoothly under your touch, alcohol dissolving stubborn residue, and surfaces becoming visibly cleaner.
Doing this regularly keeps your printer running smoothly. Try to do it every 3–6 months.
Let All Components Fully Dry Before Reassembly
After cleaning, make sure you let all components air dry completely—this usually takes at least 5 minutes, or longer if you used liquid label remover.
Rushing to reassemble while parts are still wet risks damaging electrical components and causing print errors.
Always confirm surfaces are dry and free of residue before powering on your printer.
Importance of Complete Drying
Although cleaning the thermal printer head is crucial, letting all components fully dry before reassembly is just as important to make certain proper function. After using alcohol for cleaning, air drying makes certain no moisture remains that could cause electrical damage or streaking.
Before you reassemble, use a lint-free cloth or swab to remove any leftover solvent from the print head glass and platen. Pay close attention to crevices and sensor windows to prevent moisture buildup.
Also, check paper paths where dampness can lead to sticking or smudging. Don’t forget internal components, since moisture there could cause short circuits.
Keep an eye on environmental conditions too, allowing extra drying time if it’s humid or cold.
Complete drying preserves your printer’s accuracy and longevity. So, don’t rush this step—it really protects your investment and keeps prints flawless.
Drying Time Recommendations
When you clean your thermal printer head with isopropyl alcohol, you should let the printhead and platen roller air dry for at least five minutes. This makes sure all the solvents evaporate completely before you put everything back together.
This drying time helps the printhead dry thoroughly, which prevents damage or short circuits. If you used a heavier cleaning solution, just extend the drying time to 10–15 minutes. Also, take a moment to visually confirm that no wet spots remain.
In humid or cold conditions, it’s a good idea to increase the drying time even more. You can use gentle airflow to help remove dust and moisture, but never apply direct heat.
Before you reassemble everything, check the components carefully to make sure they feel dry to the touch. Following these steps will guarantee your printer stays safe and works properly after cleaning.
Risks of Premature Reassembly
Allowing your thermal printer head and platen roller to fully dry before reassembly prevents serious damage. Using Isopropyl alcohol for cleaning means you should wait at least 5–10 minutes to guarantee all moisture evaporates.
Putting parts back too soon can cause electrical shorts or corrosion in printhead contacts. It might also void your warranty if moisture-related damage occurs.
You could see smudging or streaks from softened adhesives on media and ribbons, which is frustrating. Plus, thermal shock might lead to cracking or warping of components.
Always check with a lint-free dry swab along the printhead and platen roller to make sure everything is completely dry. After reassembling, wait an extra 5 minutes before powering on your printer.
This little extra step can save you from costly repairs and keep your printer working great. Proper drying really safeguards your printer’s longevity and print quality.
Reinstall Ribbon and Paper Roll Carefully
Once the printhead is dry, carefully align the ribbon with the ink side facing the printhead and secure the paper roll in place. Make sure both ribbon and paper feed straight, adjusting the guides to prevent any skewing.
Finally, check the tension to keep the ribbon taut without overstretching for smooth printing. This way, everything will run smoothly and your prints will come out just right.
Align Ribbon Properly
Carefully seat the ribbon flat across both supply and take-up spindles, ensuring the ink side faces the printhead to avoid streaking and poor contact. Proper ribbon alignment is vital for sharp prints and printer longevity.
Make sure the ribbon has no twists and that tension is snug—not too loose to cause wrinkles, nor too tight to wear the printhead prematurely.
After installation:
- Check the ribbon is taut but flexible across spindles
- Confirm the ink side faces the printhead correctly
- Advance ribbon and paper a few inches manually
- Run a calibration or print test to verify alignment and print density
This careful alignment protects the printhead and guarantees your prints come out crisp and consistent every time.
Secure Paper Roll Position
After aligning the ribbon properly and verifying its tension and position, you’ll need to reinstall the paper roll to guarantee smooth feeding and accurate printing. First, align the paper roll on the spindle so it spins freely without wobbling.
Make sure the media feeds in the correct direction, typically face-up for direct thermal printers. Next, set media guides snugly—about 1/16 inch (1.5 mm) from the label edges—to keep the paper stable and prevent side-to-side movement.
Properly set media guides assure the roll feeds straight through the printer. Once the roll is positioned, close and lock the printhead cover securely.
This careful setup helps avoid jams and uneven printing, guaranteeing your thermal printer operates efficiently after cleaning.
Check Tension And Fit
Install the thermal ribbon and paper roll according to your printer’s manual, making sure the ribbon unwinds correctly and the label faces the right direction. Next, check ribbon tension and media fit carefully to avoid print issues.
Set the media guides so they lightly touch the label edges, with about a 1/16 inch gap, to prevent skewing. Make certain the ribbon is taut but not stretched, and that the paper roll rotates freely with slight resistance.
Fully engage the printhead locking lever to secure even contact across the platen roller. This prevents streaks and premature wear. Finally, run a test print or calibration to confirm proper tension and alignment.
- Ribbon should be taut without slack
- Media guides set with slight clearance
- Printhead locking lever fully engaged
- Paper roll rotates smoothly with slight resistance
Close the Media Cover and Power On the Printer
Once you’ve let all the cleaning solvents evaporate, close the media cover firmly to secure the printhead assembly and paper path. Reinstall any media, ribbons, or accessories you removed and adjust the media guides to maintain about a 1/16 inch gap from the label edges.
This guarantees smooth feeding and prevents jams. Next, plug in the printer and power on the unit using the main switch.
Allow it to complete its POST or calibration cycle before you start printing. Keep an eye on the printer’s LEDs and any display messages for errors like paper out, open cover, or ribbon faults.
Address these issues immediately to avoid print problems. By properly closing the media cover and powering on, you’re setting the stage for consistent print quality and reliable operation.
Run a Test Print to Confirm Cleaning Success
After cleaning and powering on your printer with fresh media loaded, run a test print using the built-in self-test or printer driver. Check the print for even darkness, streaks, or white voids to verify the cleaning worked.
If issues remain, you might need to repeat the process or seek further support. It’s worth double-checking before moving on.
Verify Print Quality
You should always run a self-test or sample print immediately after cleaning and reassembling the printer head. This helps check for uniform darkness and proper alignment across the entire print width.
This quick self-test lets you confirm the print quality and catch any issues early on. When reviewing the test print, look closely for faded or uneven darkness, streaks, bands, or white voids.
Also, watch out for diagonal ribbon wrinkles or distortions, and make sure the alignment is consistent across the label width. Comparing this print to a known-good sample is a great way to ensure contrast and sharpness meet your expectations.
If your thermal printer has an automated cleaning mode, go ahead and use it, then run another test print. It’s also a good idea to record your print settings and firmware version—that way, you can isolate whether any problems come from cleaning or configuration.
Doing this helps guarantee reliable results going forward.
Identify Remaining Issues
Running a test print helps you confirm whether your cleaning efforts have fully restored print quality. After reassembling your thermal printer, initiate a self-test or print test via the printer menu or by holding specific buttons.
Check the resulting page for uniform darkness, no streaks, and complete characters. If you notice reduced print quality, like faint or uneven printing, run the printer’s automated cleaning cycle again and print a fresh test.
Should issues persist, note your firmware version, media type, and settings, then contact technical support. Even if test prints look fine but defects appear occasionally, monitor print quality over several rolls.
Also, clean the printhead every 3–6 months or when changing media to prevent future problems. This way, you can keep your printer running smoothly without surprises.
Troubleshoot Common Issues After Cleaning
Although cleaning the thermal printer head often resolves print quality problems, you might still encounter issues like faint prints, streaks, or sensor errors. Here’s how you can troubleshoot common issues after cleaning:
If prints remain faint, run the printer’s automated cleaning cycle and check print density and speed settings. Sometimes a quick adjustment can make a big difference.
If prints stay faint, try the automated cleaning cycle and adjust density or speed settings for better results.
Persistent streaks usually mean the printhead is damaged or worn. Compare usage to its expected life and consider replacing it if needed.
Wrinkled labels or ribbons often indicate platen roller problems. Try cleaning or replacing the roller, and don’t forget to verify ribbon tension and media guides.
Sensor or calibration errors after cleaning require power-cycling and re-running calibration. Make sure no fluids contacted the sensors during cleaning. If errors continue, it’s best to contact support.
Following these steps will help maintain peak print quality and keep your printer functioning smoothly.
Frequently Asked Questions
How to Clean Thermal Printer Printhead?
You power off, unplug, and let the printhead cool. Then, gently wipe it lengthwise with a lint-free swab moistened with isopropyl alcohol.
After that, dry it and let it air-dry for five minutes. Once it’s completely dry, close the printer and power it back on.
How Do I Manually Clean My Printhead?
You power off, unplug, and cool the printhead. Then, you open the media door, remove supplies, and clear dust.
Next, you wipe the thermal strip gently with alcohol. After that, clean the roller, dry it, and reassemble everything carefully.
Do Thermal Printers Need to Be Cleaned?
Yes, you need to clean your thermal printer regularly to avoid faded prints and streaks. Doing this weekly or whenever you change media keeps your print quality sharp.
It also extends the printer head’s lifespan considerably. So, making cleaning a habit really pays off in the long run!
Can I Use Rubbing Alcohol to Clean My Printer Head?
You can use rubbing alcohol, but it’s got to be 90% or higher — anything less is like trying to wash away dirt with water alone.
Just be gentle, avoid soaking, and never touch the head directly. It’s all about being careful so you don’t cause any damage.
Conclusion
Cleaning your thermal printer head isn’t just a chore—it’s like giving your printer a spa day! Follow these simple steps, and you’ll have it purring like a kitten in no time.
Skipping this could turn your prints into a messy disaster, but with just a little care, your printer will reward you with crisp, flawless prints every single time.
So, roll up your sleeves and treat your printer like royalty—it totally deserves it! Regular cleaning of your thermal printer head ensures consistent print quality and extends the life of your device.
By keeping the printer head clean, you avoid streaks, smudges, and other print defects that can slow you down. Plus, it’s a quick and easy way to maintain top performance without costly repairs.
Trust me, a clean thermal printer head is the secret to smooth, professional-looking prints every time you hit print!