How to Make Stickers With a Printer in 7 Easy Steps
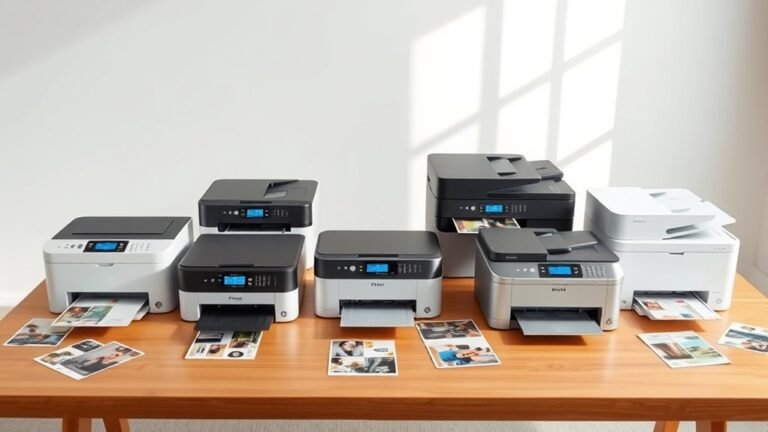
To make stickers with a printer in 7 easy steps, start by picking the right printer and paper for your project. Inkjet printers are great for vivid colors, while laser printers work best for sharp text and durability. Choosing the right materials sets you up for success.
Next, design your file with bleed and cut lines to make sure your stickers come out looking perfect. Then, set your printer to the highest quality setting before printing your sheets. Patience is key here—let the ink fully dry to avoid smudging.
After printing, add a protective laminate layer to keep your stickers looking fresh and durable. You can cut them out with a Cricut machine or simply use scissors or a craft knife by hand.
Finally, apply your stickers to your favorite surfaces and store any leftovers properly for future use. Keep following for detailed tips and expert tricks!
Key Takeaways
– Choose the right printer (inkjet for vivid colors, laser for sharp text) and compatible sticker paper with suitable finish and weight.
It’s important to pick the best combo so your stickers look great and stick well.
– Design your stickers with a 2–3 mm bleed and add precise vector cut lines named “CutContour” for accurate cutting.
These little details make sure your stickers are cut perfectly without any awkward white edges.
– Set your printer to highest quality, correct media type, and 300+ PPI resolution; print a test sheet to avoid errors.
Doing a test print first can save you from wasting paper and ink.
– Let prints dry fully (10–48 hours depending on paper), use a fan for faster drying, and avoid heat sources to prevent smudging.
Patience pays off here—rushing can ruin your hard work.
– Cut stickers using a cutting machine with registration marks or hand-cut after drying, then optionally laminate for protection and durability.
Laminating is optional but definitely adds extra durability if you want your stickers to last.
Choose the Right Printer and Sticker Paper for Your Stickers
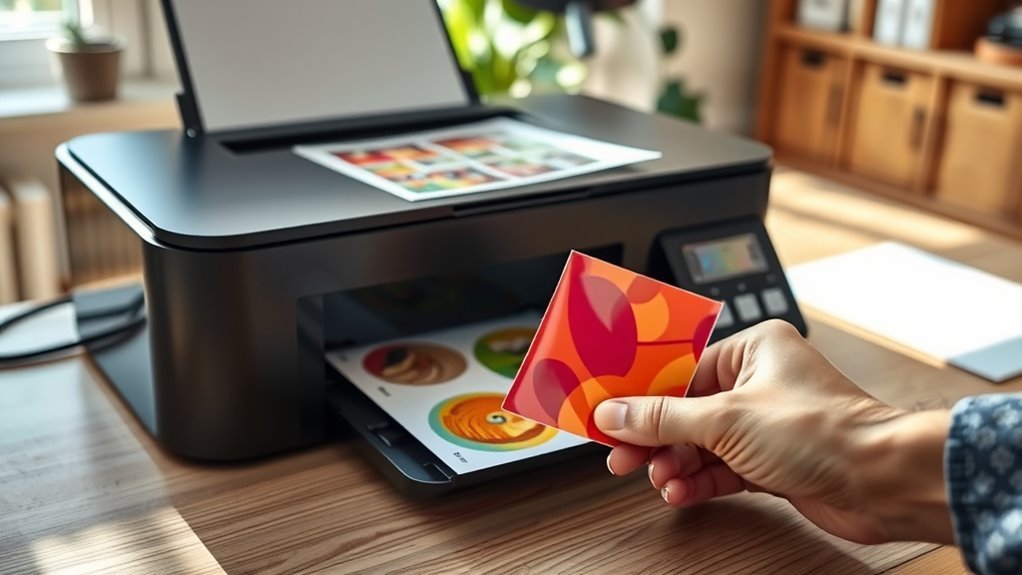
Start by selecting the right printer and sticker paper to guarantee your stickers look professional and last. If you want high-color photo stickers, choose an inkjet printer like Canon or Epson, setting it between 300 and 4800 dpi depending on the model.
For sharp text or foil-ready results, a laser printer with laser-safe sticker paper works best. Match your sticker paper finish to the intended use: matte for writable planner stickers, glossy for vivid images, and vinyl sticker paper or synthetic waterproof options for durable outdoor stickers.
Always pick paper size to fit your printer, either Letter or A4, and opt for heavier stocks (120–200 gsm) for better feed and quality. Testing a single sheet on high-quality settings before printing a batch helps avoid smudging or misfeeds.
Set Up Your Sticker Design File With Cut Lines and Bleed
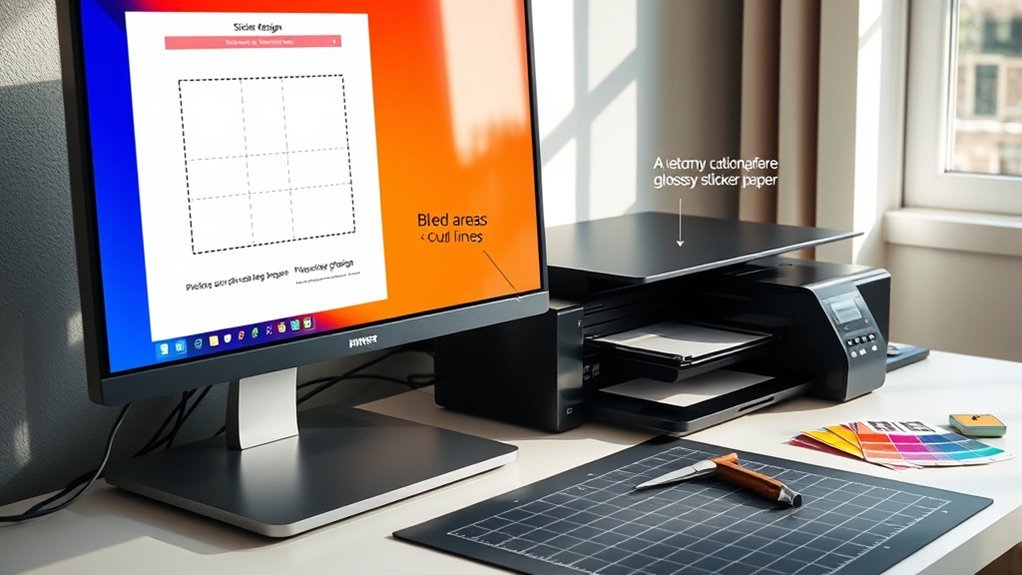
To make your stickers cut perfectly, you’ll need to add precise cut lines and bleed margins to your design file. Extend your artwork 2–3 mm beyond the cut edge to avoid white borders from slight misalignments.
Also, set up your file with clear vector cut lines and export it at high resolution. This will guarantee smooth printing and cutting. Easy, right? Just a few simple steps to get your stickers looking great!
Designing Cut Lines
When you design your sticker file, adding cut lines and bleed guarantees clean, precise edges after cutting. To create professional printable stickers, you’ll need to set up a CutContour line that marks exactly where the cutter should trim.
This line should be a hairline vector path named “CutContour” and placed on the sticker’s edge. Don’t forget to extend your artwork by 2–3 mm bleed beyond this to avoid unwanted white edges.
Keep in mind: flatten your design and cut path for a smooth print-and-cut workflow. Also, use contrasting offsets for fine details to prevent cutter mistakes.
Make sure to export in PNG, PDF, or SVG with cut paths compatible with your cutting machine. Following these steps makes sure your stickers come out sharp and perfectly trimmed every time.
Adding Bleed Margins
Adding bleed margins guarantees your stickers maintain clean edges even if the cutter shifts slightly during trimming. Extend your artwork by 2–3 mm beyond the cut line to create this bleed, preventing unwanted white slivers.
Place a precise vector cut line exactly on the trimmed edge, using a spot color like “CutContour” for machines such as Cricut. Include registration marks to help the cutter align perfectly.
Export your design as a 300 dpi PNG or high-resolution PDF with both the bleed and cut line layers clearly defined. Here’s a quick reference for setting your bleed and cut line:
| Element | Recommended Size |
|---|---|
| Bleed | 2–3 mm beyond cut line |
| Cut line | Exact sticker edge |
| Safety margin | 2 mm inside cut line |
This arrangement guarantees crisp, professional sticker cuts every time.
File Setup Tips
Even if you’ve perfected your design, setting up your file correctly with bleed and cut lines guarantees your stickers print and cut flawlessly.
To make certain your printable artwork comes out crisp and accurate, follow these essential file setup tips:
- Include a 2–3 mm bleed by extending background colors beyond the final edge. This helps avoid white borders from slight cutting shifts.
- Add a separate cut line path named “CutContour” with a hairline stroke (0.1–0.25 pt). Make sure it’s on its own layer or spot color so cutting machines can recognize it easily.
- Save your artwork at 300 PPI at the final printed size. This keeps edges sharp and ensures perfect cut registration.
Use flattened PDFs or high-quality PNGs with transparency for your artwork. Also, export separate cut path files (PDF/SVG) to make production run smoothly.
Set Your Printer for the Best Sticker Print Quality
To get the best sticker print quality, set your printer to the highest resolution and match the paper type to your sticker material. Disable draft mode and use actual size scaling to keep your design accurate.
Make sure to let your stickers dry fully after printing. This helps avoid smudges before you laminate or cut them. Taking these simple steps will really make your stickers look sharp and professional.
Optimize Printer Quality Settings
Boost your sticker prints by setting your printer to the highest quality or “Photo”/”Best” mode. Also, make sure to select the correct media type, like Premium Photo Paper Glossy for vinyl or Cardstock for matte finishes.
Optimizing your print settings ensures vibrant colors and sharp details. Always print at 300 ppi or higher to keep your images crisp and clear.
Don’t forget to disable draft mode to avoid faded prints and get full ink saturation.
To optimize your printer quality settings:
- Set scaling to 100% or Actual Size to prevent distortion
- Enable color management or use the printer’s ICC profile for your sticker paper
- Feed sheets straight and follow your printer’s recommended orientation
These simple steps will make sure your stickers look professional and last longer.
Select Appropriate Paper Type
After optimizing your printer settings for the best output, the next step is choosing the right sticker paper. If you’re using an inkjet printer, select printable vinyl or matte glossy sticker paper designed specifically for inkjets. This ensures the ink adheres properly and colors stay vibrant.
In your printer settings, pick the correct paper type—such as “Premium Photo Paper Glossy” for vinyl or “Cardstock/Matte Photo Paper” for matte sheets—to control ink saturation and drying. Avoid draft modes and print at the highest quality to preserve detail.
Using the right sticker paper with precise printer settings guarantees sharp, colorful stickers that cut accurately and last longer. Matching your paper to your printer type is key for professional-looking results every time.
Manage Ink Drying Time
While printing your stickers, make sure you set your printer to the highest quality and disable any draft or ink-saving modes. This helps the ink lay down evenly and dry faster.
Adjust your printer settings to the highest resolution (300–4800 dpi depending on your model). Also, select the right paper type for optimal ink absorption. Managing ink drying time is super important to prevent smudging and warping.
To guarantee perfect drying:
- Let prints sit flat for 10–30 minutes. If it’s humid, you might need to wait longer.
- Use a low-heat hair dryer or fan, keeping it 12–18 inches away, to speed up the drying process.
- Wait 24–48 hours before laminating, applying adhesive, or cutting your stickers. This makes sure everything sets just right.
Following these steps will help your stickers keep their vibrant colors and sharp details looking great.
Print Your Sticker Sheets and Let the Ink Dry Completely
You should always let your sticker sheets dry completely after printing to prevent smudging and guarantee vibrant colors. When printing stickers using an inkjet printer, allow at least 10–30 minutes drying time, longer if humidity is high.
Printable vinyl or glossy paper needs up to 24 hours before handling to avoid smears. Place sheets flat in a well-ventilated area or use a cool fan to speed drying. Just avoid heat sources that can warp or melt coatings.
Always perform a fingertip smudge test before cutting or laminating to make sure everything is dry.
| Material Type | Recommended Drying Time | Tips for Best Results |
|---|---|---|
| Inkjet Paper | 10–30 min | Use Highest Quality print mode |
| Printable Vinyl | 24 hours | Avoid heat, test smudge |
| Glossy Paper | 24 hours | Cool fan for faster drying |
| Cardstock | 15–20 min | Flat surface, no Draft mode |
| Matte Paper | 10–15 min | Moderate ventilation |
Add a Laminate Layer to Protect Your Stickers
Although your stickers look great fresh off the printer, adding a laminate layer will protect them from water, scratches, and fading. Before laminating, wait 10–30 minutes for inkjet prints to dry, especially when using clear printable vinyl designed for lamination.
Apply a clear self-adhesive laminate over your sticker sheet, smoothing out bubbles with a squeegee or credit card for a waterproof seal.
Consider these tips for a durable finish:
- Use a laminate thickness of 3–5 mil for strong protection.
- Trim laminate with a 1–2 mm border to prevent peeling.
- Choose matte laminate or a matte spray sealer if you want a non-glossy effect.
This step guarantees your stickers stay vibrant and long-lasting. It’s definitely worth the little extra effort!
Cut Your Stickers With Cricut or by Hand
When cutting your stickers, choosing between a Cricut machine or hand-cutting depends on your tools and patience. For Cricut cutting, use printable vinyl or sticker paper, enable registration marks, and load your printed sheet on a LightGrip mat.
The Cricut reads the marks for precise print-and-cut alignment. Select the right blade and cut pressure—fine-point for kiss-cuts or deeper for cut-through—and always do a test cut to prevent tearing.
If you prefer cutting by hand, print full sheets and let the ink dry for 10–20 minutes. Then roughly trim around each design leaving a small white border.
Finish by carefully trimming edges with a hobby knife and steel ruler on a cutting mat. Both methods yield professional results, so pick what suits your setup and patience best.
Apply, Store, and Care for Your Finished Stickers
Once your stickers are printed and cut, let inkjet prints dry for at least 24 hours—or up to 48 in humid conditions—to prevent smudging before sealing or handling.
Allow inkjet stickers to dry 24-48 hours before sealing to avoid smudges and ensure durability.
To protect your designs, seal stickers using a clear laminate sheet or a few light coats of clear acrylic spray for water and abrasion resistance.
When you’re ready to store, keep unused sticker sheets flat in a cool, dry place and use resealable plastic sleeves to avoid curling and fading.
For applied stickers, clean them gently with a damp cloth and mild soap to preserve their look.
Keep these tips in mind:
- Always seal stickers before use for durability
- Store unused sticker sheets away from sunlight
- Use a laminate sheet for outdoor-proof stickers
Frequently Asked Questions
How to Make a Sticker With a Printer?
You design your sticker digitally, then print it on suitable sticker paper using the highest quality settings. Make sure to let it dry completely before moving on.
Next, cut it precisely by hand or with a cutter. If you want your sticker to last longer and resist water, you can optionally add a laminate for durability.
Can Walgreens Print Custom Stickers?
You might be surprised, but yes, Walgreens can print custom stickers for you! Just upload your high-quality design, choose your size, and pick them up—often the same day.
It’s easy and convenient to get started. Why not give it a try?
Where Can I Get Stickers Printed?
You can get stickers printed online with services like Sticker Mule or locally at FedEx Office and regional print shops.
For specialty or large jobs, commercial print shops with large-format printers are your best bet. They can handle bigger orders and more complex designs easily.
What Is the Best App to Create Stickers?
You might think Canva is the best app to create stickers, and it often is for beginners due to its templates and ease.
But if you want precision or hand-drawn art, Illustrator or Procreate might serve you better.
Conclusion
Now that you know how to make stickers with your printer, you’re ready to create personalized designs that stick out! Did you know the global sticker market is expected to reach over $2 billion by 2027? That’s a lot of creativity being shared!
By following these simple steps, you can join this booming trend and make durable, vibrant stickers for fun or business. So, grab your printer and start sticking your ideas everywhere!
Making stickers with a printer is easier than ever, and it’s a fantastic way to express yourself or promote your brand. Whether you want custom decals for your laptop, personalized labels for gifts, or eye-catching business stickers, these steps will guide you through the process smoothly. Dive in, print your designs, and watch your creativity come to life with every sticker you make!