How to Check Ink Levels on Epson Printer in 7 Easy Steps
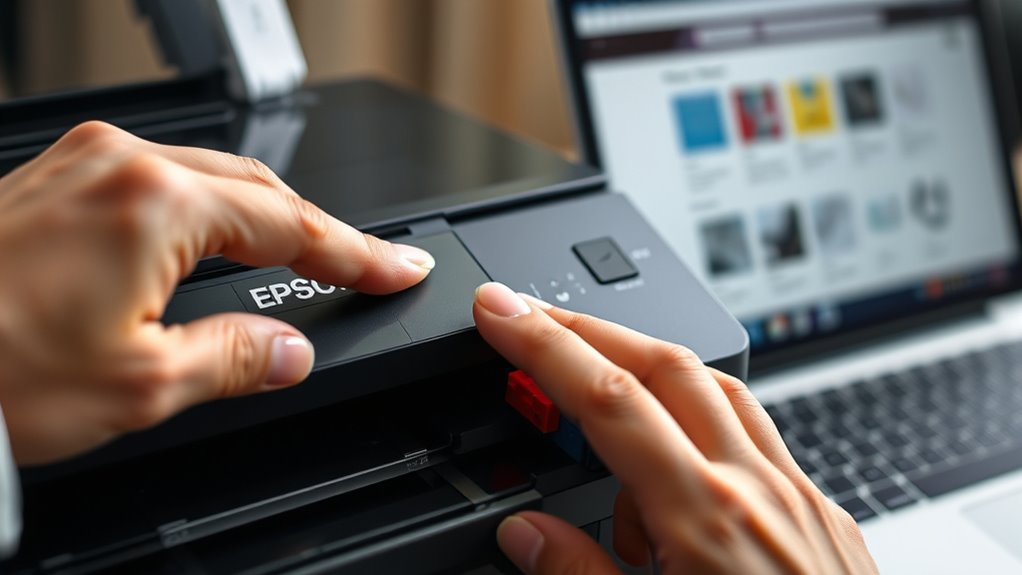
To check ink levels on your Epson printer in 7 easy steps, start by identifying your exact model and connection type. This helps ensure you’re using the right method for your specific printer. If you have an EcoTank model, a quick visual inspection of the ink tanks can give you a good idea of the ink levels.
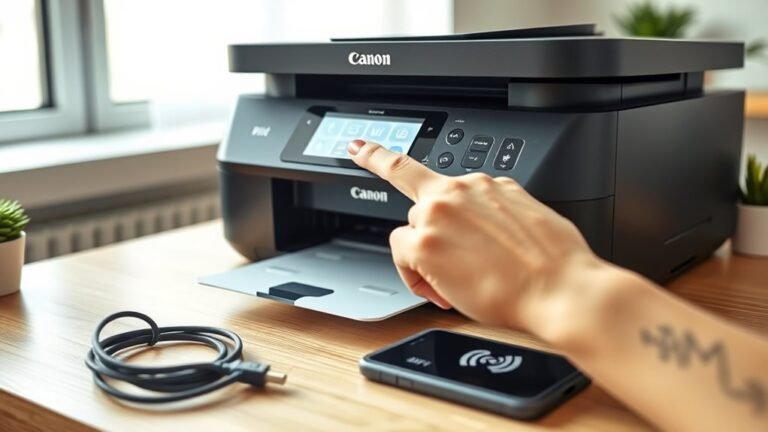
Next, install and open the Epson utility on your Windows or Mac computer to see estimated ink levels more precisely. You can also check ink status directly on the printer’s LCD screen, which is super convenient.
Another handy option is using Epson’s mobile app, but make sure all your devices are connected to the same Wi-Fi network. This way, you’ll get real-time updates on ink levels wherever you are. And if you ever get ink alerts or notice print quality issues, don’t worry—there are simple fixes you can try next.
Key Takeaways
- Visually inspect transparent EcoTank tanks for ink above the lower fill line. This helps prevent running dry and ensures accuracy.
- Open Epson Status Monitor on your PC or Mac through the printer utility. Here, you can view estimated ink levels and refresh the display for the latest updates.
- Check ink levels directly on the printer’s LCD screen. Just go to Home > Job Status or Settings > Supply Status to see the cartridge status.
- Use Epson iPrint or Smart Panel apps on your mobile device. Make sure your device is connected to the same Wi-Fi as the printer for real-time ink level monitoring.
- Double-check that you have the correct Epson driver installed. Also, confirm your network connection is working properly to get accurate ink-level readings across all devices and software.
Quick Ways to Check Epson Ink Levels: Overview & Visual Inspection
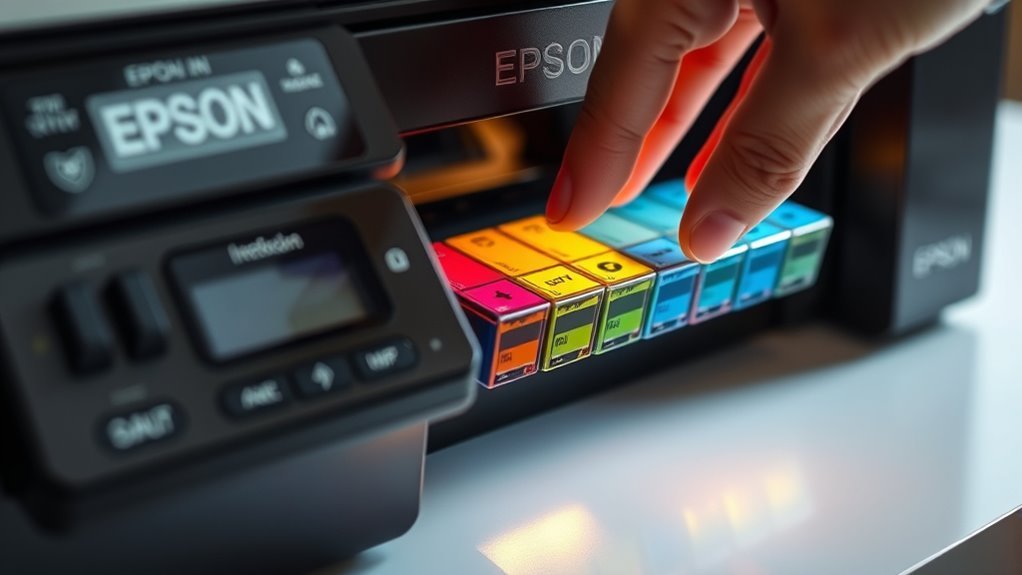
To quickly check your Epson ink levels, start by visually inspecting the transparent tanks on EcoTank models. Make sure each color stays above its lower fill line to prevent damage.
Quickly check your Epson ink levels by visually inspecting transparent EcoTank tanks above the lower fill line.
Visual inspection is the most straightforward way to make certain your printer won’t run dry. Low ink can harm the print head, so it’s important to keep an eye on those tanks.
While Epson utility software offers estimated ink levels, these alerts may be inaccurate, especially after manual refills. So, always rely on what you see in the tanks to avoid surprises.
If your printer supports the Epson utility, you can complement your visual check by opening it to view estimated ink levels. However, for a fast and reliable check, the visual inspection of your ink tanks is your best first step.
How to Check Ink Levels on Windows With Epson Utility
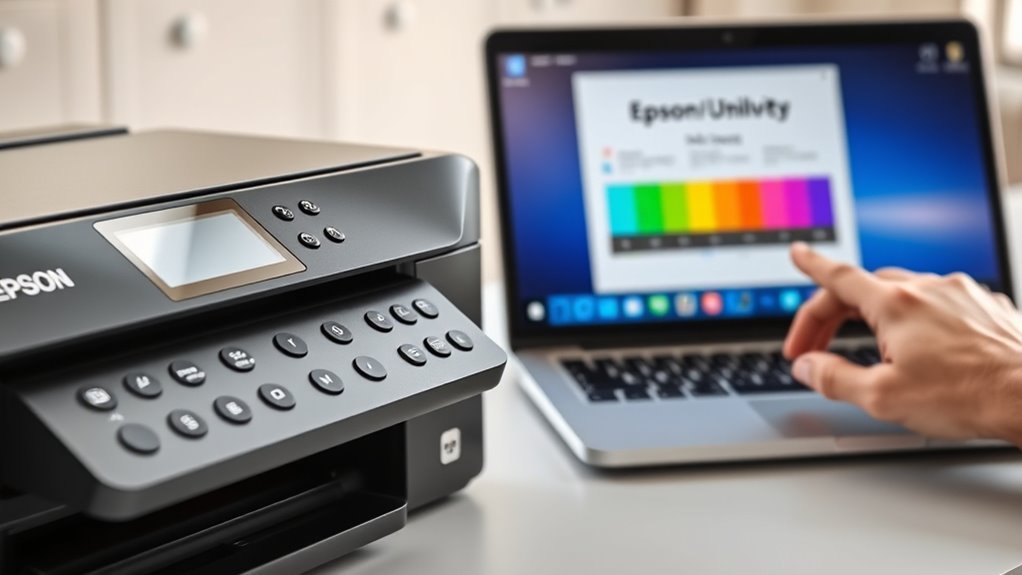
While visually checking ink levels on your Epson EcoTank printer is quick and reliable, you can also use Epson’s utility software on Windows for a convenient digital overview. First, install the Epson driver and utility from your printer model’s support page—make sure it’s the manufacturer’s driver, not the generic Windows one.
After installation, open Epson Status Monitor by double-clicking the printer icon in the taskbar or via Devices and Printers. Just right-click your Epson, then go to Printing preferences or Utility. This utility lets you check ink levels for each color and shows low-ink warnings based on usage estimates.
If your printer’s on Wi-Fi, you can refresh these estimates to get current ink status. Remember, the utility helps you know when an ink refill is needed, but visual checks remain more accurate if tanks were refilled outside the software. So, it’s good to use both methods for the best results.
Check Ink Levels on Mac With Epson Status Monitor
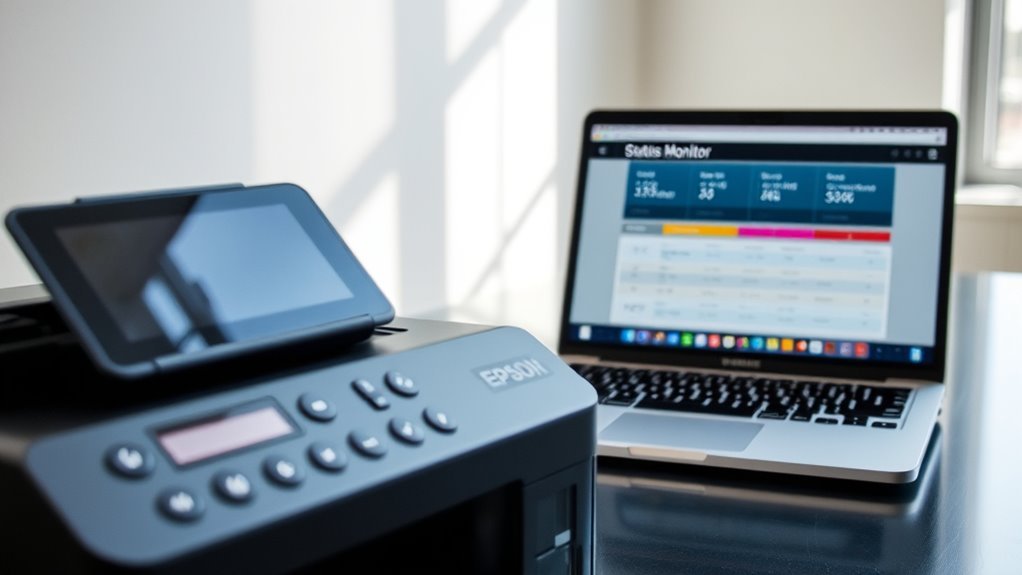
You can easily check your Epson printer’s ink levels on a Mac by opening Epson Status Monitor through System Preferences. Start by going to System Preferences > Printers & Scanners, select your Epson printer, then click Options & Supplies > Utility > Open Printer Utility.
Check your Epson printer’s ink levels on Mac via System Preferences > Printers & Scanners > Utility.
This opens Epson Status Monitor, where you’ll see estimated ink levels for each color. Click Update to refresh these estimates anytime.
Keep in mind, the monitor calculates ink remaining based on usage data, so it might not match the actual ink in the tanks. If you don’t find Status Monitor, download and install the latest Epson driver and utility from Epson’s support site to enable this feature.
For the most accurate check, also visually inspect your printer’s ink tanks. It’s a good idea to do both!
How to Check Ink Levels on Epson Printer LCD
If you’ve checked your ink levels on a Mac using Epson Status Monitor, you might want to see those same details directly on your Epson printer’s LCD screen. Here’s how to do it quickly:
Press the Home (house) button, then select Job Status to view current ink levels at the bottom of the screen.
On models like the WorkForce WF-7720, go to Settings > Supply Status for estimated cartridge ink levels.
Remember, the LCD shows software-estimated ink amounts based on usage, not direct tank measurements.
After replacing or refilling cartridges, use the LCD’s Update or Refresh option to keep the ink status accurate.
If ink runs low, your printer will notify you on the LCD and through its software.
Check Ink Levels Using the Epson Mobile App
You can easily check your Epson printer’s ink levels by downloading the Epson iPrint or Smart Panel app on your phone. Once connected to the same Wi-Fi network as your printer, the app lets you monitor ink status quickly and conveniently.
This way, you’ll always know when it’s time to replace your cartridges or refill your tanks. No more guessing or running out of ink at the worst moment! It’s super simple and saves you a lot of hassle.
Download Epson App
To check your Epson printer’s ink levels on the go, start by downloading the free Epson iPrint or Epson Smart Panel app from the Apple App Store or Google Play Store. Choose the app that matches your Epson model for best results.
Before opening the app, connect your printer and mobile device to the same Wi-Fi network or use the printer’s Wi-Fi Direct. Once connected, open the app and tap your printer icon.
Next, select “Printer Status” or “Ink Levels” to view estimated ink levels. If the app can’t find your printer, try restarting your printer and router, then give it another go.
Keep in mind, the app shows estimated ink usage, so it’s a good idea to visually check ink tanks for more precise levels. This setup makes it easy to monitor ink right from your smartphone.
Monitor Ink Status
Epson’s mobile apps regularly provide real-time updates on your printer’s ink levels, so you can stay informed without interrupting your workflow. After downloading Epson iPrint or Smart Panel, just connect your phone and printer to the same Wi-Fi network.
Open the app’s printer status screen to view ink levels for each color, usually shown as percentages or bar graphs. The app also sends low-ink alerts and maintenance notices to keep you in the loop.
If the app can’t find your printer, try checking your Wi-Fi connection or installing the driver on your PC.
| Step | Detail |
|---|---|
| Download App | Epson iPrint or Smart Panel on iPhone/Android |
| Connect | Same Wi-Fi network as your Epson printer |
| View Ink Levels | Check percentages/bar graphs in the printer status |
| Alerts & Notifications | Receive low-ink and maintenance reminders |
Troubleshoot Low Epson Ink Alerts and Blurry Prints
When your printer alerts you to low ink or produces blurry prints, it often means there could be issues with ink levels or printhead maintenance. To start troubleshooting, check the estimated ink levels through the Epson printer’s onboard menu or the Epson Status Monitor on your computer.
Keep in mind, these readings are just estimates. So, it’s a good idea to visually inspect the ink tanks or cartridges to make sure they’re above the minimum level.
If your prints are still blurry even after installing a new cartridge, try reinstalling the Epson utility. Then, run nozzle checks and head cleaning using the software to see if that helps.
Also, make sure your printer is connected to the correct Wi-Fi network. This will ensure accurate ink status updates through the Epson mobile app.
Identify Your Epson Printer Model and Connection Type
First, locate your Epson printer’s model number. You’ll usually find it on the front or top panel.
Next, confirm how your printer connects to your device. Is it via USB, Wi-Fi, or Ethernet?
Finally, use your printer’s settings or connected app to check the ink level information. This will depend on your model and connection type.
Locate Printer Model
Start by locating your Epson printer’s model name or number. It’s usually visible on the front, top, or back of the unit—or sometimes on its original packaging or manual.
Knowing the exact model helps you find the right ink levels and driver information. So, it’s worth taking a moment to check.
To quickly identify your printer model, check the printer itself for labels like XP-225 or WorkForce WF-7720. If your printer has an LCD screen, just press Home and navigate to Settings > Supply Status.
You can also open Printers & Scanners on your computer and select your Epson printer to view model details. Make sure the manufacturer’s driver is installed because generic drivers might not support ink monitoring.
This way, you’re all set to accurately check ink levels for your specific Epson printer.
Confirm Connection Type
After identifying your Epson printer model, the next step is to confirm how it’s connected to your device. Check your printer’s display or go to Windows Settings > Printers & scanners to find the connection type—common options include Wi‑Fi, USB, or Ethernet.
If your printer has an LCD screen, navigate to Home/Menu > Settings or Network Status to view the connection details directly. For wireless printers, make sure your device and printer are on the same network. Epson utilities often require this to show ink levels.
If Windows lists a generic driver, download and install the correct Epson driver from their support site. This will help you access the full ink-level features. Verifying the connection guarantees you’ll be able to check ink status smoothly in the next steps.
Access Printer Settings
When you want to check your Epson printer’s ink levels, identifying your exact model and connection type is essential for accessing the correct settings. Start by locating your printer’s model number, usually found on the front or top of the device.
Then, confirm how your printer connects to your computer—whether via Wi-Fi or USB—through your system settings.
To access your Epson printer settings effectively:
- Find the exact model name (e.g., XP-225 or WF-7720) to download the right software.
- Check connection type in Windows Settings > Devices > Printers & scanners or your printer’s menu.
- Make certain your PC or Mac recognizes the printer on the same network.
- Install Epson’s official driver and utility for full ink status and maintenance options.
This approach helps you view accurate ink levels and manage your printer smoothly. Easy, right? Just follow these steps, and you’ll be all set.
Frequently Asked Questions
How Do I Check the Ink Levels on My Epson Printer?
You can check your Epson printer’s ink levels via its LCD screen by accessing Job Status, or use the Epson utility on your computer or mobile app.
Always visually confirm ink levels to avoid running low unexpectedly. It’s better to be safe than sorry, right?
How Do You Check the Ink Levels on an Epson ET-2720?
You check ink levels on your Epson ET-2720 by pressing the home button, selecting Setup, then Maintenance, and choosing Ink Levels. It’s pretty straightforward.
You can also use the Epson Status Monitor on your computer. Or, if you prefer using your phone, the Epson iPrint app works great for checking ink levels too.
How to Know the Ink Level of Epson L3250?
Don’t put all your eggs in one basket—check your Epson L3250’s ink by visually inspecting tanks, using Windows or Mac utilities, or the Epson iPrint app.
Always double-check tanks to avoid surprises during printing. It’s a simple step that can save you a lot of hassle later!
How to Check Ink Levels on Epson ET 2803 Printer?
You can check ink levels on your Epson ET-2803 by using its control panel, Epson Printer Utility on your PC or Mac, or the Epson iPrint app.
Always double-check the external tanks to confirm actual ink amounts.
It’s a quick way to make sure you won’t run out of ink unexpectedly. Just keep an eye on both the software and the tanks themselves!
Conclusion
Now that you know how to check your Epson ink levels in just seven easy steps, you can avoid unexpected print interruptions.
Did you know that 70% of printer issues stem from low or empty ink cartridges? Staying on top of ink levels means smoother printing and fewer headaches.
Whether you use Windows, Mac, or the mobile app, these quick tips will keep your Epson printer running perfectly.
Keeping track of your Epson ink levels regularly is key to hassle-free printing. By monitoring ink status, you prevent sudden stops and maintain high-quality prints every time. So, make it a habit to check your ink levels often and enjoy seamless performance from your Epson printer, no matter what device you’re using. Happy printing!