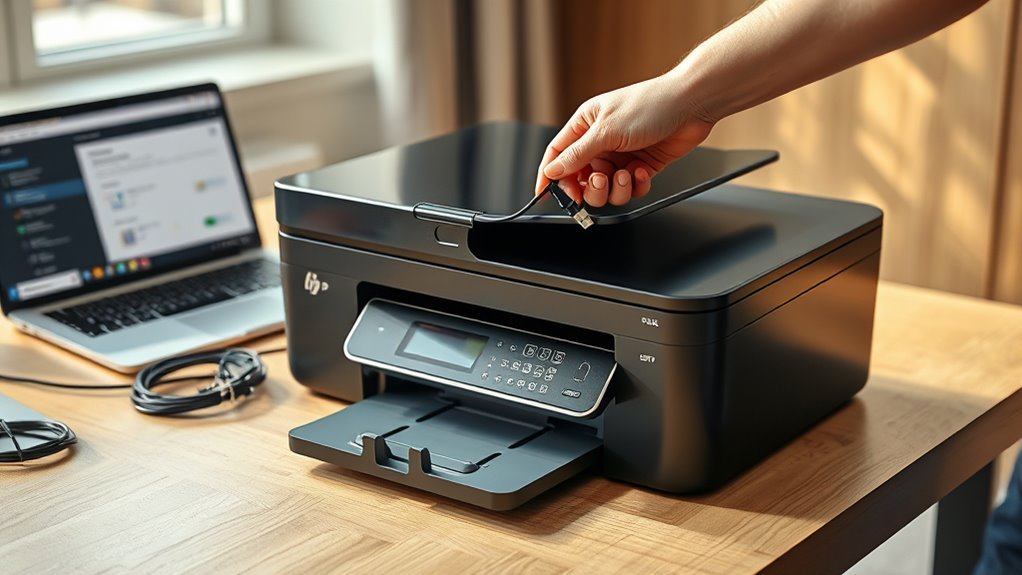
How to Connect Your HP Printer in 10 Easy Steps
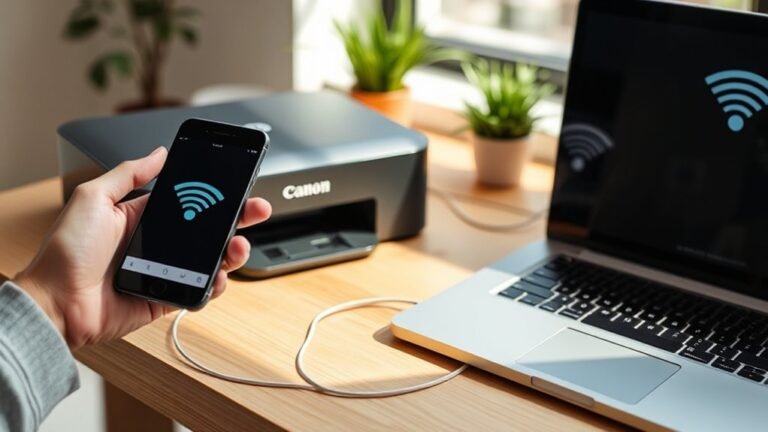
To connect your HP printer in 10 easy steps, start by making sure your device and printer are on the same Wi-Fi network—ideally the 2.4 GHz band for better compatibility. This is super important for a smooth setup and reliable connection.
Next, restart both your printer and router to clear any temporary glitches. Don’t forget to remove all packing materials from the printer and install the ink or toner cartridges properly. These simple prep steps help avoid common issues later on.
After that, download and sign in to the HP Smart app. It’s a handy tool that guides you through the setup process. If you run into trouble, try resetting your printer’s network settings to start fresh.
When entering your Wi-Fi password, type it carefully to avoid mistakes. Keep the printer close to the router during setup to maintain a strong connection. Finally, update your printer’s firmware to ensure it has the latest features and fixes.
Once everything’s set, print a test page to confirm your printer is connected and ready to go. For more detailed tips and troubleshooting, keep following these steps!
Key Takeaways
- Ensure your device and printer are connected to the same 2.4 GHz Wi‑Fi network for optimal compatibility and range.
- Remove packaging, install ink cartridges, load paper, and power on the printer before starting setup.
- Download and open the HP Smart app, then sign in or create an account to begin printer setup.
- Use the HP Smart app to add the printer, select your Wi‑Fi network, and enter the correct password carefully.
- Print a test page after setup to verify connection, then place the printer within range of the router.
Ensure Your Computer and Phone Are on the Same Wi-Fi Network
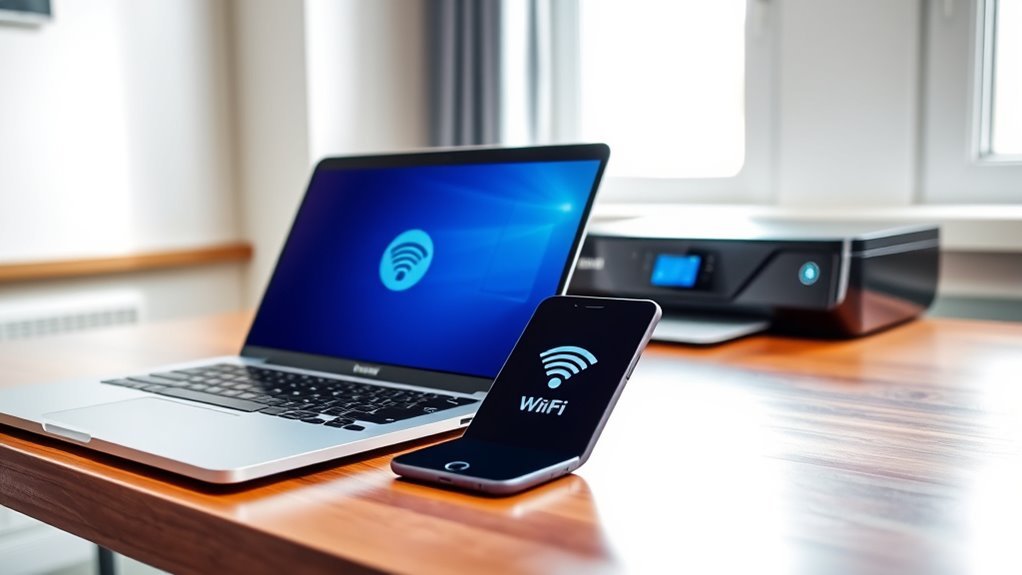
Before you start connecting your HP printer, always make sure your computer or phone is connected to the exact same Wi-Fi network as the printer. Check your device’s Wi-Fi settings to confirm you’re on the same SSID. This helps avoid confusion with similarly named guest or 5G/2.4G variants.
If your router broadcasts both 2.4 GHz and 5 GHz bands, connect your device to the same band you plan to use for the HP® printer Wi‑Fi setup. Many printers actually work more reliably on 2.4 GHz.
For best results, connect your device and printer to the same Wi-Fi band, preferably 2.4 GHz for reliability.
On mobile devices, it’s a good idea to turn off cellular data during setup. This makes sure the HP Smart app uses your local Wi-Fi.
Also, double-check that your device shows a valid IP address. And while you’re at it, temporarily disable any VPNs or firewalls to prevent connection issues when adding the printer.
Restart Your Printer and Router Before Setup
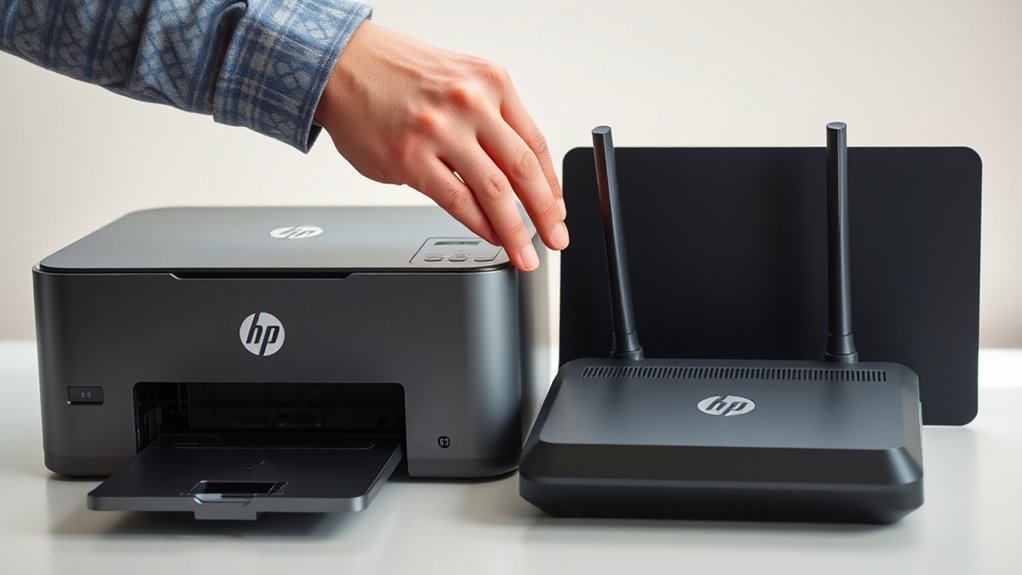
Although it might seem like a simple step, restarting your HP printer and Wi-Fi router can clear network glitches that cause connection problems. To connect your HP® printer to Wi-Fi smoothly, power off your new printer and unplug it.
Then, turn off your Wi-Fi router and wait 30 seconds before powering it back on. Once the router’s lights show a full restart, plug your printer back in and power it on.
This process helps both devices get fresh IP addresses, preventing “printer offline” errors from IP conflicts. If your router has separate 2.4 GHz and 5 GHz bands, restarting makes certain both are active—keep your printer close to the router during this.
Do this restart before setting up your new account or running any setup apps for the best results. It’s a quick step that really makes a difference!
Install and Sign In to the HP Smart App
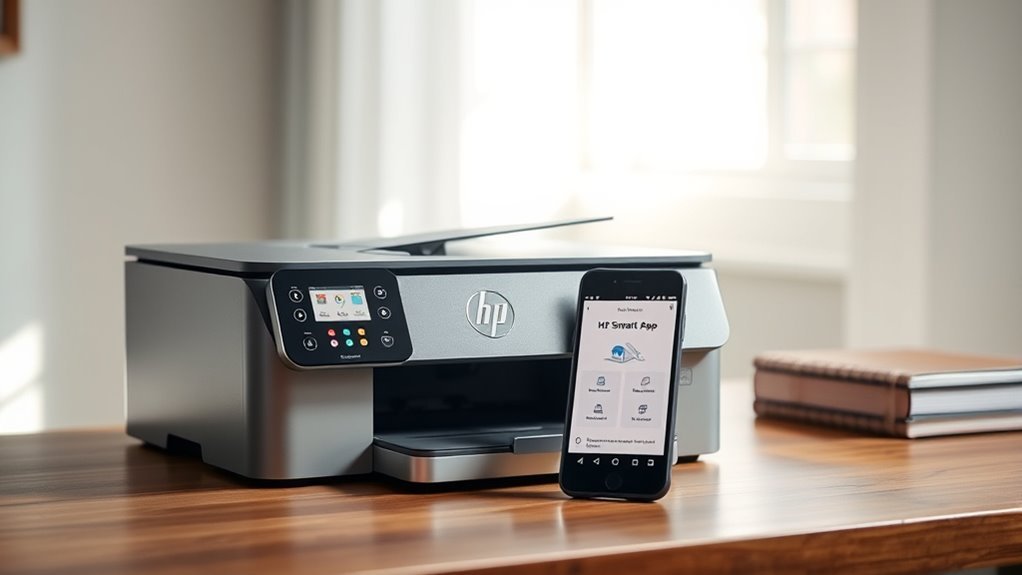
Download the HP Smart app from the Apple App Store, Google Play Store, or 123.hp.com to get started with setting up your printer. Once installed, open the app and sign in with your existing HP account or create a new one using your email and password.
Signing in enables essential features like cloud printing and device management. When prompted, grant the app permissions for location and network access so it can find your printer on the Wi-Fi network.
Make sure your phone or computer is connected to the same Wi-Fi network you want your printer to use, ideally the 2.4 GHz band. Then, tap “Add Printer” or “Set up a new printer” in the app to begin.
If your printer doesn’t appear, try restarting devices and using the app’s wireless setup tools to complete the connection. It usually does the trick!
Reset Your HP Printer’s Network Settings
If your printer won’t connect to Wi-Fi or you’ve changed your network, you’ll want to reset your HP printer’s network settings. Locate and press the wireless or Wi-Fi button for 5–10 seconds until the wireless light flashes or the display shows “Network reset.”
If your model lacks a Wi-Fi button, go to Setup > Network > Restore Network Settings and confirm. This clears saved Wi-Fi info without impacting other settings.
After the reset, your printer usually enters wireless setup mode, indicated by a blinking Wi-Fi light. Use the HP Smart app or WPS to reconnect by selecting your printer and entering your Wi-Fi password.
Make sure to keep your printer near the router and confirm your device is on the same network. This helps ensure a smooth reconnection.
Get Your HP Printer Ready for Wi-Fi Setup
Before you start, make sure your phone or computer is connected to the exact Wi-Fi network you want your printer to join. Place your HP printer close to the router to get a strong signal during setup.
Then, power both devices off and back on to refresh their connections. This simple step can help avoid connection issues later on. Just a quick restart, and you’re good to go!
Prepare Printer For Setup
Once you’ve unboxed your HP printer, remove all packing tape and protective materials. Next, install the provided ink or toner cartridges.
Load plain A4 or Letter paper into the input tray so it can print setup pages. Power on the printer and complete any initial on-screen prompts for language, region, and date/time.
Keep your phone or computer connected to the Wi-Fi network you plan to use. Make sure you have the network name (SSID) and password handy.
Place the printer within 3–6 feet of your router during setup. Also, disable any VPNs on your device to avoid connection issues.
If needed, restart your router and printer. Then, update or install the HP Smart app—it will guide you through the wireless setup.
| Step | Action |
|---|---|
| Remove packing materials | Unbox and clear protective tape |
| Install cartridges | Insert ink or toner cartridges correctly |
| Load paper | Use plain A4 or Letter paper in the tray |
Verify Network Connection
Where should you place your HP printer to guarantee a smooth Wi‑Fi setup? Position it within 3–6 feet of your router to assure a strong signal and avoid timeouts. Before setup, restart both the printer and router to clear any stale network states, improving device discovery.
To verify your network connection:
- Connect your phone or computer to the exact Wi‑Fi network (SSID) you want the printer to join—printers can’t connect to a different network than the setup device.
- Confirm your router broadcasts on the 2.4 GHz band, as many HP printers prefer it for setup and better range.
- Reset your printer’s network settings to clear old Wi-Fi profiles, so the HP Smart app detects and connects to the right network.
Following these steps will get your printer ready for a hassle-free Wi-Fi setup. Just take it step-by-step, and you’ll be printing in no time!
Connect Your HP Printer to Wi-Fi Using HP Smart
To connect your HP printer to Wi-Fi, start by downloading the HP Smart app. Make sure your device is on the same network you want the printer to use.
Then, follow the app’s guided steps to add your printer and enter your Wi-Fi details carefully.
If you run into issues, don’t worry! Try resetting the printer’s network settings or restarting your router and printer before trying again.
HP Smart App Setup
Start by making sure your phone or computer is connected to the same Wi‑Fi network you want your HP printer to join. Ideally, use the 2.4 GHz band for better compatibility.
Next, install or update the HP Smart app. Then, sign in or create an HP account. Open the app and tap “Add Printer” or the “+” icon to start setup.
Follow these steps for a smooth HP Smart app setup:
- Put your printer into Wi‑Fi setup mode (check your model’s guide for exact steps).
- Select your printer when it appears in the app. Then, choose your Wi‑Fi network and enter the password.
- Keep the printer close to your router until the app confirms the connection.
If issues arise, use the app’s diagnostics to fix them before retrying. It usually helps to troubleshoot right there in the app.
Network Connection Steps
Although setting up your HP printer’s Wi-Fi might seem tricky, using the HP Smart app simplifies the process greatly. First, make sure your phone or computer connects to the same Wi-Fi network (preferably 2.4 GHz) you want your printer to join.
Open or install the HP Smart app, tap “Add Printer” or “Set up a new printer,” then follow the prompts to select your printer and enter the Wi-Fi password. If your printer doesn’t appear, reset its network settings to clear previous connections and enable setup mode.
Keep the printer close to the router during setup, and temporarily disable VPNs or mobile hotspots on your device to avoid conflicts. Once connected, check HP Smart for firmware updates and print a wireless test report to confirm your printer is online.
Troubleshooting Common Issues
When your HP printer won’t connect via the HP Smart app, it’s often due to network mismatches or signal issues. Here’s how to troubleshoot:
Make sure your phone or computer is on the exact same Wi-Fi network (SSID) you want the printer to use. Mismatched networks cause most setup failures.
Restart the printer and router, then place the printer within 3–6 feet of the router during setup to avoid weak signals. If the printer doesn’t appear in HP Smart, try this step.
Reset your printer’s network settings to clear old networks, then reconnect using the HP Smart app. If you have a dual-band router, connect on the 2.4 GHz band for better compatibility.
Also, keep your printer firmware, app, and device OS updated to prevent connection issues. It really helps to stay on top of updates!
Enter Your HP Printer’s Wi-Fi Password Correctly
To connect your HP printer successfully, you’ll need to enter your Wi-Fi password exactly as it appears in your router settings. Passwords are case-sensitive and often include tricky characters, so be careful.
Watch out for common mistakes like mixing up capital letters, confusing “0” (zero) with “O” (oh), or leaving out special characters. If your router has separate 2.4 GHz and 5 GHz networks, make sure you’re using the password for the right SSID—usually the 2.4 GHz band for your printer.
It’s a good idea to use the HP Smart app’s on-screen keyboard or connect via USB/WPS to avoid typos from the printer’s small display. If you keep failing, try resetting your printer’s network settings, restarting your router, and carefully reentering the password to guarantee a clean setup.
Keep Your Printer Close to the Router During Setup
Keep your HP printer within a few feet of your Wi-Fi router during setup to guarantee a strong, stable connection. Positioning the printer too far away or with obstructions can weaken the signal. This can cause setup failures or intermittent disconnects later.
Keep your HP printer close to your Wi-Fi router during setup to ensure a reliable, uninterrupted connection.
Follow these tips for the best setup experience:
- Place the printer 3–6 feet (1–2 meters) from the router. Try to avoid walls or metal objects between them.
- Keep the printer at least 1 foot (30 cm) away from cordless phones, microwaves, or Bluetooth devices. This helps reduce interference.
- Connect the printer to the router’s 2.4 GHz band. It offers better range and compatibility during setup.
Once connected, do a test print before moving the printer to its permanent spot. That way, you know everything’s working smoothly.
Update Your HP Printer Firmware Before Setup
You should always check for firmware updates on your HP printer before starting the Wi-Fi setup. Updated firmware often fixes connectivity bugs and improves stability, making your setup smoother.
To check, open the HP Smart app, tap your printer’s tile, go to Printer Settings, then Printer Updates or Firmware Update. Install any available updates while the printer is powered and connected.
If your printer lacks a touchscreen, temporarily connect via USB or use WPS/USB methods to access the Embedded Web Server (EWS) or HP Utility. Then, compare your firmware version in Settings or EWS to the latest version on HP’s support site.
If it’s outdated, go ahead and update it. Just keep the printer plugged in and avoid powering off during updates to prevent firmware corruption.
Print a Test Page to Confirm Your HP Printer Is Connected
Now it’s time to verify your printer’s network status by printing a test page. You can do this directly from the printer control panel, HP Smart app, or your computer’s settings.
A successful test page confirms your printer is connected and ready to use. Easy, right? Just a quick step to make sure everything’s set up perfectly.
Verify Printer Network Status
Frequently, verifying your HP printer’s network status is the essential next step after setup. This guarantees your device is properly connected and ready to print.
To verify the network status:
- Print a Network Configuration or Wireless Test Report from the printer’s control panel or HP Smart app. You’ll usually find this under Setup > Reports or Network Settings.
- Check the report for the printer’s IP address and Wi-Fi network name (SSID). If the IP is blank, 0.0.0.0, or starts with 169.254.x.x, your printer isn’t properly connected. It might need a network restart or manual IP setup.
- Look at the wireless icon or LED status on your printer to confirm connectivity. A solid light means connected, while blinking means it’s trying to connect.
Once the network status looks good, you’re ready to print a test page to finalize connection confirmation.
Print Test Page Steps
After confirming your printer’s network status, print a test page to make sure the connection works correctly and the device functions as expected.
You can print directly from the printer’s control panel, use the HP Smart app, or print from your computer’s settings. If the page doesn’t print, check your network and restart devices.
| Platform | How to Print Test Page |
|---|---|
| Printer Panel | Go to Settings or Tools, select “Print Test Page” |
| HP Smart App | Tap printer tile, open settings, choose “Print Test Page” |
| Windows/macOS | Use Devices & Printers or System Preferences to print test page |
Following these steps guarantees your HP printer is connected and ready to use. Easy, right? Just give it a try!
Frequently Asked Questions
What Is the HP Easy Start Printer Setup Software?
HP Easy Start is software that helps you quickly install your HP printer’s drivers and set up network connections. It automatically detects your printer and guides you through installation, making the process simple and hassle-free.
Basically, it takes the guesswork out of getting your printer up and running. So, you don’t have to worry about complicated steps or technical details. Just follow the prompts, and you’re good to go!
How Do I Connect My HP Deskjet 3630 Printer to Wi-Fi?
You connect your HP DeskJet 3630 to Wi‑Fi by using the HP Smart app. Just select “Add Printer” and follow the setup prompts.
Or, you can press the wireless button on the printer until it blinks. If things don’t connect right away, try restarting your devices.
Also, make sure your Wi-Fi is on the 2.4 GHz band, as the printer works best with that. It’s usually a simple fix if you run into issues!
How Do You Connect to an HP Printer?
You connect to an HP printer by installing the HP Smart app, selecting “Add Printer,” and following the prompts.
Make sure your device and printer are on the same Wi-Fi network. Then, just enter the Wi-Fi password to complete setup. Easy, right?
How Do I Reinstall My HP Printer?
Imagine clearing a foggy window—start by removing your HP printer from your device’s settings.
Then, download fresh drivers, run the installer, and follow prompts to reconnect.
This way, you’ll ensure a crisp, clear printing experience ahead.
Conclusion
Connecting your HP printer is like planting a seed that soon blossoms into seamless printing. By following these simple steps, you’ll weave your devices together effortlessly, turning wireless signals into a steady stream of productivity.
Just like tuning an instrument before a concert, a little preparation guarantees flawless harmony between your printer and network. So, take these final steps confidently and watch your printing world come alive with crisp, clear pages at your command.
With your HP printer connected, you’re all set to enjoy smooth, reliable printing whenever you need it. Whether it’s for work, school, or home projects, having your printer linked to your network means convenience at your fingertips. So, dive in and let your wireless HP printer bring your documents to life with sharp, vibrant results every time.