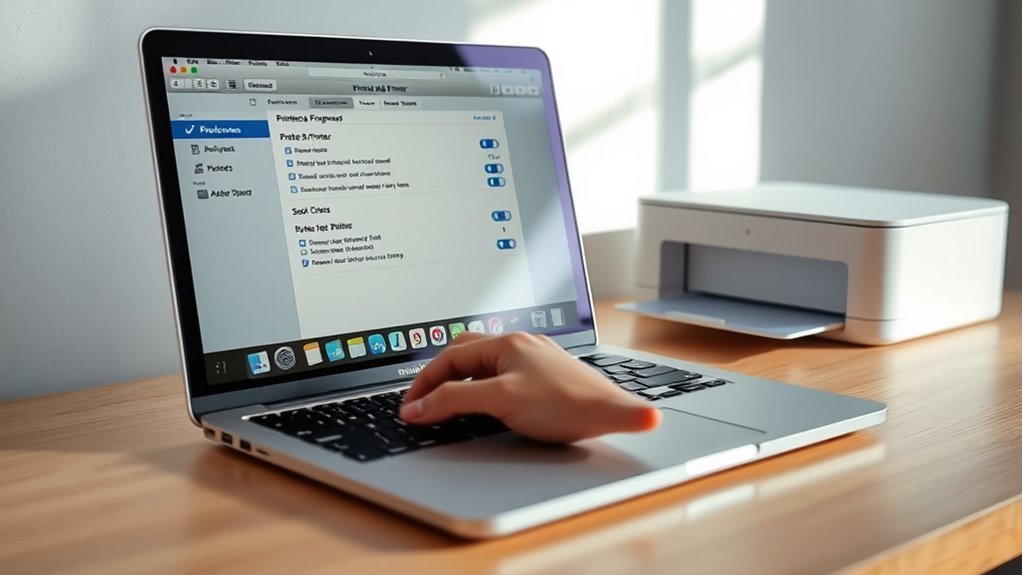
How to Add a Printer on Mac in 10 Easy Steps
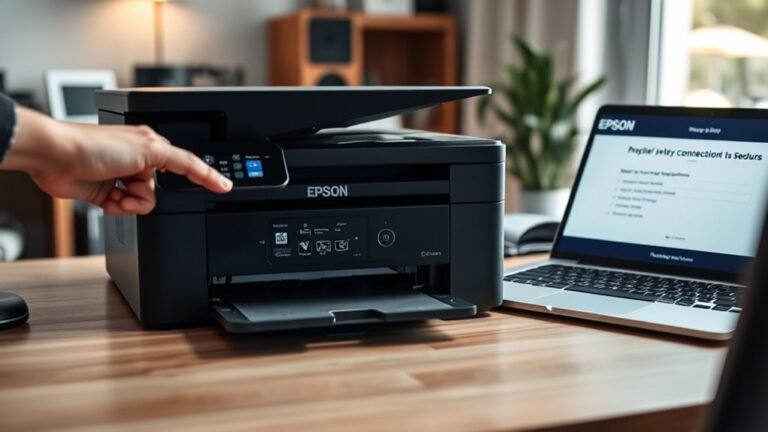
To add a printer on your Mac, start by opening System Settings. Make sure your Mac and printer are connected to the same Wi-Fi network. This step is essential for a smooth setup.
Next, click on Printers & Scanners, then press “Add Printer, Scanner, or Fax.” Look for your printer in the list that appears. When you find it, select it and click Add to begin the setup process.
Your Mac will automatically install any necessary drivers for your printer. Once installed, confirm that your printer shows as ready in the list.
Finally, print a test page to make sure everything is working correctly. Keep reading to discover helpful tips for managing your print jobs and troubleshooting connection issues.
Key Takeaways
- Open System Settings and navigate to the “Printers & Scanners” section to access printer management options.
- Make sure your Mac and printer are connected to the same Wi-Fi network or LAN segment before adding the printer.
- Click the plus (+) button to search for available printers on the network or connected via USB.
- Select the correct printer from the list by matching the model name or IP address, then click “Add” to install it.
- Confirm the printer appears as “Ready” in the Printers & Scanners list. It’s a good idea to print a test page to verify everything is set up correctly.
Open System Settings on Your Mac
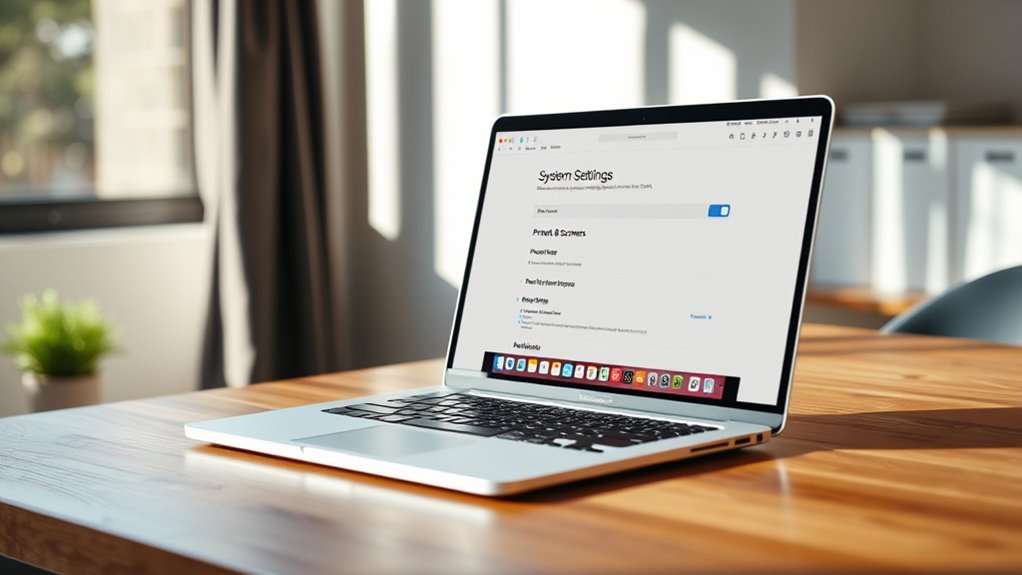
To get started, click the Apple menu at the top-left corner of your screen and select “System Settings” (or “System Preferences” on older macOS versions).
If you don’t see the settings icon, no worries! Just open Spotlight by pressing Command-Space, then type “System Settings” or “System Preferences” and hit Enter. Once the window opens, look at the left-hand column and scroll down until you find “Printers & Scanners.”
Make sure your Mac is accessible and you have administrator access, since adding a printer might need permission to change system settings. Keep this window open as you move on to add and configure your printer.
This step really sets a solid foundation for managing your printer on your Mac.
Ensure Mac and Printer Are on the Same Network
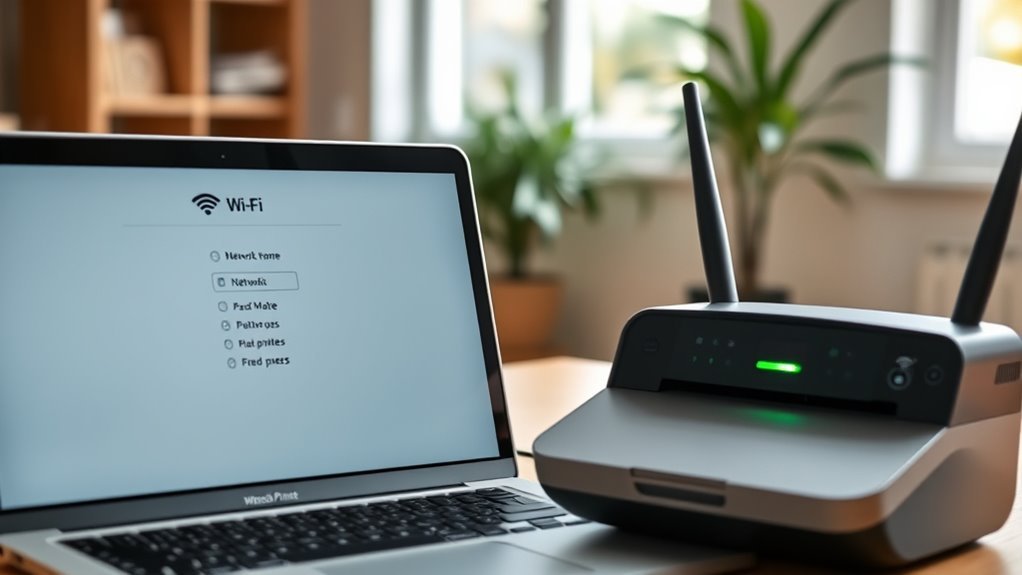
Before you can add your printer to your Mac, make sure both devices are connected to the same network. Check your Mac’s Wi-Fi menu and your printer’s network settings to confirm they share the exact same Wi-Fi name (SSID).
Ensure your Mac and printer connect to the same Wi-Fi network by matching their SSIDs before setup.
If multiple networks are available, like guest or different frequency bands, verify both devices use the same one. For Ethernet printers, make certain the cable connects the printer to the same router or LAN segment your Mac uses.
You can print a network configuration page on the printer to confirm its IP address and SSID, then compare those details with your Mac’s network info. If your printer still doesn’t show up, restart both your Mac and printer.
Then, reconnect them to the same network to reset their connection. This usually does the trick!
Find and Click on Printers & Scanners
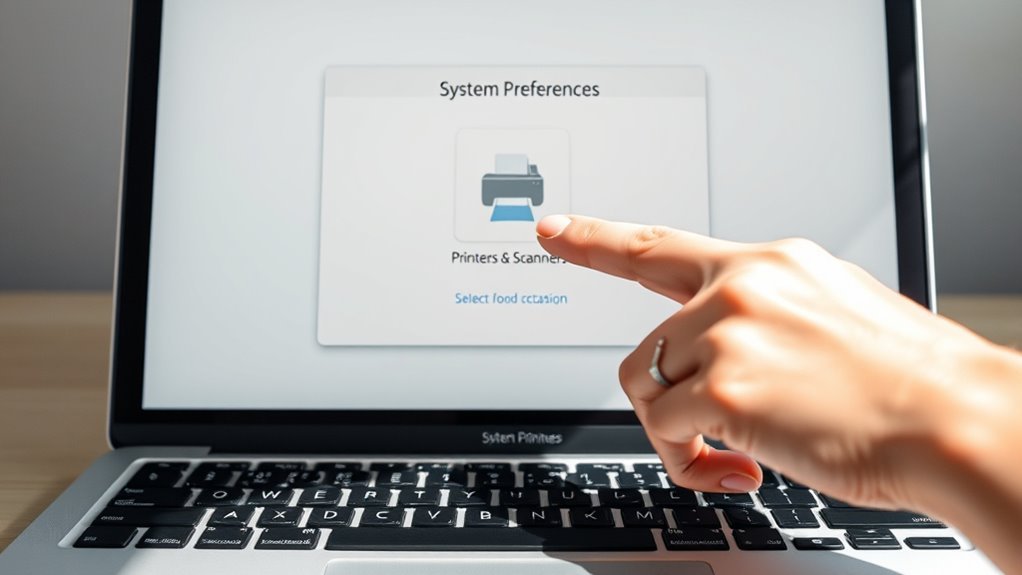
Open System Settings and find the “Printers & Scanners” option in the left-hand column. Scroll down if you don’t see it immediately.
Click on “Printers & Scanners” to open your printing devices and options. This section lets you view all printers currently connected or configured on your Mac. It’s essential to be here before adding a new printer.
| Step | Location | Action |
|---|---|---|
| 1 | System Settings | Open from Dock or Apple menu |
| 2 | Left-hand column | Scroll to “Printers & Scanners” |
| 3 | Printers & Scanners | Click to access printers list |
| 4 | Device list | View existing printers |
| 5 | Ready for next step | Prepare to add new device |
This prepares you to add a new printer efficiently.
Press “Add Printer, Scanner, or Fax”
Click on the “Add Printer, Scanner, or Fax” button to kick off the process of connecting a new device. This action launches a search dialog that scans for available printers on your current Wi-Fi network.
Before you proceed, make sure your Mac and printer are connected to the same wireless network. Otherwise, your printer might not appear in the search results.
Once your desired printer shows up in the list, select it, and an “Add” button will appear in the bottom-right corner. Click “Add” to let macOS automatically configure the necessary drivers.
The system will display progress and notify you when the setup finishes successfully, confirming your printer is ready to use. This step is key to smoothly adding your device without hassle.
Search for Printers on Your Network
After tapping “Add Printer, Scanner, or Fax,” click the search icon or just hang tight while your Mac scans for printers on your network.
Make sure your Mac and printer are connected to the same Wi-Fi network. This step is key to making sure your printer shows up in the list.
Once you spot your printer’s name or IP address, go ahead and select it. Then you can add it and set up the connection.
Initiate Printer Search
To get started with adding a printer, you’ll want to initiate a search for available devices on your network. After you click “Add Printer, Scanner, or Fax” in System Settings → Printers & Scanners, either click the search button or wait as your Mac scans the local network.
Make sure both your Mac and printer are connected to the same Wi-Fi network to appear in the results. Network discovery can take a few seconds up to a minute depending on traffic. So, just hang tight while the scan runs its course.
| Step | Tip |
|---|---|
| Select “Add Printer” | Click search or wait for automatic scan |
| Confirm network match | Mac and printer must share the same SSID |
| Wait for results | Printer appears, select it to enable Add |
Confirm Network Connection
Once your Mac starts searching for printers on the network, double-check that both your Mac and the printer are connected to the same Wi-Fi network. This guarantees your Mac can detect the printer without issues.
Here’s how to confirm your network connection:
- Check your Mac’s Wi-Fi menu and the printer’s network/status display to confirm they’re on the same SSID.
- Remember, even if multiple wireless networks are available, your Mac must be on the exact network the printer uses.
- Allow up to a minute for the printer to appear in the search results, as network discovery may take time.
- If the printer doesn’t show up, verify its Wi-Fi is enabled. Try restarting the printer and router, then search again. Sometimes a quick reboot does the trick!
Select Printer From List
You’ll want to kick off by clicking “Add printer, scanner, or fax” in System Settings, then either hit the search button or wait as macOS scans your local network for available printers.
Make sure your Mac and printer are connected to the exact same Wi‑Fi network; otherwise, your printer won’t show up.
When the printer appears in the list, carefully select its name, model, and IP or Bonjour entry if multiple options look similar to pick the right device.
If you don’t see your printer, double-check it’s powered on, connected to the network, and not asleep, then try searching again.
Once you select the correct printer, click the Add button to let macOS automatically install the necessary driver and complete the setup.
Select Your Printer From the List
Once your Mac finishes searching, locate your printer’s model name or IP address in the list. Make sure your printer and Mac are connected to the same wireless network to see the correct device.
Then, select your printer to start the setup process. It’s pretty straightforward from there!
Locate Available Printers
After clicking “Add Printer, Scanner, or Fax,” give your Mac a few seconds to gather and display all available printers on your network or connected via USB. Make sure your Mac is connected to the same wireless network as your printer, since devices on different or guest networks won’t appear.
Look for your printer by its model name or network hostname. When you spot it, select the printer to reveal the “Add” button, then click it to start the setup.
If your printer doesn’t show up, try these steps:
- Refresh the printer list.
- Verify the printer is powered on.
- Confirm the printer is connected to the network.
- Connect the printer via USB to force detection.
Give these a shot, and you should be able to find your printer in no time!
Confirm Printer Connectivity
Scan the list carefully to find your printer’s exact model name, ensuring it matches the manufacturer and local network details like the IP address or “Bonjour” label. This confirms your Mac recognizes the correct device on your Wi-Fi network.
Make sure your Mac and printer are connected to the same network; otherwise, your printer won’t appear. If several similar entries show up, select the one with the IP address or “Bonjour” tag to avoid remote or virtual ports.
Choosing the exact model lets macOS load the appropriate drivers and options automatically. Once you highlight your printer, click the “Add” button to confirm connectivity. This step guarantees your Mac is ready to communicate with the printer before moving on to setup.
Select Printer For Setup
When you see the list of available devices, pick out your printer by its exact model name or network hostname. This guarantees you’re connecting to the right device and helps avoid confusion with similar names.
If you spot multiple entries that look alike, double-check the printer’s IP address or SSID on its control panel to confirm. After selecting the correct printer, the “Add” button will appear in the bottom-right corner of the dialog.
If you don’t see your printer, make sure both your Mac and printer are on the same wireless network. Then, try searching again.
- Look for your printer’s exact model name or hostname.
- Verify IP or SSID if names are similar.
- Select the printer to activate the “Add” button.
- Retry if the printer doesn’t show up.
Press “Add” to start the automatic setup.
Click the Add Button to Begin Setup
Locate and click the “Add” button in the bottom-right corner of the Printers & Scanners window once your printer appears in the search results. This action starts the setup process by prompting macOS to install the necessary drivers and configure your printer automatically.
After clicking “Add,” keep an eye on the progress indicator until you see a confirmation message that the printer has been successfully added. If the “Add” button is grayed out or the setup doesn’t complete, make sure both your Mac and printer are connected to the same wireless network and try again.
Once the system confirms the printer is added, you can close the setup window and start printing with your newly configured device. It’s that simple!
Let Your Mac Set Up the Printer Automatically
Usually, your Mac will handle the entire printer setup automatically once you select your device and click “Add.” After that, macOS takes over to configure your printer and install the necessary drivers without any extra effort from you.
To make sure smooth setup:
- Confirm your Mac and printer are on the same Wi-Fi network.
- Select your printer in the search results and click the “Add” button.
- Allow macOS to complete the automatic configuration process.
- Watch the progress until you get confirmation that the printer is added.
Once done, your printer becomes immediately available for use in any print dialog. This automatic setup saves time and avoids manual driver installations.
It’s pretty simple and really convenient!
Confirm Your Printer Has Been Added Successfully
Now that your printer is set up, check its connection status in the Printers & Scanners pane. Make sure it appears with the correct name and connection type.
Try printing a test page to confirm everything works smoothly. This helps catch any issues before you start your actual printing.
Finally, verify the printer shows as “Ready” or “Idle” before you start your next job. That way, you know it’s good to go!
Verify Printer Connection Status
Check your printer’s connection status by opening System Settings and browsing to Printers & Scanners. Confirm your printer appears in the list, which means it’s been added.
Next, look for a status like “Idle” or “Ready” next to your printer’s name—this shows it’s configured and available. If it’s “Offline” or missing, restart both your Mac and printer. Then, check network settings and try adding the printer again.
To verify connection:
- Make sure both devices are on the same Wi-Fi network.
- Confirm the printer appears in System Settings > Printers & Scanners.
- Check for a status message indicating readiness.
- Restart devices and reconnect if the printer is missing or offline.
This process guarantees your printer is properly connected and ready to use. Easy, right? Just follow these steps and you’ll be printing in no time.
Test Print Functionality
Confirming your printer’s functionality starts with opening a document and selecting File > Print to see if your printer appears in the dropdown menu. If it’s listed, print a single test page or a small sample document.
Check that the print job completes without errors by reviewing the job status in the print dialog or in System Settings > Printers & Scanners. If the printout is blank or incorrect, verify the ink or toner levels and paper tray, then resend the test page.
Should your printer not print or show as “offline,” make sure your Mac and printer share the same Wi-Fi network. Restart the printer or router if necessary.
Once your test page prints successfully, you can confidently continue with your regular printing tasks. Easy, right?
Confirm Printer Availability
Once the setup finishes, you’ll want to make sure your printer appears in System Settings > Printers & Scanners and shows a status like “Idle” or “Ready.” This confirms macOS recognizes it correctly.
If it’s offline or shows an error, check your network settings to make certain both devices are on the same Wi-Fi. To fully confirm your printer’s availability, follow these steps:
- Look for your printer’s name in the Printers & Scanners list.
- Verify the status reads “Idle” or “Ready,” not “Offline” or “Error.”
- Print a test page using the printer’s menu or System Settings.
- Send a small print job from any app to confirm proper communication.
These steps make certain your printer is added successfully and ready to use. Easy, right? Just a few quick checks and you’re good to go!
Print Using Your Newly Added Printer
Open the document or image you want to print and select File > Print (or press Command+P) to access the print dialog. At the top, choose your newly added printer from the Printer dropdown to send the job to the right device.
Next, set the number of copies, page range, and adjust paper size or orientation as needed. If you see Show Details, click it to tweak advanced options like paper type, print quality, color or black & white, and double-sided printing.
Once everything looks right, press Print to start. If the job doesn’t begin or you want to monitor progress, open System Settings > Printers & Scanners to check the printer queue, where you can also pause or cancel jobs.
Frequently Asked Questions
How to Connect to a Printer Using a Mac?
You connect to a printer on your Mac by opening System Settings and selecting Printers & Scanners. Then, click Add Printer and choose your printer from the list.
After that, just click Add. Make sure both your Mac and the printer are connected to the same Wi-Fi network. It’s pretty straightforward!
How Do I Add a Printer to My Windows Computer?
Imagine your Windows PC as a traveler seeking a trusty steed. You open Settings, choose Devices, then click “Add a printer.”
Next, select your printer on the network, and voilà—you’re ready to print and conquer your tasks effortlessly. Easy, right? Just a few clicks and you’re all set!
Why Is My Computer Not Finding My Printer?
Your computer isn’t finding your printer because they might be on different networks. The printer could be asleep or off, or firewall settings might block discovery.
Double-check connections and make sure the printer is awake. Also, take a look at your network or sharing settings to see if anything needs adjusting.
How Do I Add a Brother Printer to My Mac?
You connect your Brother printer to the same Wi-Fi as your Mac. Then, open System Settings and select Printers & Scanners.
Next, click Add Printer, choose your Brother model, and press Add. This will complete the setup automatically. Easy, right?
Conclusion
Now that you’ve added your printer, you’re all set to print like it’s 1999—without fumbling through complicated setups. Just follow these simple steps, and your Mac will handle the rest, making printing quick and easy.
Whether you need to print documents, photos, or anything in between, your new printer is ready to go. So, get those pages flowing and enjoy the convenience of seamless printing right from your Mac!
With your printer connected, printing on Mac has never been simpler. You can easily manage print jobs, adjust settings, and produce high-quality prints in no time. Adding a printer on Mac opens up a hassle-free way to get your work done efficiently.
So go ahead, print those important documents, creative projects, or everyday pages with confidence. Your Mac and printer are now perfectly synced to deliver smooth, reliable printing whenever you need it!