How to Install a Printer on Mac in 7 Easy Steps
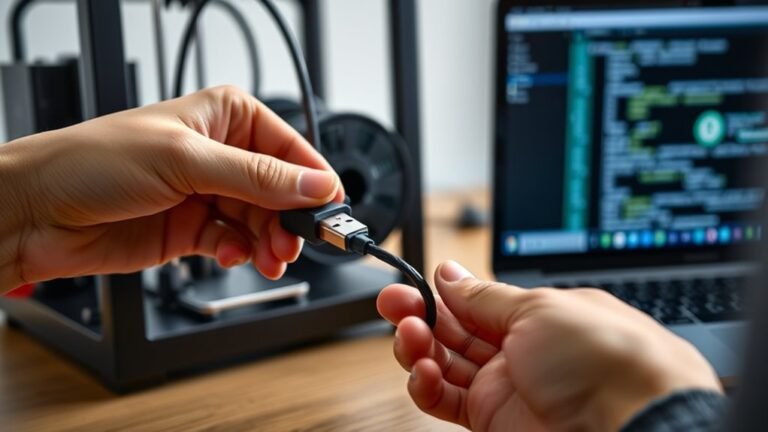
To set up a printer on your Mac in 7 easy steps, start by connecting your printer via USB, Wi-Fi, or Bluetooth. This gives you the flexibility to choose the best connection method for your setup.
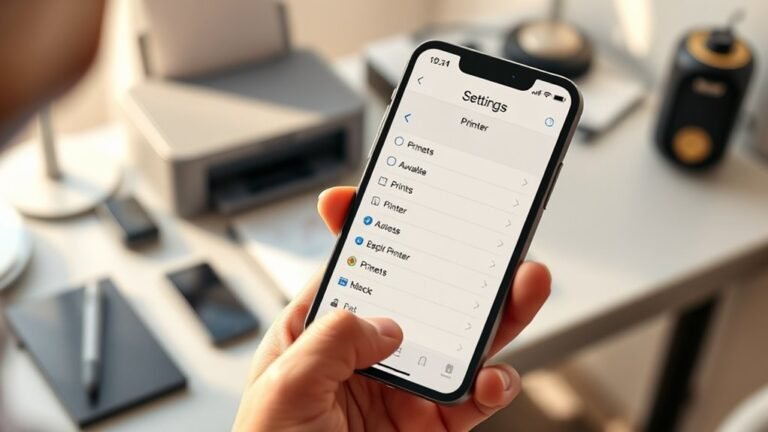
Next, open System Settings and find Printers & Scanners to manage your devices.
Click the plus (+) button to add your printer, then select the right driver for your specific model. Setting it as your default printer makes printing smoother and faster.
Once done, print a test page to make sure everything works perfectly.
If your printer doesn’t show up, don’t worry! Try troubleshooting your connections and drivers. Keep reading to discover how to fix common setup issues and get your printer running in no time.
Key Takeaways
- Connect the printer to your Mac via USB, Wi-Fi, or Bluetooth. Make sure it’s powered on and properly connected to your network.
- Open System Settings from the Apple menu. Then, head over to Printers & Scanners to manage your devices.
- Click the plus (+) button to add a new printer. Choose the correct driver that matches your printer model.
- Confirm the driver installs correctly. Take a moment to check the printer status in Options & Supplies before moving on.
- Print a test page to make sure everything’s working. If you want, set this printer as your default for easier printing next time.
Connect Your Printer to Your Mac
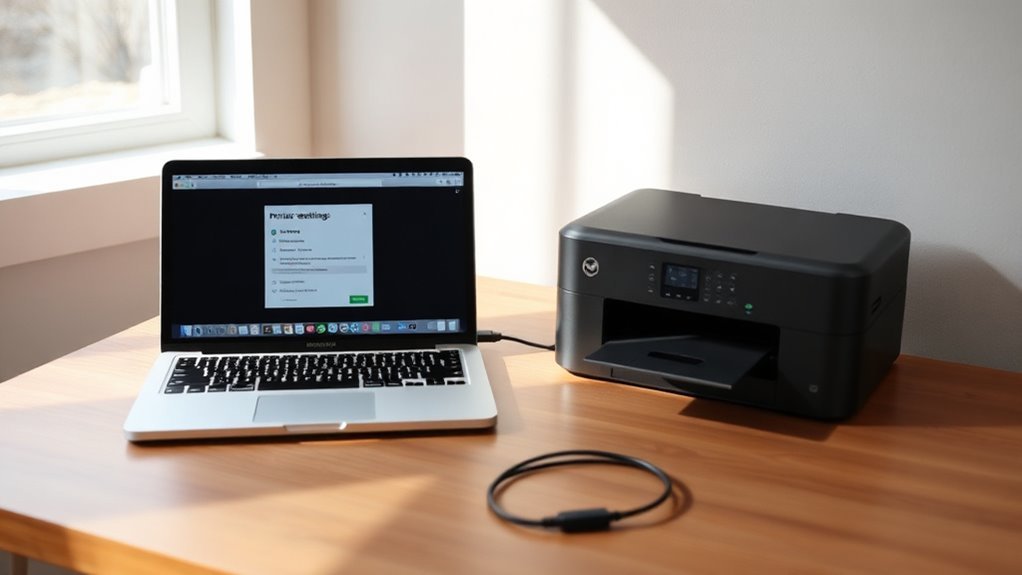
Before you can start printing, you need to make sure your printer is connected to your Mac. If your printer supports USB, just plug the cable directly into your Mac’s USB port.
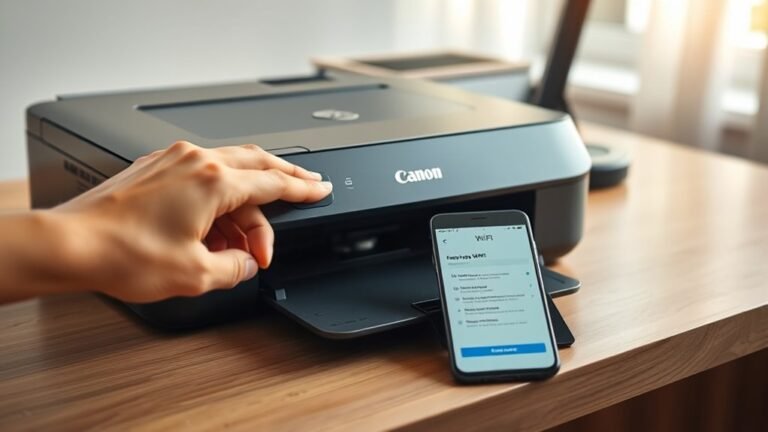
For wireless printers, make sure the printer is powered on and connected to your Wi-Fi network. You can usually do this through the printer’s control panel by selecting your home network and entering the password.
If your printer supports Bluetooth, turn on Bluetooth on both devices and pair them. Try to avoid using third-party cables or adapters since they might cause connection issues.
Once connected, your Mac should recognize the printer automatically. If it doesn’t, double-check the cables or network settings.
Getting the connection right sets the foundation for a smooth printing experience. So, take your time here—it’s worth it!
Open System Settings to Access Printers & Scanners
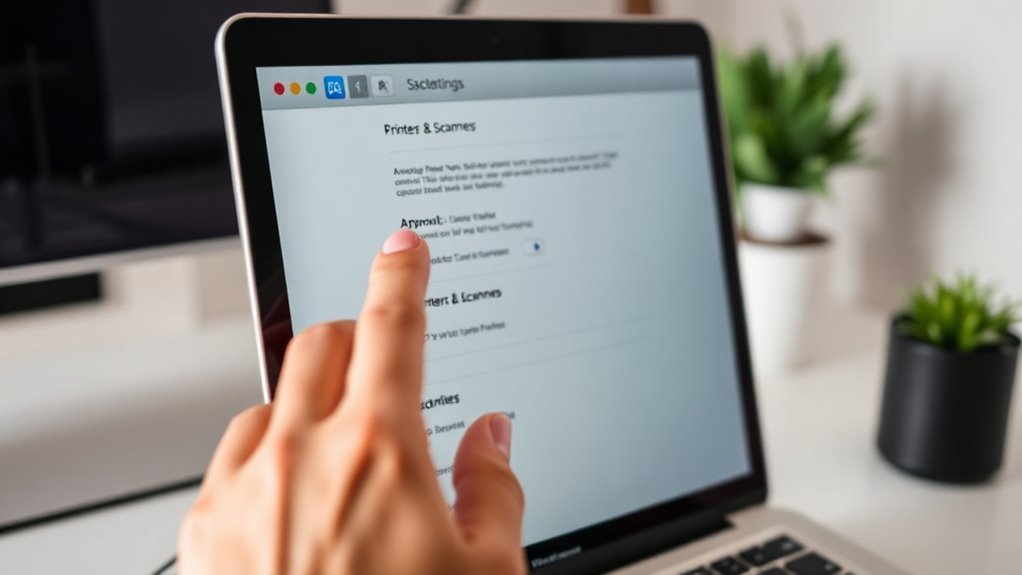
To get started, open System Settings by clicking the Apple menu and selecting it from the list.
Once inside, look for the “Printers & Scanners” option to manage your devices.
This is where you’ll add or adjust your printer settings. Easy, right? Just a few clicks and you’re good to go!
Locating System Settings
Navigating your Mac’s System Settings is the key to finding the Printers & Scanners section. To locate System Settings, start by clicking the Apple menu in the top-left corner of your screen. Then, select “System Settings” from the dropdown.
If you prefer, you can also use Spotlight Search by pressing Command + Space and typing “System Settings.” Once inside System Settings, you’ll see various categories to explore.
Here’s how to quickly find what you need:
- Click the Apple icon () in the top-left corner
- Choose “System Settings” from the menu
- Use the Spotlight Search with Command + Space
- Type “System Settings” and hit Enter
- Browse through the categories to get familiar
This will set you up perfectly for accessing Printers & Scanners next.
Navigating Printers & Scanners
Once you’ve opened System Settings, look for the Printers & Scanners section to manage your printing devices. This is where you can add a new printer, remove old ones, or check the status of your current devices.
Moving through here is straightforward and gives you control over your printing setup. It’s pretty user-friendly, so you should feel comfortable exploring.
Here’s what you might feel as you explore:
| Action | Emotion |
|---|---|
| Finding Printers & Scanners | Relief |
| Adding a new printer | Excitement |
| Seeing connected devices | Confidence |
| Troubleshooting issues | Frustration |
| Successfully printing | Satisfaction |
Add Your Printer and Pick the Right Driver
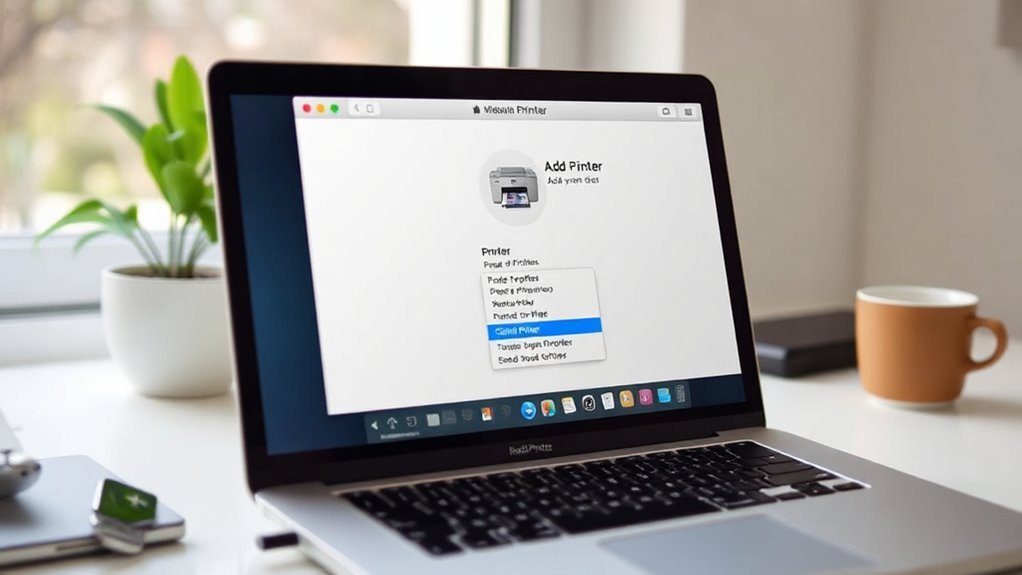
Now, find your printer model in the list and select it. Make sure to choose a driver that’s compatible with your printer for smooth operation.
Finally, double-check that the driver installed correctly before moving on. It’s always good to be sure everything is set up right!
Locate Your Printer Model
How do you find the exact model of your printer to add it correctly on your Mac? Start by checking the physical printer itself, as most models have the name or number clearly displayed.
If you can’t find it there, try these simple steps:
- Look on the front, top, or back of the printer for a model label.
- Check the original packaging or receipt if you still have it.
- Open the printer’s settings menu on its screen, if available, to find model details.
- Use the printer’s manual or visit the manufacturer’s website for model identification tips.
- On your Mac, go to System Preferences > Printers & Scanners to see if the printer was auto-detected with its model.
Once you identify your printer model, you’re ready to add it correctly. Easy, right?
Choose Compatible Printer Driver
After locating your printer model, you’ll need to connect your printer to your Mac and select the right driver to ensure smooth operation. Connect your printer via USB or Wi-Fi, then open System Preferences > Printers & Scanners.
Click the plus (+) button to add your printer. When prompted, pick a driver that matches your printer model. Using the correct driver ensures compatibility and access to full printer features.
| Printer Brand | Driver Type | Compatibility |
|---|---|---|
| HP | AirPrint | macOS Monterey+ |
| Canon | Manufacturer Driver | macOS Big Sur+ |
| Epson | AirPrint | macOS Catalina+ |
| Brother | Manufacturer Driver | macOS Mojave+ |
| Samsung | AirPrint | macOS High Sierra+ |
Choosing the right driver helps you avoid errors and improves print quality. It’s definitely worth taking a moment to pick the right one!
Verify Driver Installation Status
Once you’ve added your printer and selected a driver, you’ll want to ensure that the installation was successful. Verifying the driver installation ensures your printer works smoothly without errors or connectivity issues.
Here’s how to check:
- Open System Preferences and click Printers & Scanners.
- Select your printer from the list on the left.
- Click Options & Supplies and look for the driver version or status.
Next, print a test page directly from the printer settings to confirm everything is working properly.
If you can, check the manufacturer’s software for any driver updates or error messages. It’s always good to keep things up to date!
Make Your Printer the Default on Your Mac
To streamline your printing process, you’ll want to set your newly installed printer as the default on your Mac. Start by clicking the Apple menu and selecting “System Preferences.”
Simplify printing by setting your new printer as the default through the Apple menu’s System Preferences.
Then, open “Printers & Scanners.” In the list on the left, find and click your printer. Below the printer list, you’ll see a “Default printer” drop-down menu.
Click it and choose your newly installed printer from the options. This ensures every print job automatically goes to that device, saving you time.
If you ever need to switch printers, just repeat these steps and select a different default. Setting your printer as default helps avoid confusion and makes printing quicker, especially if you frequently print documents or photos.
Print a Test Page to Check Your Setup
Setting your printer as the default makes sending print jobs easier. But you’ll want to confirm everything’s working properly first.
Printing a test page helps you check the connection, ink levels, and print quality before you start important tasks. Here’s how to print a test page on your Mac:
- Open “System Preferences” and select “Printers & Scanners.”
- Choose your printer from the list on the left.
- Click “Options & Supplies.”
In the new window, select the “Utility” tab. Then, click “Print Test Page” to send a sample print.
Once the test page prints, take a moment to review it for clarity and alignment. If it looks good, your printer setup is complete and ready to go!
What to Do If Your Printer Isn’t Listed
Wondering what to do if your printer doesn’t appear in the list on your Mac? First, make sure your printer is powered on and properly connected to your Mac or network. If it’s a USB printer, check the cable and try a different port.
For wireless printers, confirm it’s connected to the same Wi-Fi network as your Mac. Next, open System Preferences > Printers & Scanners, then click the plus (+) button to add a printer manually.
If your printer still isn’t listed, try clicking “Add Printer or Scanner” and select the IP tab to enter its IP address. This can help if your printer isn’t automatically detected.
If none of these work, consider installing the latest printer drivers from the manufacturer’s website before trying again. It usually does the trick!
Troubleshoot Common Mac Printer Connection Issues
Having trouble connecting your printer to your Mac? Don’t worry; connection issues are common but fixable. First, make sure your printer is powered on and connected to the same Wi‑Fi network as your Mac.
Next, check for any software updates on your Mac that might affect printer compatibility. Sometimes, simply restarting your printer and Mac can resolve glitches. Also, verify that the printer’s drivers are installed and up to date.
Here are quick troubleshooting tips:
- Confirm Wi‑Fi connection for both devices
- Restart your printer and Mac
- Update macOS and printer drivers
- Remove and re-add the printer in System Preferences
- Reset the printing system if problems persist
These steps should get your printer working smoothly in no time. Just give them a try, and you’ll be back to printing before you know it!
Frequently Asked Questions
Can I Print From My Mac to a Printer Connected to Another Computer?
Yes, you can print from your Mac to a printer connected to another computer by enabling printer sharing on that computer.
Just add the shared printer to your Mac’s printer list, and you’re ready to print wirelessly.
It’s pretty straightforward once you get the sharing set up.
No need for extra cables or complicated setups!
How Do I Update My Printer’s Firmware on a Mac?
You’ll first visit the printer manufacturer’s website to download the latest firmware update for your model. Then, connect your printer to your Mac.
Run the update utility, and follow the on-screen instructions to complete the process. It’s pretty straightforward once you get started. Just take it step by step!
Is It Possible to Print Wirelessly Without Wi-Fi on a Mac?
Yes, you can print wirelessly without Wi-Fi by using Bluetooth or a direct USB connection. Don’t worry about Wi-Fi; just make sure your Mac and printer support Bluetooth or a peer-to-peer connection for seamless printing.
It’s pretty simple once you know the options. Just connect your devices, and you’re good to go!
Can I Scan Documents Using My Printer on a Mac?
Yes, you can scan documents using your printer on a Mac. Just open the Preview or Image Capture app, select your printer or scanner, and follow the prompts to scan your documents quickly and easily.
It’s pretty straightforward once you get started. Just a few clicks and you’re done!
How Do I Share My Printer With Other Macs on the Network?
You can easily spread the printing joy by going to System Preferences, selecting Sharing, then enabling Printer Sharing.
Choose the printer you want to share and allow access for other Macs on your network.
They’ll definitely appreciate the thoughtful connection!
Conclusion
Now that you’ve installed your printer on your Mac, you’re basically a tech wizard—capable of conquering any printing challenge that dares to cross your path. No more frantic searches or endless frustration; your printer is ready to obey your every command with lightning speed.
So go ahead, print that masterpiece or last-minute report like a pro. With these simple steps, you’ve turned a challenging task into a breeze—almost like magic!
Installing a printer on Mac doesn’t have to be complicated. By following these easy steps, you’ve ensured smooth printing every time. Whether it’s for work, school, or personal projects, your Mac and printer are now perfectly synced.
Enjoy hassle-free printing and impress everyone with your newfound tech skills. Remember, mastering printer installation on Mac is just the beginning of your digital journey!