What Is a Drum in a Printer and How to Replace It
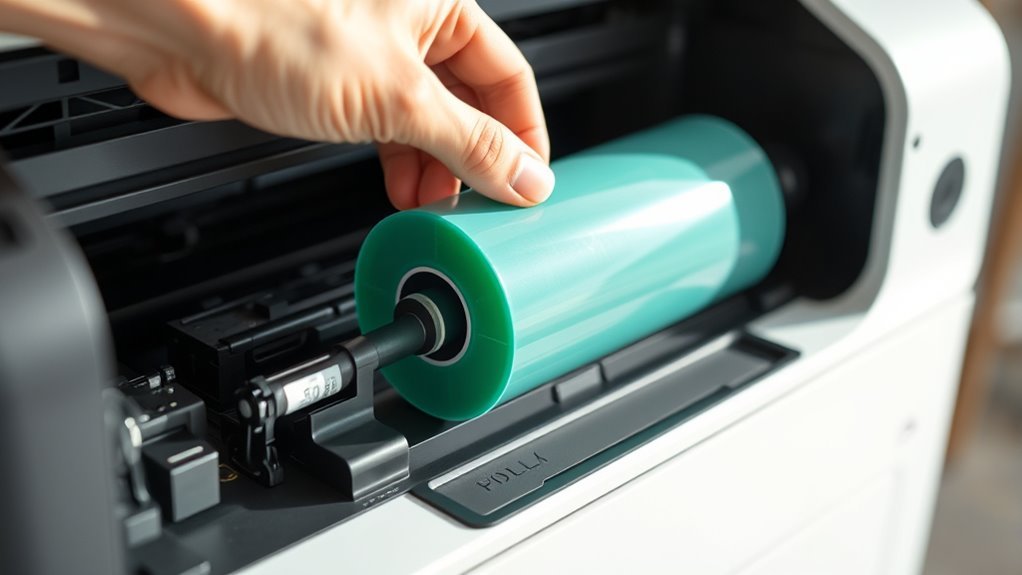
A printer drum is a crucial part of your printer. It’s a light-sensitive cylinder that helps form images by attracting toner during printing. Without the drum, your printer wouldn’t be able to transfer the toner onto the paper correctly. So, understanding what a drum in a printer is and how to replace it can save you time and money.
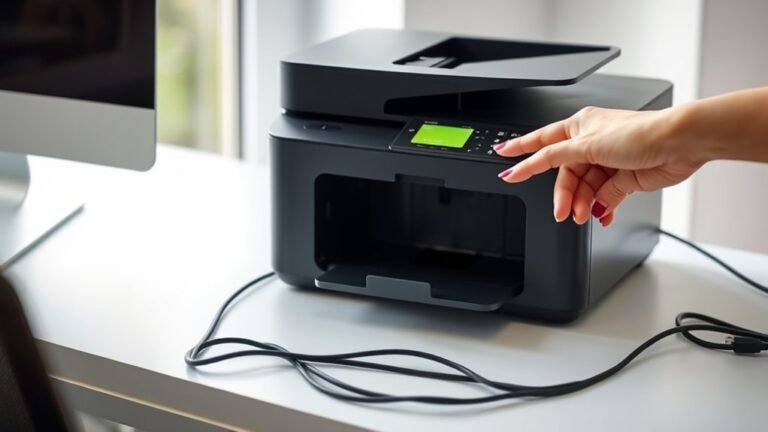
To replace the drum, start by turning on your printer. Then, open the top cover and gently pull out the drum-and-toner assembly. When you see the green lock lever, press it to separate the toner cartridge from the drum. After that, slide a new drum into place with the toner until you hear a click.
Don’t forget to clean the corona wire before putting everything back. Finally, reset the drum counter to keep your printer running smoothly. Keep reading to learn how to spot drum issues and get tips on extending its life!
Key Takeaways
- The drum is a light-sensitive cylinder that transfers toner to paper by forming an electrostatic image during printing. It typically lasts between 40,000 and 100,000 pages, depending on usage and maintenance.
- To replace it, first turn on the machine and open the top cover. Then, pull out the combined drum-and-toner assembly.
- Next, press the green lock lever to separate the toner cartridge. After that, install the new drum and reattach the toner cartridge until it clicks into place.
- Don’t forget to clean the drum’s corona wire by sliding the green tab side to side. Finally, reinstall the unit and reset the drum counter to complete the replacement.
How to Replace Your Printer Drum Unit: Removal, Installation, and Reset
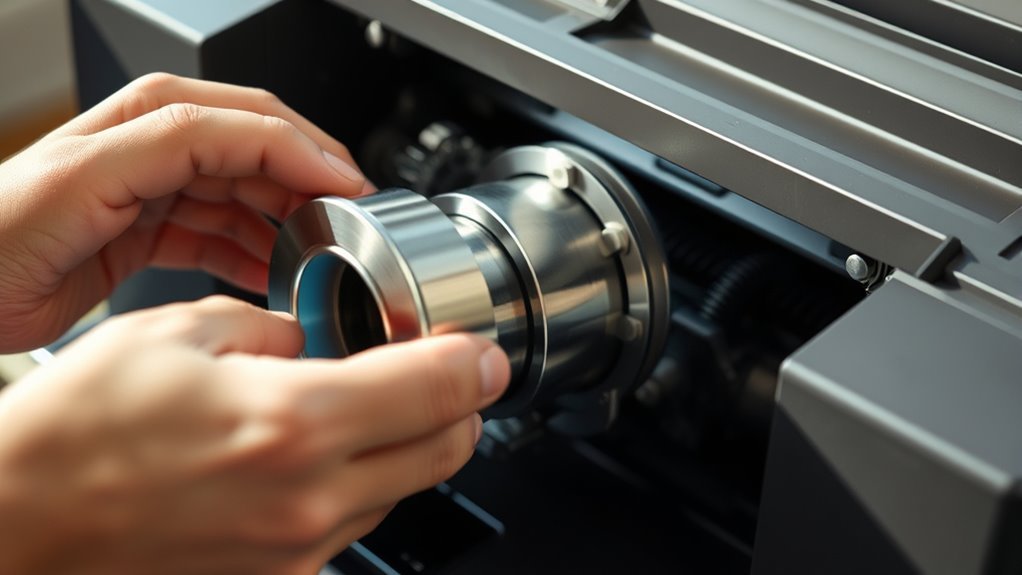
To replace your printer drum unit, start by turning on the machine and opening the top cover using the center indented handle. Gently pull out the combined drum-and-toner assembly shown on the display.
Press down the green lock lever to release the toner cartridge from the drum unit. Unpack the new drum, remove its protective cover, and slide the toner cartridge firmly into it until it clicks.
Before reinstalling, clean the drum’s corona wire by sliding the green tab left-to-right several times. Then, slide the reassembled drum-and-toner unit back into the printer, making sure to match the toner color to the label.
Close the top cover and double-check that the printer recognizes the parts. Finally, reset the drum counter through the menu to keep track of the new drum’s life and help maintain peak performance.
Signs Your Printer Drum Needs Replacing
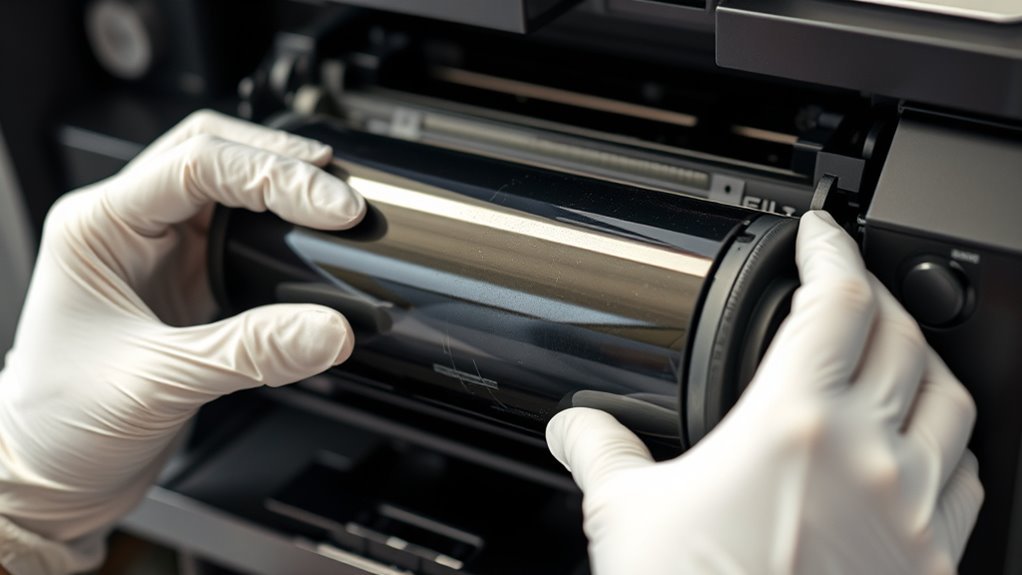
You’ll often notice clear signs when your printer drum needs replacing, and catching them early can save you time and frustration. Drum life depends on usage and wear, so watch for repeating marks like black spots or streaks at regular intervals on your printouts.
Faded or uneven print quality that doesn’t improve after you replace the toner cartridge also signals that the drum’s photosensitive coating is deteriorating. You might see visible defects such as scratches, discoloration, or buildup on the drum itself during inspection.
Additionally, your printer may alert you with messages like “Replace Drum” or “Drum End Soon.” When these signs appear, it’s time to replace the drum to maintain clear, consistent printing and avoid further issues.
Print Problems That Mean It’s Time to Replace the Drum
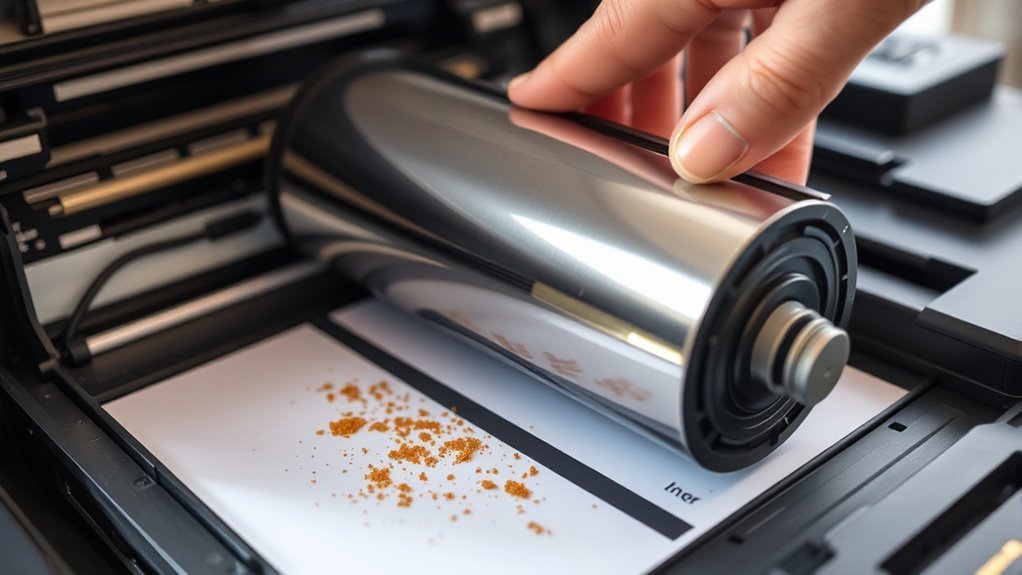
Print problems often give clear clues that your printer drum needs replacing. If you notice repeating black spots or smudges at regular intervals on multiple pages, this usually means the drum surface is damaged or contaminated. It’s a good sign that it’s time to replace the drum units.
A gray background or uneven print density that doesn’t improve with a new toner cartridge indicates the drum coating is deteriorating. When that happens, the drum life is ending.
Sharp streaks or dark lines in the same spot on several pages also point to scratches or debris on the drum. You’ll want to check for those issues.
Additionally, printer alerts like “Replace Drum” or “Drum End Soon” combined with visible print defects confirm it’s time to replace drum components. This helps keep your print quality up to standard.
Tips to Extend Your Printer Drum’s Life
To get the most out of your printer drum, handle it carefully by avoiding direct contact with the photoconductor surface. Also, store spare units in cool, dark, anti-static bags.
Keep up with regular maintenance like cleaning the corona wire and checking for toner buildup. This helps prevent damage and keeps everything running smoothly.
Following these simple steps helps you avoid premature wear. Plus, it keeps your prints sharp and looking great.
Proper Handling Techniques
Proper handling techniques markedly extend your printer drum’s life and maintain print quality. The drum is a vital imaging component with a delicate photoconductive surface, so avoid touching it with bare hands—use gloves or the drum’s handles to prevent oils and fingerprints that cause defects.
When servicing, keep the drum sealed in its bag to protect it from toner spillage, dust, and debris that accelerate wear. Clean the corona wire and remove loose toner as your printer’s manual instructs to maintain sharp images.
Always match part numbers when replacing the drum, install it carefully, and reset the drum counter to track its lifespan accurately. Finally, store spare drums in their original foil bags in a dark, temperature-controlled area to prevent photoconductor degradation.
Optimal Storage Conditions
Although your printer drum plays an essential role in producing sharp images, its lifespan depends heavily on how you store it when not in use. To protect your printer drum and extend its life, you should store spare drum units sealed in their original anti-static/foil bags.
Always handle the drum by designated tabs to avoid damaging the photosensitive surface. Maintaining proper storage temperature and humidity is also critical to prevent moisture damage and preserve charge characteristics.
Keep these tips in mind: store drums upright in a dark place away from sunlight and magnetic fields. Also, try to maintain storage temperature between 15–25°C and humidity around 30–50%.
When handling the drum, it’s a good idea to use nitrile gloves to avoid fingerprints and oils. Following these steps guarantees your drum stays in peak condition until installation.
Regular Maintenance Checks
Regularly checking your printer drum is essential to keep print quality sharp and extend its lifespan. You should inspect the drum surface whenever you change toner, avoiding touching the photoconductor and checking for scratches or contamination.
It’s a good idea to monitor print quality monthly for signs of wear like streaks or gray haze. Compare this to the Drum Last rating, which is usually between 40,000 and 100,000 pages.
Always clean the corona wire during drum replacement to maintain consistent charging. Also, pay close attention to any drum warning messages such as “Drum End Soon” or “Replace Drum.”
Use those warnings along with visible defects to time your drum replacement accurately. Keeping track of usage and proper inspection helps you avoid premature replacements and ensures your printer runs smoothly.
What Is a Printer Drum Unit and How It Works
If you’ve ever wondered how your printer creates sharp images and text, the printer drum unit plays a crucial role in that process. The printer drum, also known as the imaging drum or photoconductor unit, is a light-sensitive aluminum cylinder coated with an organic photoconductor.
The printer drum unit is essential for sharp images, acting as a light-sensitive cylinder to transfer toner precisely.
During printing, it’s uniformly charged, and the laser writes the image by discharging selected areas. Toner sticks to these areas and transfers the image to paper.
Keep in mind: drum life varies, usually rated for 40,000–100,000 pages. Damage or wear on the drum causes print quality issues.
Some printers have separate drum units; others combine drums with toner cartridges.
When your print quality fades, it’s time to replace the printer drum to maintain crisp output.
Troubleshooting Common Drum-Related Print Defects
When you notice repeating spots, streaks, or fading on your prints, it’s often a sign of drum issues rather than toner problems. You’ll want to closely inspect the drum surface and run test pages to pinpoint the cause.
Understanding these differences helps you diagnose print quality problems accurately before replacing parts. It’s a simple step that can save you time and money in the long run. Just take a moment to check the drum carefully!
Identifying Drum Defects
You’ll often spot drum-related print defects by noticing consistent patterns like repeating black spots, faded areas, or sharp lines on your pages. These flaws usually repeat at regular intervals, indicating issues on the drum surface.
To identify drum defects, inspect the drum carefully for signs of wear such as scratches, toner residue, or coating deterioration. Faded prints or uneven density that don’t improve after changing toner often mean the drum is wearing out.
Sharp horizontal streaks or a gray foggy background also signal drum problems.
- Repeating spots or smudges point to contamination or damage on the drum surface.
- Faded prints suggest drum coating wear.
- Sharp lines at intervals match drum rotation defects.
Always inspect the drum thoroughly before deciding to replace it.
Diagnosing Print Quality Issues
Although print quality issues can stem from various causes, diagnosing drum-related defects requires careful observation and systematic troubleshooting. If you notice repeating black spots, dots, or streaks at regular intervals, it usually points to physical damage or contamination on the drum.
Check for scratches or toner buildup on its surface. Faded or uneven print density that persists after replacing the toner cartridge often means the drum is worn out. Also, a gray background or loss of contrast suggests the drum’s coating is deteriorating.
Since drum life varies by model—often rated for 40,000 to 100,000 pages—watch for “Replace Drum” messages and print test pages. Make sure defects repeat in the same spots before you replace the drum. That way, you avoid unnecessary parts changes.
Distinguishing Drum Versus Toner
To figure out whether print defects come from the drum or the toner, start by examining the patterns and consistency of the marks on your pages. Repeating spots or lines at regular intervals usually indicate drum damage or contamination, not a depleted toner cartridge.
If defects persist after installing a new toner cartridge—especially those that don’t shift with page content—then inspect the drum and other imaging components. Your printer might even display “Replace Drum” or “Drum End Soon” messages, signaling it’s time to replace the drum.
Look for these signs to distinguish drum versus toner issues:
- Sharp black lines or gray haze across pages
- Repeating defects consistent on every page
- Printer alerts about drum life or service intervals
Properly identifying the faulty part helps you avoid unnecessary toner replacements and maintain print quality. It’s a simple step that saves you time and money in the long run.
Choosing Between OEM and Compatible Printer Drum Units
When deciding between OEM and compatible printer drum units, it’s important to understand the trade-offs in quality, cost, and warranty. An OEM drum matches your printer’s part number and page yield exactly. This ensures a reliable fit and consistent print quality.
Compatible drums often cost less and usually have similar page yields. However, their longevity and warranty coverage can vary quite a bit.
| Feature | OEM Drum | Compatible Drum |
|---|---|---|
| Part Number | Exact match for your model | May vary; verify carefully |
| Page Yield | Manufacturer rated | Comparable but variable |
| Warranty Impact | Full printer warranty | May void or limit warranty |
Before you decide, check supplier reviews and storage claims. Also, consider the cost-per-page to get the best value.
Where to Buy Printer Drum Units and Get Support
Deciding on the right printer drum unit is only part of the process; knowing where to buy it and how to get support can save you time and hassle.
To make certain quality and compatibility, buy OEM drum units like the Brother DR730 from manufacturer stores or authorized dealers. These sources guarantee correct part numbers and rated yields tailored to your printer.
You can also explore large distributors or online marketplaces, but always confirm compatibility.
For support, contact the printer manufacturer’s customer service or an authorized service center for installation help and warranty info.
Keep these tips in mind:
- Verify exact drum part numbers and inspect packaging carefully
- Choose sellers knowledgeable about rated yields and storage
- Ask about firmware impacts on third-party drum units before buying
Frequently Asked Questions
How to Replace Drum on Brother TN 730?
You lift your Brother printer’s top cover and remove the toner-drum assembly. Next, you release the TN-730 toner from the old drum and swap it out.
Then, insert the toner into the new drum and reinstall the entire assembly. Close the cover, and don’t forget to reset the drum counter. Easy as that!
How to Repair a Printer Drum?
Like trying to polish a tarnished gem, you can clean the corona wire and gently wipe the drum with isopropyl alcohol. But if defects persist, it’s best to replace the drum to restore your printer’s sharp image quality.
Sometimes cleaning helps, but other times you just need a new drum to get things looking right again. Don’t hesitate to swap it out if the print quality doesn’t improve.
How Do I Know When to Replace a Printer Drum?
You know to replace your printer drum when you see “Replace Drum” alerts or notice repeating print defects.
It’s also time if your prints start fading or look uneven even after you’ve changed the toner.
Sometimes, physical wear like scratches or discoloration on the drum itself is a clear sign.
What Is the Difference Between the Toner and Drum in a Brother Printer?
You’ll find Brother drums last up to 100,000 pages, way longer than toners. Toner holds the powder that prints, while the drum transfers it to paper.
Knowing this helps you replace parts correctly and save money. It’s pretty handy to understand how each part works so you don’t mix them up.
Conclusion
Now that you know what a printer drum is and how to replace it, you’re ready to keep your prints sharp and clear. Don’t ignore signs like streaks or faded prints—they mean your drum needs attention.
Want to save money and avoid frequent replacements? Follow the tips to extend its life.
So, why settle for poor print quality when a simple drum replacement can fix it quickly and easily? Replacing your printer drum not only improves print clarity but also helps maintain the overall health of your printer. By recognizing the signs and performing timely drum replacements, you ensure your documents always look professional. Plus, taking care of your printer drum can save you time and money in the long run. Keep your printer running smoothly and enjoy crisp, clear prints every time with just a little care and attention to your printer drum.