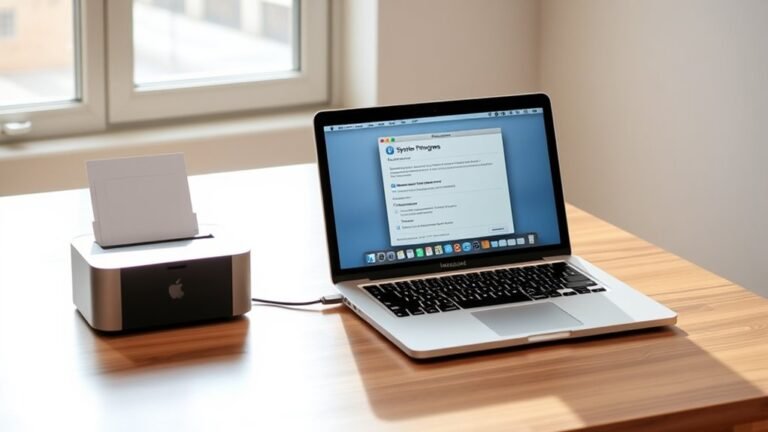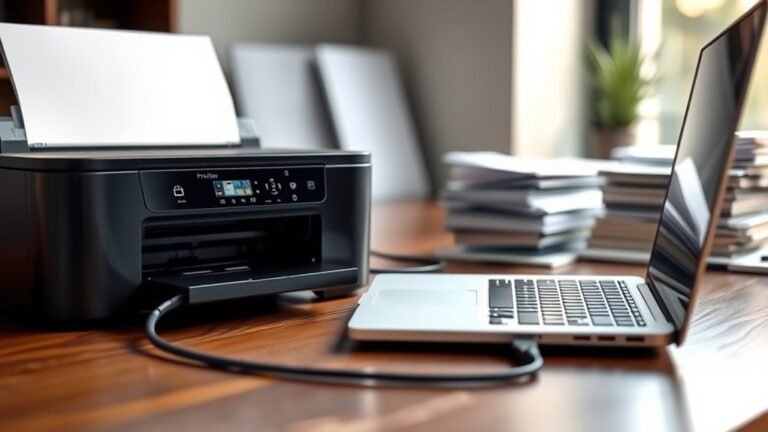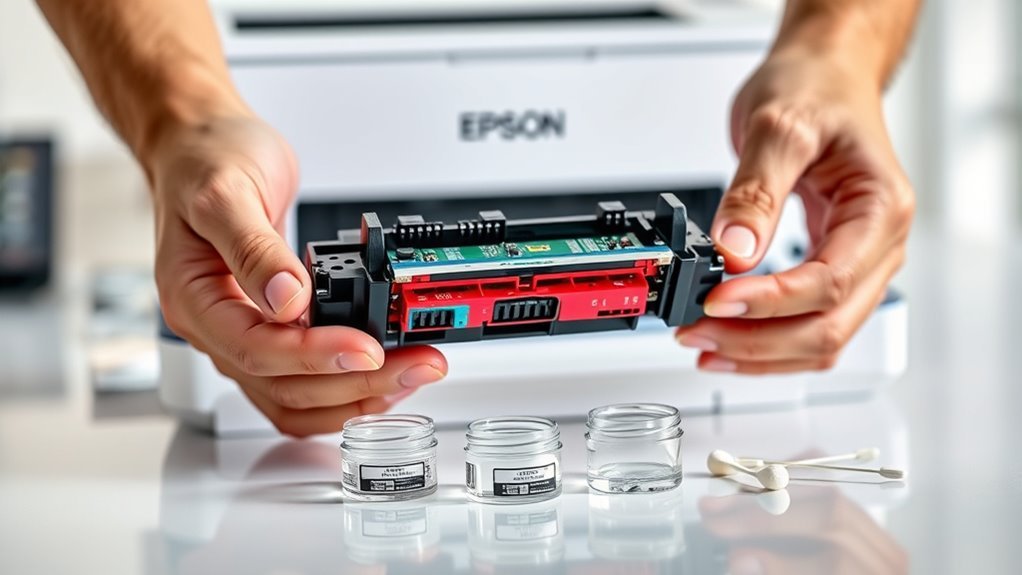
How to Clean Epson Printer Head in 5 Easy Steps
To clean your Epson printer head in five easy steps, start by loading plain paper and making sure your cartridges aren’t empty. This simple preparation helps avoid any interruptions during the cleaning process. Keeping your Epson printer head clean is essential for sharp, high-quality prints and to prevent ink clogs.
Next, open the top cover to access the printhead. You might need to lift out the cartridges carefully if they block your way. Take your time with this step—gentle handling will keep everything in good shape.
Now, take a lint-free cloth dampened with distilled water or a special cleaning fluid and gently wipe the nozzles. Be soft here; you don’t want to damage any delicate parts.
After that, use your printer’s control panel to run the automatic head cleaning cycle. This helps clear out any stubborn ink blockages. Then, print a nozzle check pattern to see how well the cleaning worked.
If the print quality still isn’t great, you can repeat the cleaning or try manual methods for tougher clogs. There’s always more to explore to keep your Epson prints looking perfect!
Key Takeaways
- Load plain paper and make sure your cartridges are full before you start cleaning. This helps catch the ink purge and avoids any interruptions during the process.
- Next, open the top cover to access the printhead and cartridge carriage, which should be in the service position.
- Run the printer’s automatic head cleaning cycle from the control panel. Try not to power off the printer while it’s cleaning, as that can cause problems.
- After that, print a nozzle check to see how the print quality looks. If it’s still not great, you can repeat the cleaning up to four times.
- If the print quality doesn’t improve, power off the printer and leave it off for about six hours. You can also try manual cleaning or consider getting professional help if needed.
Get Your Epson Printer Ready to Clean
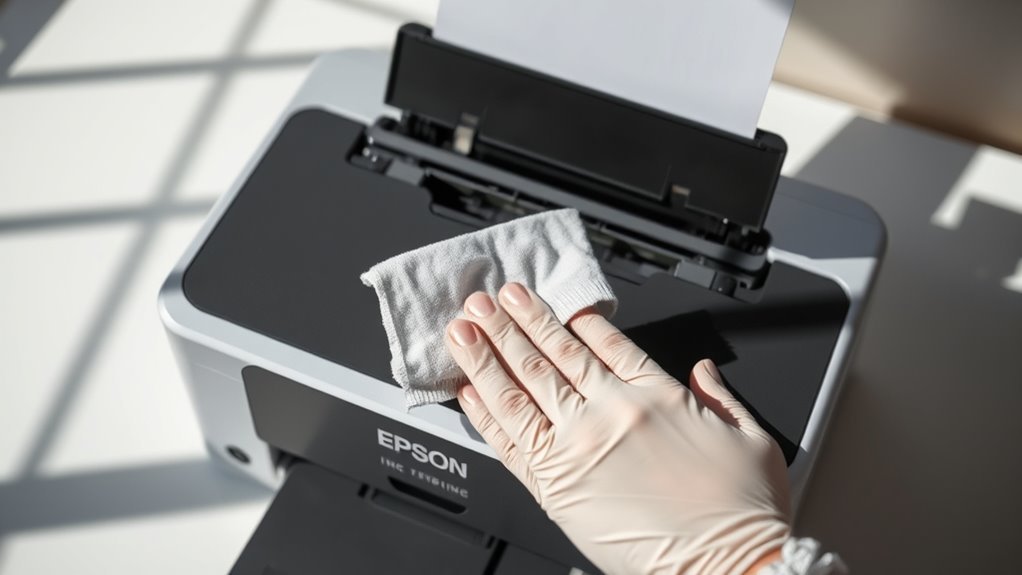
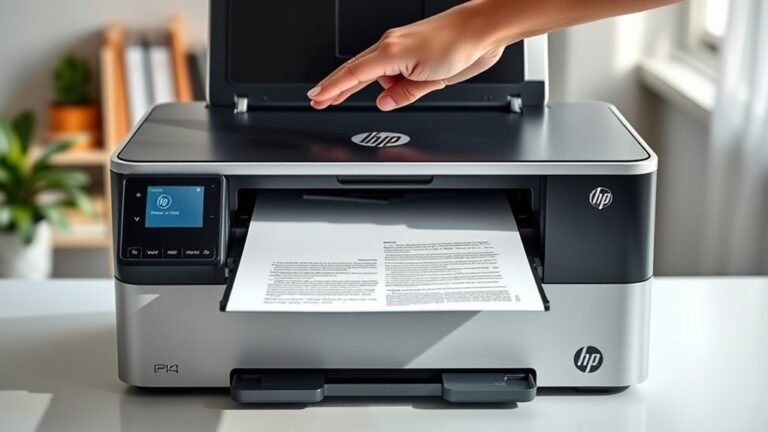
Before you start cleaning your Epson printer head, make sure you’ve loaded a few sheets of plain paper into the feeder. This helps catch any ink purge and lets you run nozzle checks easily.
Turn on your Epson printer and check that the ink out light is off. If any cartridges are low or empty, replace them first.
Use the printer control panel to open the top cover. This allows the cartridge carriage to move freely and gives you access to maintenance options.
Avoid starting the print head cleaning cycle during active print jobs. Also, never turn off or unplug the printer mid-cycle—it usually takes about a minute to complete.
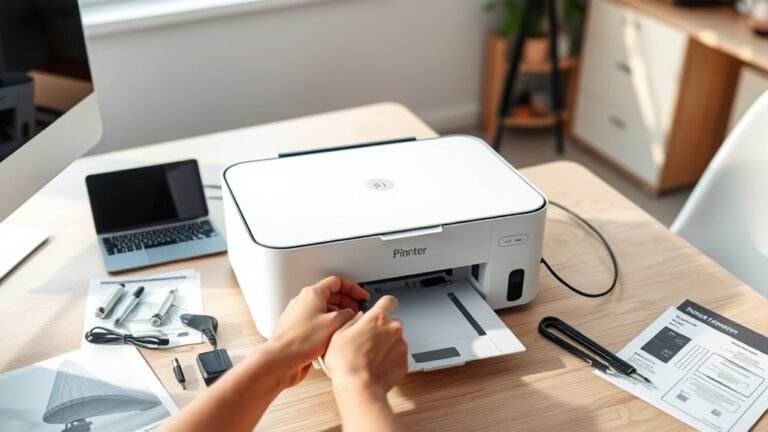
Have distilled water, Epson-recommended cleaning fluid, lint-free cloths, and replacement cartridges nearby. These come in handy if you need to do manual cleaning or swap cartridges.
Following these steps will get your Epson ready for effective print head cleaning and keep it running at its best.
Open Your Printer and Find the Printhead
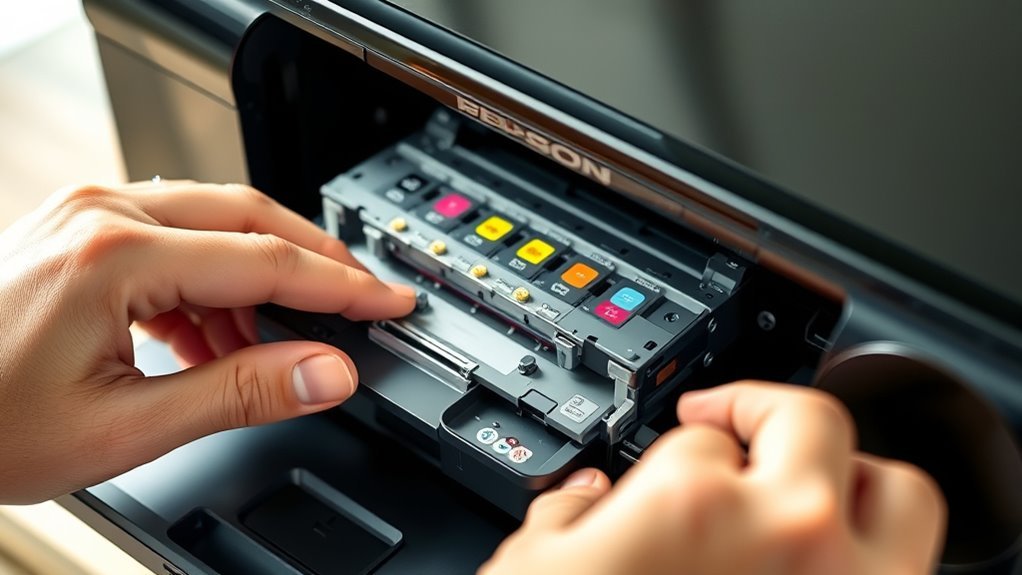
Turn on your Epson printer and lift the top cover to let the cartridge holder slide into the service position. This gives you safe access to the printhead.
The printhead usually sits under or behind the ink cartridges. For cartridge-based models, you can lift out cartridges to access the printhead. EcoTank models often have built-in printheads, though.
Avoid touching the nozzle plate or electrical contacts to prevent damage. If the cartridge holder doesn’t move or you can’t access the capping station, check your model’s manual for specific instructions.
| Step | Action |
|---|---|
| 1 | Open the top cover |
| 2 | Wait for cartridge holder to move |
| 3 | Lift out cartridges if possible |
| 4 | Locate and access the printhead |
Gently Clean the Printhead by Hand
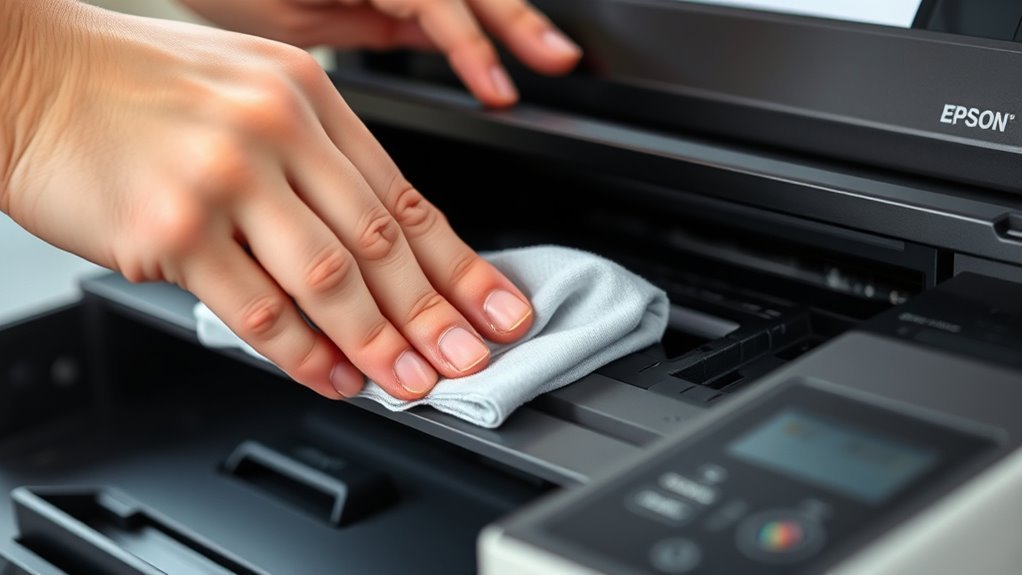
Although it may seem delicate, you can gently clean the printhead by hand to improve print quality. First, power off and unplug your printer, then open the cover and wait for the printhead carriage to stop.
Carefully slide it to expose the nozzle plate without touching the nozzles. Use a lint‑free cloth or cotton swab moistened with distilled water or PiezoFlush to gently blot around the nozzle plate—avoid rubbing the nozzles directly.
If you opt for cartridge removal, note their positions and unplug the printer. Then, use a syringe flush with silicone tubing to push 1–2 ml of cleaning fluid through the ports.
Afterward, let parts air‑dry, reinstall cartridges, power on, run software printhead cleaning, and print a nozzle check to confirm results. It’s a simple process that can really make a difference!
Run Automatic Cleaning From the Control Panel
Start by loading a few sheets of plain paper into the sheet feeder to catch any waste ink during the cleaning cycle.
On your Epson printer’s control panel, access the Print Head Cleaning option—on NX210, press Index Sheet and Scan simultaneously, then select Head Cleaning. On NX410, go to Setup → Maintenance → Head Cleaning → OK, and press Start.
Each cleaning cycle lasts about one minute, during which the Power and Ink lights flash. Never turn off the printer while these lights are active.
When the On light stays solid green and the LCD shows completion, run a Nozzle Check to inspect print quality.
If gaps or faint patterns persist, repeat cleaning up to four times. Also, make sure to replace any low or empty cartridge before continuing.
Check Print Quality and Repeat Printhead Cleaning
You should always run a Nozzle Check after cleaning to see if the print quality has improved and which color channels still need attention. Use the Printer Utility or the printer control panel to print the nozzle check pattern.
If you notice gaps or faint lines, repeat the Head Cleaning cycle up to four times. Stubborn clogged nozzles often require multiple cleaning cycles.
Never turn off or unplug the printer while the Power/Ink light is flashing during cleaning. Before repeating, check your ink cartridge levels and replace any low or empty cartridges.
If print quality still suffers after four cycles, power off the printer and wait at least six hours before trying again. Persistent issues may require manual cleaning or professional service to restore your printhead fully.
Frequently Asked Questions
How Can I Manually Clean My Epson Print Head?
You can manually clean your Epson print head by first removing the cartridges. Then, gently blot the nozzle with a lint-free cloth that’s moistened with cleaning fluid.
If needed, you can flush the nozzle with a syringe to clear out any stubborn clogs. After that, let it dry completely before you do anything else.
Once it’s dry, go ahead and reinstall the cartridges. Finally, test your printer to see if the cleaning worked well.
How Do I Run a Cleaning Cycle on My Epson Printer?
Want to perform Epson’s magical cleaning ritual? Just press a few buttons on your printer or computer, start the cleaning cycle, and wait patiently while lights flash—don’t unplug!
If your prints still look sad, go ahead and repeat the process. It usually does the trick!
How Do I Know if My Print Head Nozzle Is Clogged?
You’ll know your print head nozzle is clogged if your prints show faded colors, missing dots, or broken lines. Run a nozzle check; gaps or faint bars confirm clogging, especially if one color’s missing despite ink presence.
It’s pretty easy to spot once you know what to look for. Just keep an eye out for those signs, and you’ll catch a clog before it gets worse.
How Do You Clean Epson Ecotank Print Head Nozzles Which Are Blocked or Clogged?
Like a knight charging into battle, you run the EcoTank’s head-cleaning utility via Setup or Epson software.
Wait for the On light to stop flashing, then print a nozzle check. If needed, just repeat the process until the nozzles are clear.
Conclusion
Who knew keeping your Epson printer happy could be this simple? By now, you’ve probably realized that cleaning the printhead isn’t some mysterious tech wizardry but just a few easy steps away.
So next time your prints look like abstract art, don’t panic—grab a cloth, run a quick cleaning, and watch your printer bounce back like it never had a problem. Ironically, a little TLC goes a long way in saving your sanity and ink!
Regular Epson printer head cleaning not only improves print quality but also extends the life of your printer. With these simple steps, maintaining your Epson printer becomes hassle-free, ensuring crisp, clear prints every time. Remember, a clean printhead means better performance, fewer clogs, and less wasted ink. So, keep your Epson printer in top shape by cleaning the printhead regularly—you’ll thank yourself the next time you hit print!