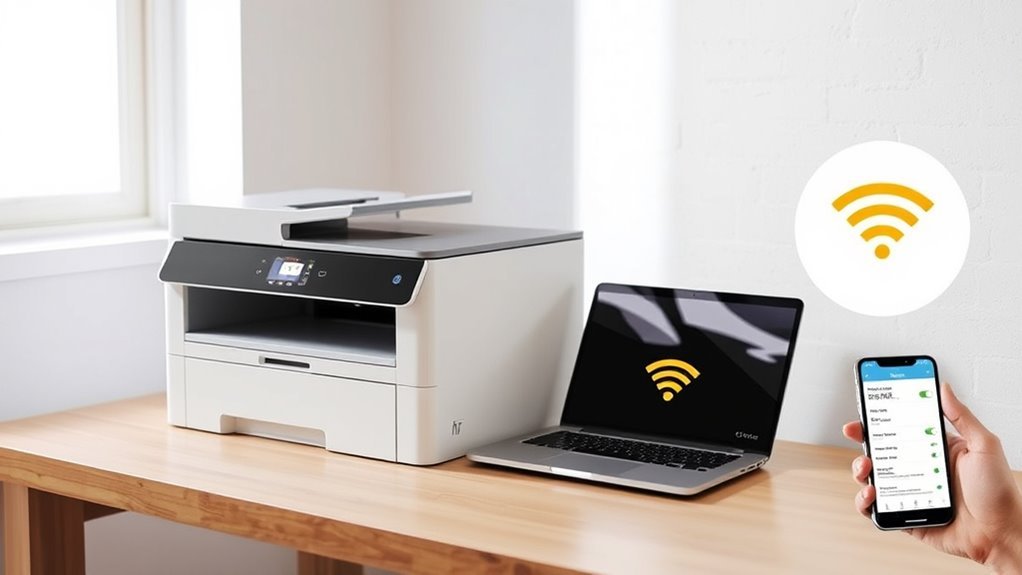
How to Connect Printer to Wireless Internet in 5 Easy Steps
First, make sure your WiFi network is active and you know the exact SSID and password. Having these details handy is super important because your printer needs them to connect to your wireless internet without any hiccups.
Next, turn on your printer and use its wireless setup wizard or the manufacturer’s app to connect to your network by entering those details. If you want a quicker way, you can also try pressing the WPS buttons on your router and printer for an instant connection.
Then, install the latest drivers on your device and add the printer. This helps your computer communicate properly with the printer over the wireless network.
Finally, print a test page to confirm it’s working smoothly. Keep exploring for detailed tips and troubleshooting advice to make sure your wireless printer connection stays strong and reliable.
Key Takeaways
- Confirm your WiFi network name (SSID) and password, and place the printer within good router range.
- Use the printer’s control panel or setup app to select your WiFi network and enter the password.
- Alternatively, connect via WPS by pressing the router and printer WPS buttons within two minutes.
- Download and run the manufacturer’s app to add and configure the printer wirelessly if preferred.
- Install drivers on your device, add the printer, and print a test page to verify the wireless connection.
Get Your Printer Ready and Ensure WiFi Is Set Up
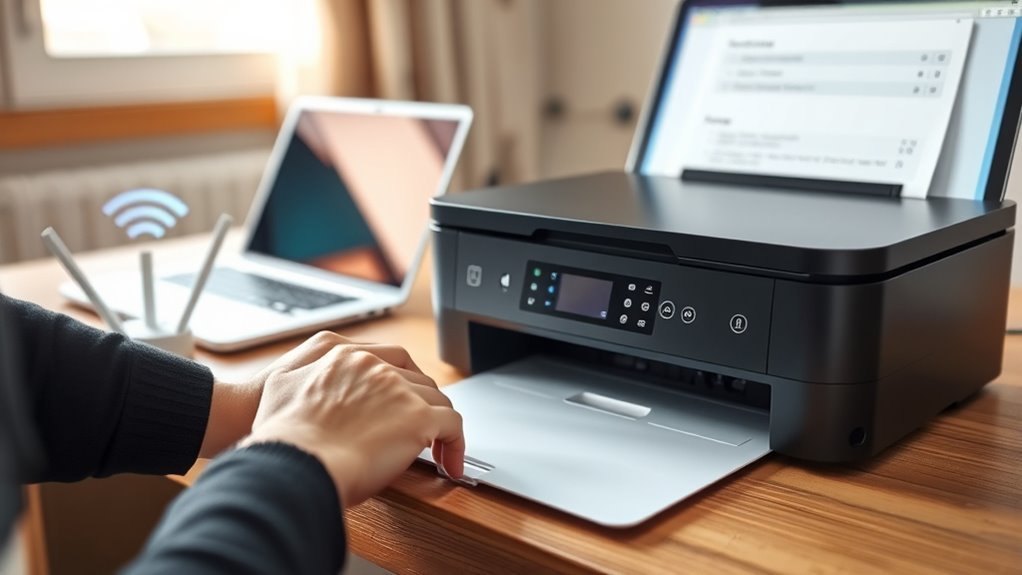
Before connecting your printer to Wi-Fi, make sure your network is active and you know the exact SSID and password. Place your wireless printer within good range of your router, avoiding thick walls or metal objects that could block the signal.
Power on the printer and use its control panel to find options like “Wireless Setup,” “Network,” or “Wi-Fi” to start the configuration process. If your printer supports WPS, you’ll need to prepare for a quick connection by pressing the WPS buttons on both the router and printer.
Otherwise, have a smartphone, tablet, or laptop ready to run the manufacturer’s setup app or use the control panel wizard to enter the SSID and password when prompted. This preparation guarantees a smoother setup.
Connect Your Wireless Printer to WiFi (WPS, Apps, or Control Panel)
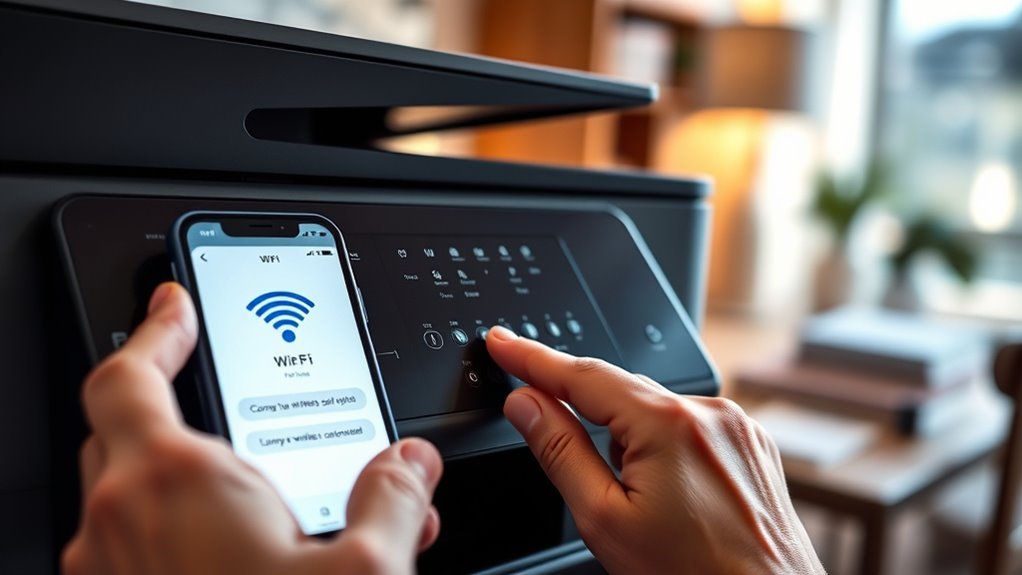
Once your printer is powered on and your network details are ready, you can connect your wireless printer using one of several methods. Choosing a printer that’s easy to set up makes it simple to get started quickly.
You can use the printer’s control panel to run the Wireless Setup Wizard. Just select your WiFi network and enter the password—no extra software needed.
Or, install the manufacturer’s app (like HP Smart or Canon PRINT) to add your printer by SSID and WiFi password. Some apps even auto-detect the printer or ask for a temporary USB connection.
(Note: WPS connection methods will be covered later.)
After connecting, print a network configuration page to verify your printer is on the correct network. It’s also handy to note its IP address for troubleshooting.
This straightforward approach means your printer, especially one that’s simple to set up, will be ready in no time.
Use WPS for a Quick and Easy Connection
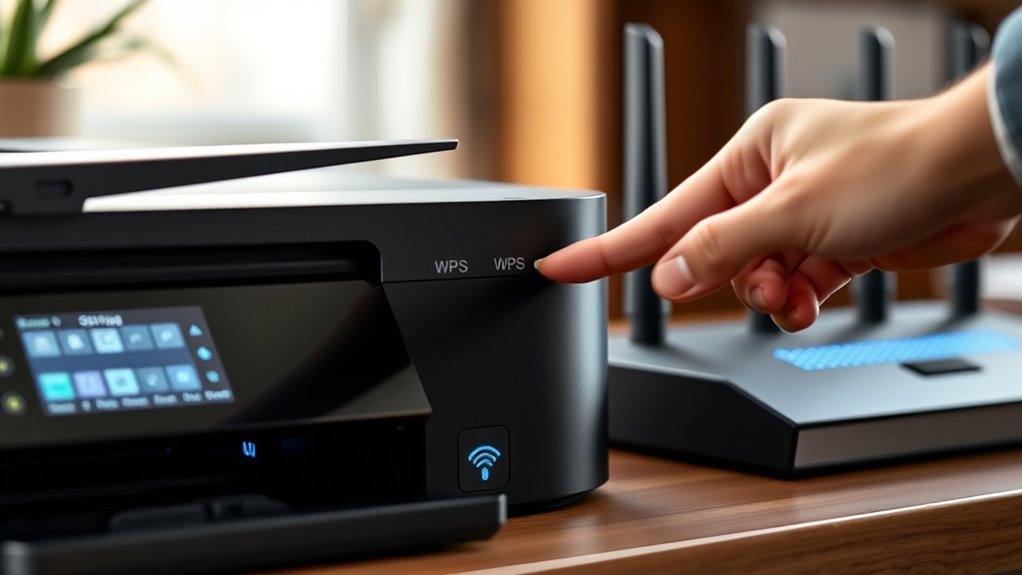
Using WPS lets you connect your printer to Wi-Fi quickly without typing in a password. First, confirm that both your router and printer support WPS.
Power on your printer, then press your router’s WPS button until its light starts flashing. Within two minutes, press the printer’s WPS button to initiate the connection.
The process usually finishes in under a minute, indicated by a solid Wi-Fi light on your printer or a success message on its screen. After connecting, print a network configuration page to verify the connection and note the printer’s IP address for troubleshooting or driver setup.
If WPS isn’t available or doesn’t work, you’ll need to use your printer’s control panel or app to enter your network details manually. It’s a bit more work, but you’ll be online in no time.
Use Your Printer’s App to Connect to WiFi
You’ll want to start by downloading your printer’s official app—like HP Smart, Canon PRINT, or Brother iPrint&Scan—on your phone or tablet. Make sure to grab the manufacturer’s app from the App Store or Google Play before you begin setup.
Once it’s installed, open the app and tap the Add/Register Printer or + button to get started with WiFi setup. Just follow the prompts to select your printer model and connect to your wireless network.
Key steps include entering your WiFi network name (SSID) and password, or you can let the app detect your network automatically. You might need to create an account or give some permissions along the way, so keep an eye out for that.
Then, allow the app to finish configuring your printer—it usually only takes a few minutes.
If you haven’t bought your printer yet, think about purchasing through links that often guide you to compatible models. It can make the whole process smoother!
Install Drivers, Add Your Wireless Printer to Devices, and Test It
After setting up your printer on your Wi‑Fi network through the manufacturer’s app, the next step is to install the latest drivers on your computer or device. Visit the manufacturer’s website, find drivers matching your printer model and OS version, and install drivers to guarantee full Wi‑Fi and feature support.
Next, add your wireless printer to your device: on Windows, go to Settings > Bluetooth & devices > Printers & scanners > Add device; on macOS, use System Settings > Printers & Scanners > +. You may need to add by IP if your printer isn’t detected.
For mobile, enable AirPrint on iOS or install the manufacturer app on Android. When done, print a test page to confirm the connection. And hey, if you’re using a new account, make sure the printer is added there too.
Frequently Asked Questions
How Do I Link My Printer to the Internet?
You link your printer to the internet by connecting it to your Wi-Fi network using WPS, a setup app, or the printer’s control panel.
Then, install drivers or enable AirPrint to start printing wirelessly.
It’s pretty simple once you get the hang of it. Just follow the prompts on your device, and you’ll be good to go!
How to Connect Brother Printer to Laptop?
Simply select your Brother printer on your laptop, then swiftly install the suitable software.
You’ll sync seamlessly, scanning and sending prints in seconds. Just make sure you’re both on the same Wi-Fi network for smooth setup.
How to Print Without Connecting to Printer Wi-Fi?
You can print without connecting to the printer’s Wi-Fi by adding it via its network IP address on your computer.
Or, you can use manufacturer apps that print through your home Wi-Fi. This lets your device send jobs over your regular network, making things easier.
Why Is My Wi-Fi Not Connecting to My Printer?
About 70% of printer Wi-Fi issues come from signal problems or incompatible frequencies. You’re likely not connecting because your printer can’t see your 5 GHz network.
Or maybe the signal’s too weak or blocked by walls. These things can really mess with your connection.
Conclusion
Connecting your printer to wireless internet might seem tricky at first, but with these simple steps, it’s easier than ever. Instead of struggling with tangled cables and endless frustration, you’ll enjoy the freedom of printing from anywhere in your home.
Just a few moments of setup can transform your printing experience from a hassle into a seamless convenience. Embrace the simplicity—your wireless printer is ready to make life smoother and more efficient.
By following these easy steps to connect your printer to wireless internet, you’ll unlock the convenience of wireless printing. No more being tied down by cables or limited to one spot. Whether you’re using a laptop, smartphone, or tablet, wireless printing lets you send documents directly to your printer from anywhere in your home. So go ahead, enjoy the flexibility and efficiency that comes with a wireless printer connection—it’s a small setup that makes a big difference in your daily routine.