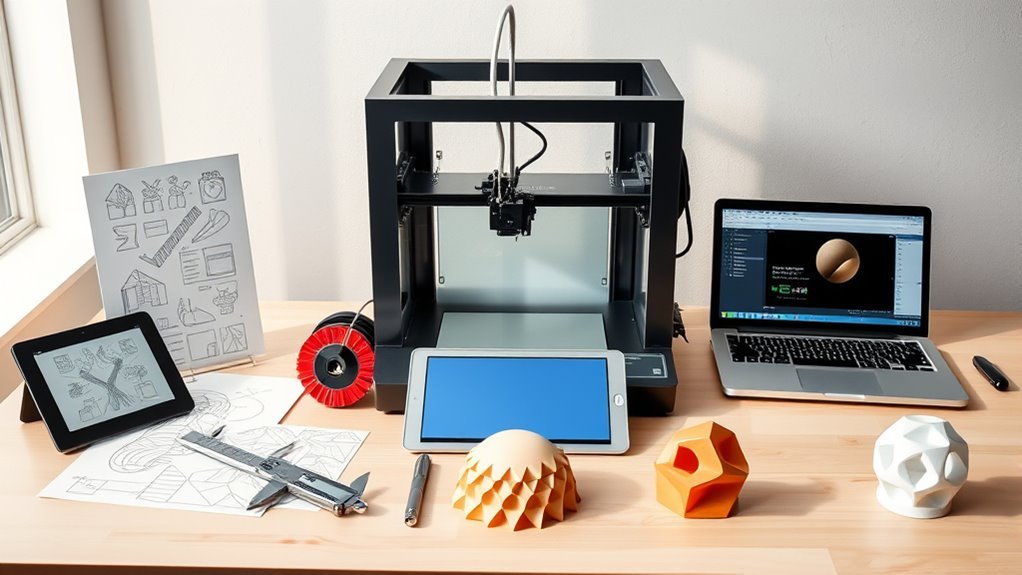
7 Steps to Design Something for a 3D Printer
Start by defining your object’s purpose, size, and strength needs to guide design choices. This helps you focus on what really matters for your 3D printed project. Also, set your software units to millimeters to ensure real-world accuracy from the start.
Block out the basic shape with simple geometry. Once you have that, add details carefully while keeping wall thickness around 1–2 mm. This balance helps your model print well without wasting material.
Next, center and orient your model for the best printing results. Don’t forget to fix mesh issues like non-manifold edges and inverted normals. These problems can cause your print to fail.
Finally, export a clean, watertight STL file. Following these steps guarantees a precise print and sets you up to explore expert tips. It’s a straightforward process that makes your 3D printing journey smoother and more successful.
Key Takeaways
- Define the object’s purpose, size, and mounting constraints to determine strength, dimensions, and printer compatibility. This helps you understand what the design needs to achieve before you start modeling.
- Start with a low-detail block-out mesh using primitives, incorporating major features and consistent wall thickness. It’s a good way to get the basic shape down without worrying about details just yet.
- Maintain minimum wall thickness (1–2 mm), add fillets and ribs to improve structural integrity and reduce stress points. These small tweaks can make your print stronger and less likely to fail.
- Apply all transforms, verify mesh watertightness, fix non-manifold edges, recalculate normals, and clean up geometry. This makes sure your model is ready and error-free for printing.
- Orient the model for printing with the flattest face down, set units to millimeters, and export a verified STL file. Doing this helps the printer understand exactly how to build your object.
Define Your 3D Printing Object’s Purpose and Size
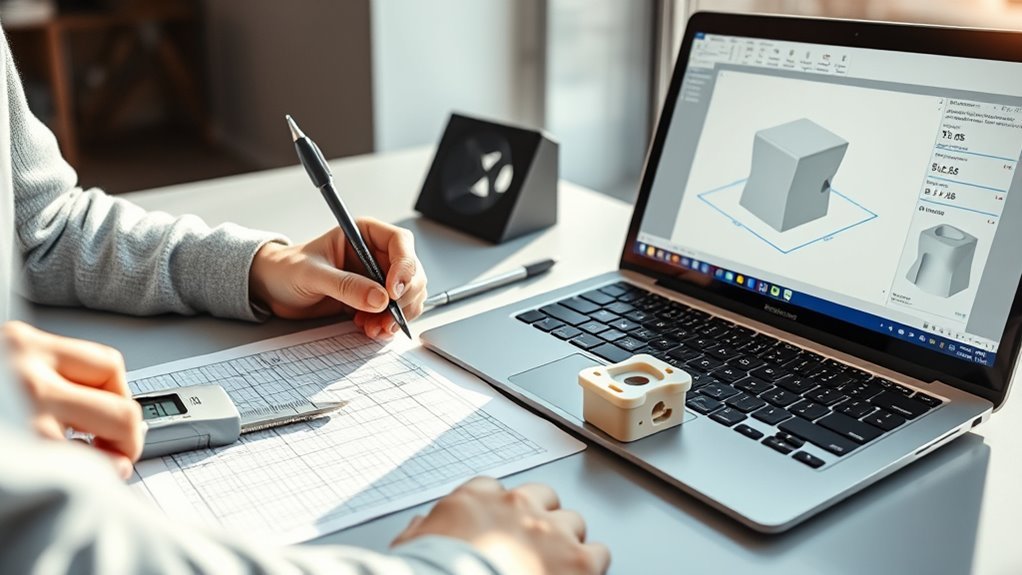
Why does your 3D printed object exist? Before you make something, define its purpose clearly—whether it’s a coat hook holding 5 kg or a decorative lampshade. This helps you determine strength, mounting, and critical features.
Next, measure your printer’s build volume to guarantee the model fits or plan to split it with alignment features. Define the object’s external dimensions and tolerances, typically ±0.1–0.5 mm for hobby FDM printers, guaranteeing functional surfaces meet your needs.
Choose wall thickness (1–2 mm minimum for PETG/PLA) and infill (10–50%) based on load. Finally, think about mounting, supports, and finishes—add flat bases, chamfers for fasteners, or fillets to reduce supports and improve strength.
Defining these upfront guarantees your design works as intended.
Set Up Your Software and Units for 3D Printing
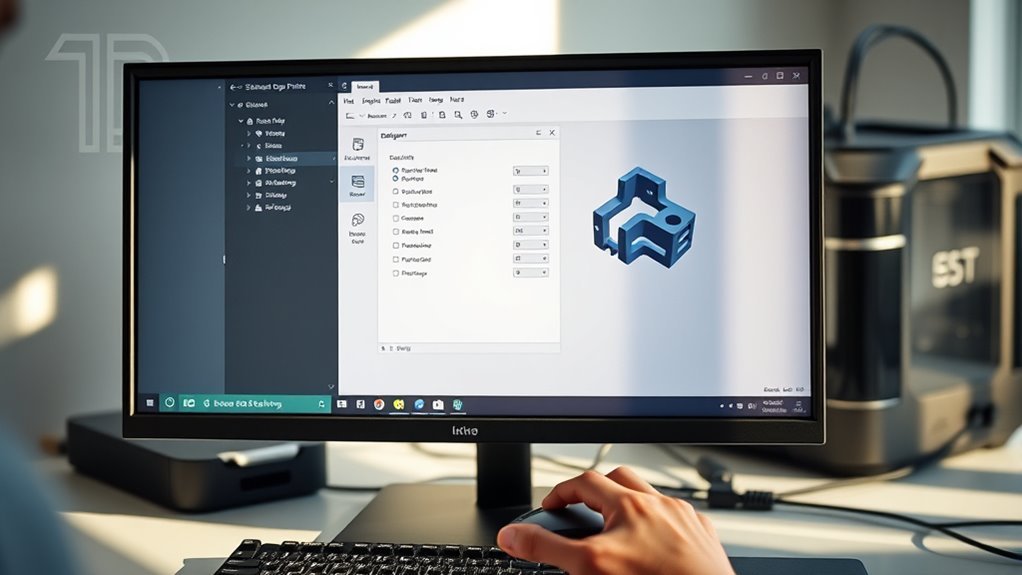
Before you start modeling, make sure your software is set to use metric units with millimeters as the base length. This guarantees your design matches real-world dimensions when exported for 3D printing.
Choosing the right software and configuring units correctly will save you time and prevent scaling issues later on. It’s a small step that makes a big difference!
Software Selection Essentials
When setting up your software for 3D printing, make sure to configure your scene units to millimeters. This way, your model exports at the exact size slicers and printers expect.
Choose software that fits your workflow. For example, parametric CAD like Rhino or Grasshopper lets you create objects with precise control and easy iteration. Blender excels at organic shapes, and Tinkercad is great for quick beginner designs.
Adjust grid and snap settings to 1 mm or 0.1 mm for accurate placement while modeling. Also, enable 3D-printing tools or add-ons to check wall thickness, manifoldness, and overhangs before export.
Always apply transforms and export your model as an STL with consistent units. Don’t forget to verify normals, edges, and minimum wall thickness to assure printability.
Setting Metric Units
To make certain your 3D models print at the correct size, set your scene units to Metric with length measured in millimeters and a unit scale of 0.001, so one Blender unit equals one millimeter on export.
Next, adjust the viewport grid scale to 0.001 to match millimeter units, letting you see accurate on-screen measurements.
Before you start creating, check the Scene Properties under Units and set decimal precision to avoid rounding errors, especially for small features like 1–2 mm walls.
After scaling objects, apply all transforms (Ctrl + A) to lock in their size for export.
Finally, verify dimensions in the Item tab and test by exporting a short STL to confirm your model matches intended millimeters in your slicer.
Block Out the Basic Shape of Your Model
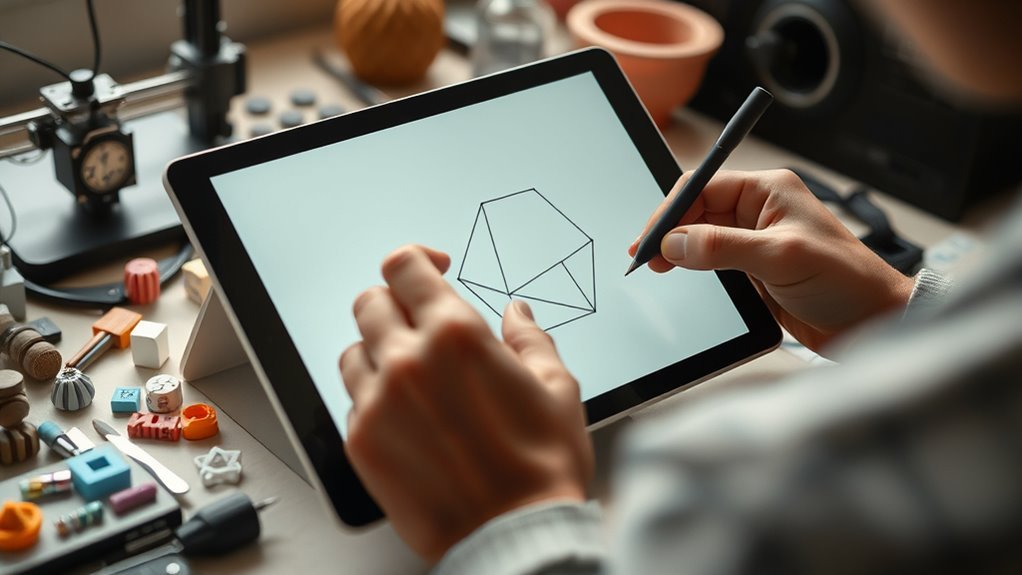
Kick off your 3D modeling by creating a simple, low-detail block-out mesh that captures the overall dimensions of your final part. Start with basic shapes like cylinders, boxes, or extruded profiles, sized accurately in millimeters to match your target measurements.
Use your mouse wheel to zoom in and out smoothly, ensuring precise placement and scale. Incorporate major features such as mounting holes and cavities using primitives and boolean operations to avoid early complexity.
Keep wall thicknesses consistent with your printer’s minimum requirements—typically 1–2 mm for PLA on consumer FDM machines. If your part needs to fit with others, import or sketch mating geometries now and verify clearances of about 0.2–0.5 mm.
This block-out phase sets a solid foundation before adding details. It’s all about getting the basics right first, so the rest of your design goes smoothly.
Add Design Details and Ensure Proper Thickness
To make your 3D print strong and functional, you need to maintain proper wall thickness—generally at least 1–2 mm. For load-bearing parts, you’ll want to increase that thickness even more.
Adding fillets or chamfers helps reduce stress points and improves layer adhesion. These small design tweaks can make a big difference in the final print quality.
Always double-check your model’s thickness and structure before you guarantee it prints reliably. It’s better to catch potential issues early than to run into problems later.
Design For Structural Integrity
Although 3D printing offers great design freedom, making sure your parts have enough thickness and the right structural details is key for durability. Add fillets or chamfers with a 1–3 mm radius on sharp corners to help reduce stress.
Also, include ribs or gussets that are 2–4 mm thick and spaced 8–20 mm apart. This stiffens thin sections without adding extra weight. Don’t forget to align the layer lines with the primary load direction — try to avoid loading perpendicular to the layers, especially on the right side where stress often builds up.
When it comes to joint strength, overlaps of 5–10 mm work well. Use snap-fit radii or alignment pegs to make those connections stronger and more reliable.
| Feature | Thickness (mm) | Purpose |
|---|---|---|
| Fillets/Chamfers | 1–3 | Distribute load, reduce cracks |
| Ribs/Gussets | 2–4 | Stiffen thin sections |
| Overlap Depth | 5–10 | Strengthen joints |
| Layer Alignment | N/A | Align with load direction |
| Wall Thickness* | 1–5 | Base structural integrity |
*See next section for details.
Maintain Minimum Wall Thickness
Make sure your 3D printed parts have the right wall thickness to balance strength and printability. For FDM printers, aim for at least 1–2 mm, with 2 mm preferred for functional parts.
SLA printers allow thinner walls, about 0.5–1.0 mm, but be cautious—thin walls might be fragile under stress. Always design wall thickness as an integer multiple of your nozzle width (e.g., 0.8, 1.2 mm for a 0.4 mm nozzle) to guarantee solid layers without thin partial walls.
Use tools like Blender’s Solidify modifier or CAD shell features to set consistent thickness, and check slicer previews to come back and verify strength. Don’t forget to reinforce areas around holes and joints by adding 0.5–1 mm.
Also, include fillets to reduce stress points, improving overall print reliability. Taking these steps helps make sure your prints come out strong and durable.
Center, Scale, and Orient Your Model Correctly
Getting your model properly centered, scaled, and oriented is essential for a successful 3D print. For your first time, set the scene units to millimeters (Unit Scale = 0.001) so dimensions export accurately.
Place the model origin logically, like the bottom center, then use Shift+S to snap it to the world origin—this guarantees it sits correctly on the build plate. Before exporting, apply all transforms (Ctrl+A) to lock location, rotation, and scale. This makes sure the slicer reads a scale of 1.0.
Orient your model with the flattest, largest face down to improve adhesion and reduce supports. Finally, verify and adjust exact dimensions in the properties panel, then export as STL to preserve these measurements for a smooth print.
Fix Common Mesh Problems Before Exporting
Before exporting your model, you should thoroughly inspect and repair mesh issues to guarantee a clean, watertight print. Start by selecting all geometry with the A key in Edit Mode, then use Merge by Distance (M > By Distance) to fix non-manifold edges.
Next, recalculate normals with Shift+N and check their direction in the Face Orientation overlay. It’s a good idea to remove stray vertices and duplicates using Delete Loose and Cleanup tools.
Don’t forget to apply all transforms (Ctrl+A) so your model’s scale and rotation are baked in. You might want to use Solidify to add wall thickness, then run 3D Print Toolbox checks.
Remember, you’ll often use the mouse button to navigate and select these tools efficiently.
| Problem | Quick Fix |
|---|---|
| Non-manifold edges | Select all (A), Merge by Distance |
| Inverted normals | Select all (A), Shift+N |
| Loose vertices | Delete Loose, Cleanup |
| Unapplied transforms | Ctrl+A > All Transforms |
Export a Clean STL File Ready for Printing
Once your mesh is clean and all transforms are applied, you’ll want to set your scene units to millimeters and scale your model to its final print size. This guarantees your exported STL matches real-world dimensions perfectly.
Set your scene units to millimeters and scale your model to ensure accurate real-world dimensions in your STL export.
Here are some quick tips to export a clean STL file ready for printing:
- Apply all modifiers like Solidify or Boolean, then convert them to bake the final geometry into the mesh.
- Verify your mesh is watertight—no holes, non-manifold edges, or internal faces—using cleanup tools.
- Recalculate normals to guarantee they face outward; slicers rely on this for correct shell interpretation.
- Export via File > Export > STL, name your file clearly with units, and run it through slicer analysis or repair software.
These steps help you avoid print failures and get reliable results. It’s a bit of prep that really pays off when your print comes out just right!
Frequently Asked Questions
What Type of 3D Printer Is Best for Beginners?
You’ll want an FDM printer for beginners because it’s affordable, easy to use, and widely supported. It uses melted plastic to build objects layer by layer, making it ideal for learning and experimenting with 3D printing.
It’s pretty straightforward to get started with, and since lots of people use them, you’ll find plenty of guides and help online. So, if you’re just diving into 3D printing, an FDM printer is a solid choice.
How Do I Choose the Right Filament Material?
You might think all filaments are the same, but they’re not. Choose PLA for easy printing and vibrant colors, ABS for strength, or PETG for flexibility.
Match the filament to your project’s needs and your printer’s capabilities. It really makes a difference in the final result!
Can I Print Multi-Color Objects Without Assembly?
Yes, you can print multi-color objects without assembly if your 3D printer supports dual or multi-extruders.
Otherwise, you’d need to pause and switch filaments manually or assemble separate parts afterward for multiple colors.
It’s a bit more work, but totally doable depending on your printer’s capabilities!
How Long Does a Typical 3D Print Take?
You might think 3D printing takes forever, but a typical print usually takes a few hours, depending on size and complexity.
Smaller, simpler objects finish quickly, so you won’t always be stuck waiting all day.
What Post-Processing Steps Improve Print Quality?
You should sand, polish, and clean your print to improve quality. Applying primers, painting, or using acetone vapor smoothing for ABS prints can also enhance appearance and durability.
Don’t forget to remove any support structures carefully. Taking your time with these steps really makes a difference in the final look and feel of your print.
Conclusion
By following these 7 steps, you’ll create a 3D model that prints smoothly and looks great. Did you know that around 80% of 3D print failures happen because of design issues? Taking the time to define your object’s purpose, set up your software correctly, and fix mesh problems can save you hours of frustration.
With a clean STL file and proper preparation, you’re well on your way to successful 3D printing every time. Remember, good design is the foundation of a great print. So, focus on each step carefully, from the initial concept to the final export.
When you invest effort into design, you reduce print errors and wasted material. This means less trial and error, faster prints, and better end results. By mastering these 7 steps, you ensure your 3D prints come out looking professional and functional. In the end, smart design makes all the difference in smooth, successful 3D printing.